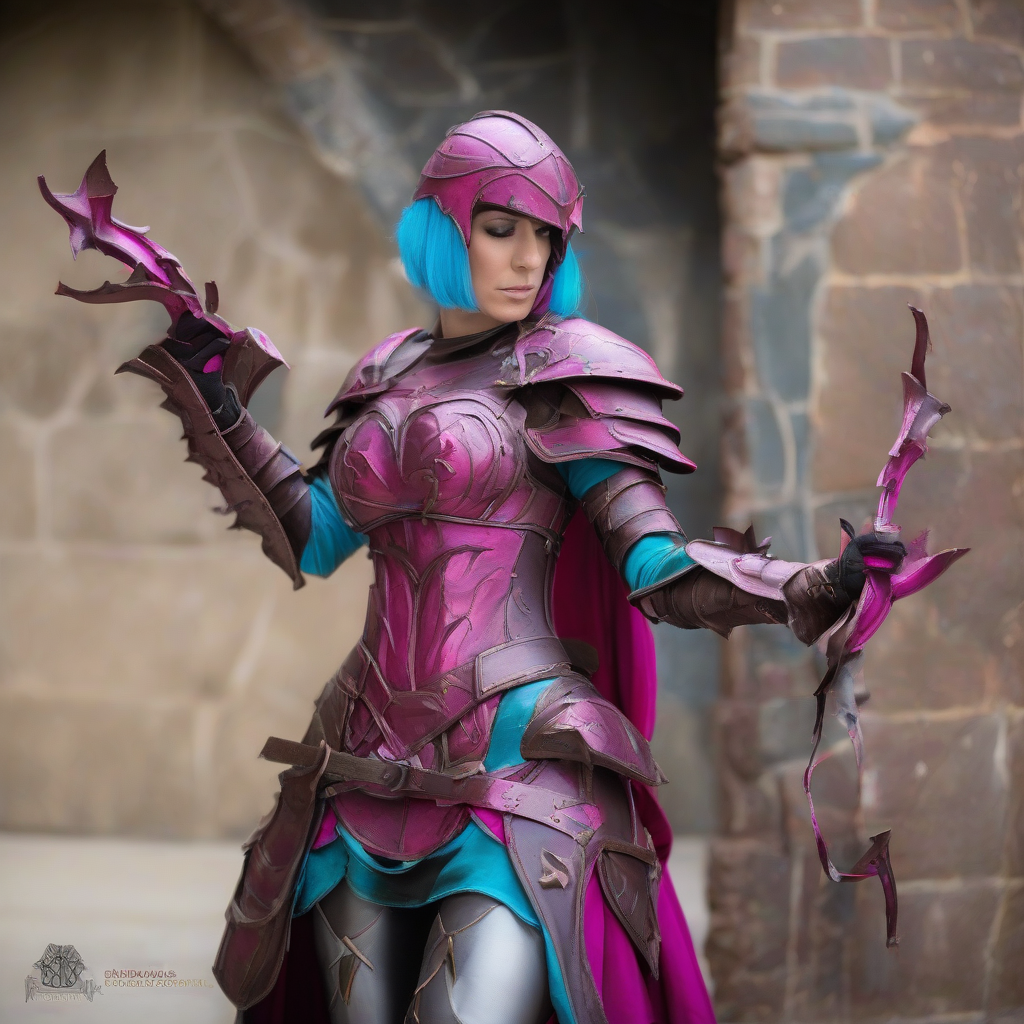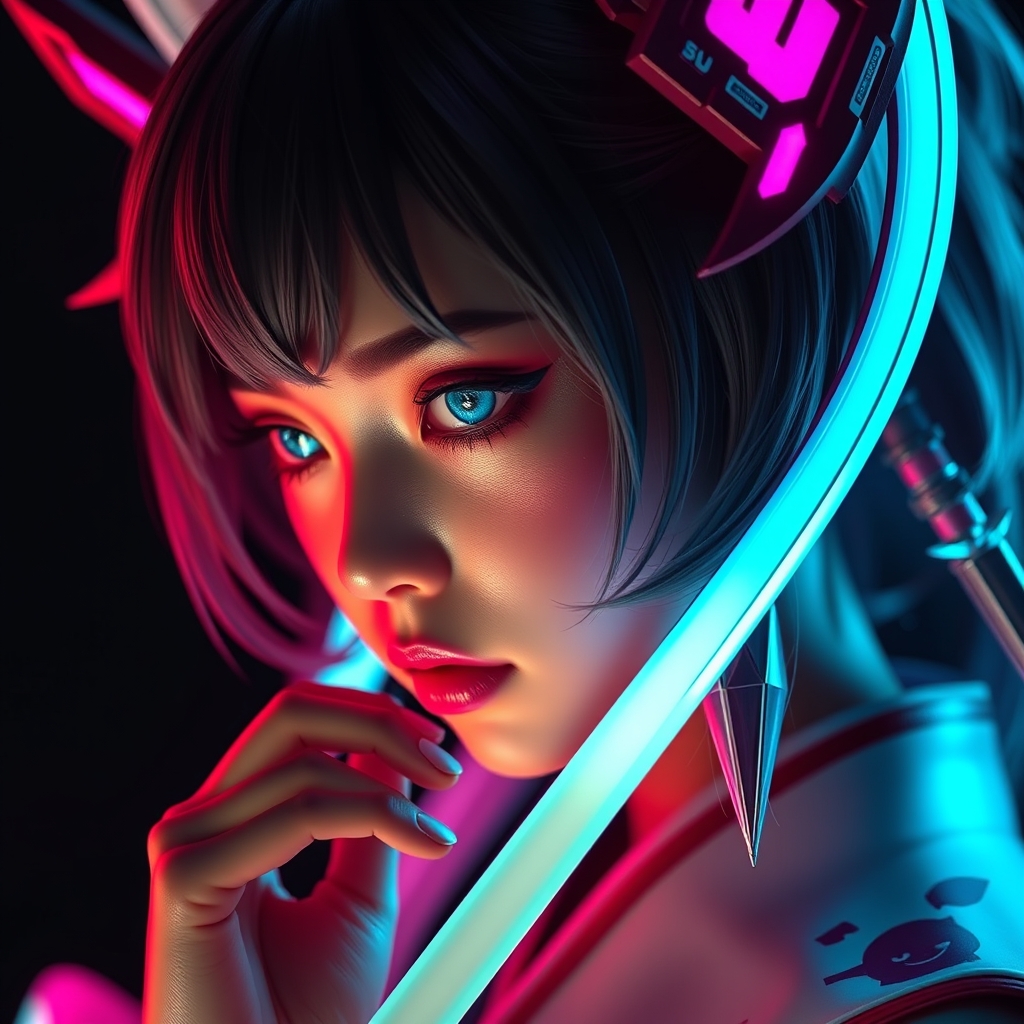
Genshin Impact is a masterclass in visual storytelling through detail. From the intricate gold filigree on Ningguang’s accessories to the crystalline structures of the Cryo and Anemo visions, the game's aesthetic relies on a mix of hard-surface geometry and ethereal textures. For cosplayers, replicating these elements using traditional foam or fabric often results in a "soft" look that lacks the crispness of the in-game models. To achieve a professional, screen-accurate finish, the integration of 3D printing and resin casting is the gold standard.
Choosing Your Foundation: FDM vs. Resin Printing
Before you begin, you must decide which printing technology suits your specific accent. Most Genshin characters feature two types of accessories: large structural pieces (like Zhongli’s polearm or Raiden Shogun’s ornaments) and small, high-detail jewelry (like Vision casings and earrings).
FDM (Fused Deposition Modeling)
FDM printers are ideal for larger props. They are cost-effective and produce durable parts. However, they leave visible layer lines. Use FDM for the core of a prop, but be prepared for significant sanding and filling. If you are printing a large weapon, print in sections to maximize stability and minimize warping.
SLA/DLP (Resin Printing)
For the "jewelry" aspect of Genshin—the Visions, the small gold charms, and the intricate hair accessories—resin printing is non-negotiable. Resin printers capture microscopic detail and provide a smooth surface that mimics polished plastic or metal. Because these pieces are small, the longer cure times are a fair trade-off for the precision achieved.
The Secret to "Game-Accurate" Surfaces
The biggest mistake beginners make is painting directly onto a raw 3D print. Even a high-resolution resin print has microscopic imperfections that will "catch" the light and reveal the prop as plastic. To achieve a metallic or crystalline look, you must employ a professional finishing pipeline.
The Sanding Ladder: Start with a coarse 220-grit sandpaper to remove support marks and "zits." Gradually move to 400, 600, and finally 1000-grit wet sanding. This process closes the pores of the material and creates a surface that feels like glass.
Filler Primers: Use a high-build filler primer. This is a thick paint that fills in the remaining layer lines. Spray a light coat, let it dry, and sand it back. Repeat this process until the surface is perfectly flat. For Genshin's gold accents, a flawless surface is the difference between a "toy" look and a "treasure" look.
Creating the Vision: Translucency and Depth
The Vision is the focal point of any Genshin cosplay. To make it look like it is glowing from within rather than just being a painted orb, you need to utilize clear resins and internal lighting.
- The Shell: Print the outer casing in a high-detail grey resin. Once sanded and painted gold or silver, this provides the structural frame.
- The Core: Instead of using a solid plastic ball, use a clear, UV-curable resin. You can tint this resin with a tiny drop of alcohol ink (blue for Cryo, purple for Electro) to create a translucent, "deep" color.
- The Internal Glow: Leave a hollow cavity at the base of the Vision. Insert a high-density LED with a diffusion layer (like a piece of frosted acrylic or white packing foam). This prevents the LED from being a single "hot spot" and instead creates an even, ethereal glow throughout the resin orb.
Advanced Resin Casting for Duplicate Parts
Many Genshin characters have symmetrical accents—think of the matching gold plates on a character's shoulders or hips. Printing every single piece can be time-consuming and expensive. This is where resin casting becomes a powerful tool.
Once you have perfected a single 3D-printed "master" piece, create a silicone mold of it. Using a two-part polyurethane resin, you can cast multiple identical copies in a fraction of the time. This not only ensures perfect symmetry across your costume but also allows you to experiment with different resin additives. For example, you can mix metallic powders directly into the casting resin to create a "cold-cast" metal effect, which feels heavier and looks more authentic than paint.
Painting for Material Realism
Genshin's art style blends stylized anime colors with realistic material properties. To translate this to the real world, avoid using a single flat color.
Achieving the "Genshin Gold"
Pure gold paint often looks orange or "cheap." To get that sophisticated, regal gold, use a layering technique:
- Base: A glossy black or deep brown primer.
- Mid-layer: A metallic gold acrylic or spray.
- Highlight: A light touch of champagne gold or silver on the highest edges to simulate wear and light reflection.
- Finish: A high-gloss clear coat to give it a polished, jewelry-like sheen.
Simulating Gemstones
For the gems embedded in character clothing, avoid flat paint. Use a "depth" technique: paint the recessed area of the gem with a dark shade of the color, then apply a thick layer of clear UV resin over the top. The resin creates a lens effect, refracting light and giving the gem a three-dimensional quality that mimics real jewelry.
Final Assembly and Durability
The final challenge is attaching these rigid resin and plastic pieces to soft fabric. Using hot glue is a common mistake; it can peel off under the heat of a convention center or the movement of a photoshoot.
Mechanical Fastening: Whenever possible, design your 3D prints with integrated slots or holes. Use small bolts, washers, or heavy-duty magnets to attach the accents to the garment. If you must use adhesive, opt for a flexible industrial adhesive like E6000, which allows the fabric to move without cracking the bond. For pieces that sit on the shoulders or chest, consider creating a hidden "harness" of clear acrylic or plastic that distributes the weight of the props, preventing the fabric from sagging and ruining the silhouette of the character.