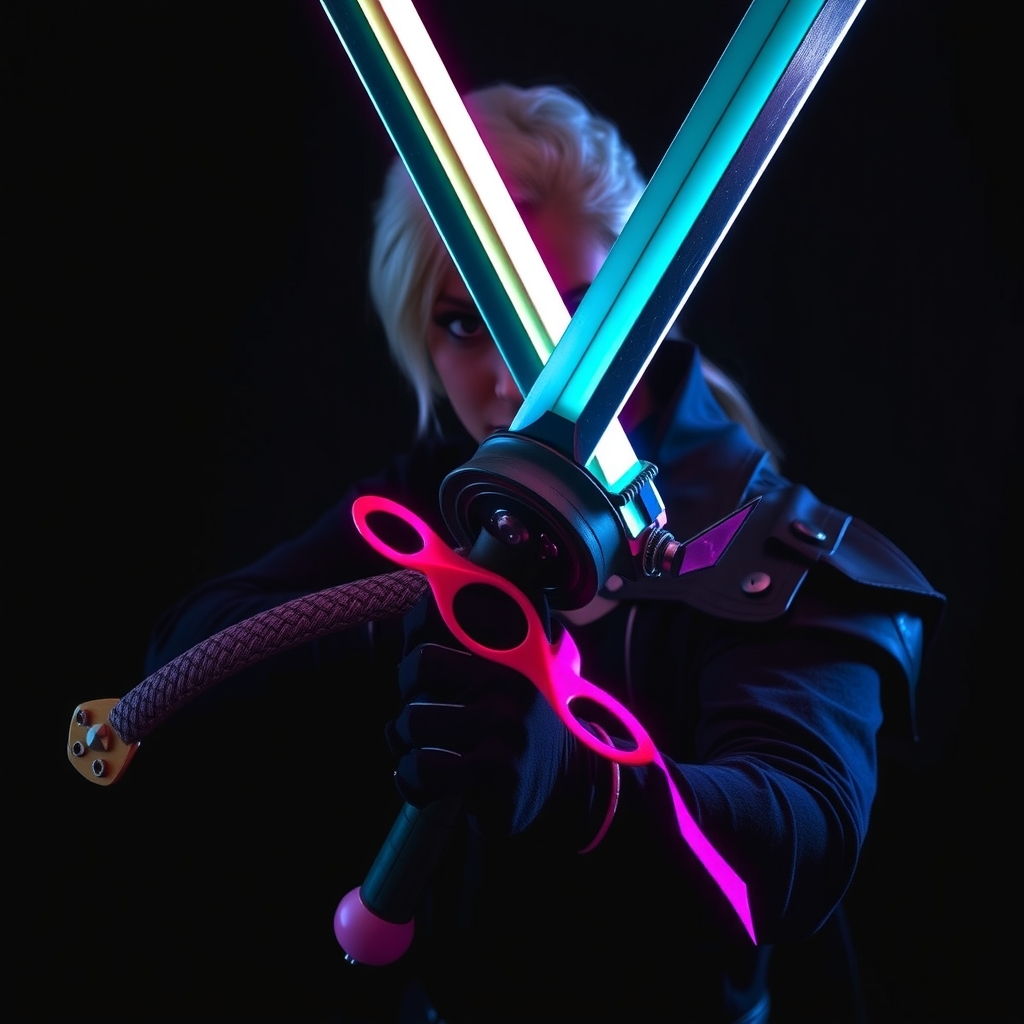
One of the most daunting aspects of bringing a video game character to life is the "texture gap." In modern gaming, 4K textures simulate the porous nature of skin, the pitted surface of rusted iron, and the coarse weave of tactical nylon. When we translate these to real-world materials like EVA foam or Worbla, the result often looks "plasticky" or overly smooth, breaking the immersion of the costume.
The secret to professional-grade realism isn't necessarily expensive airbrushes or specialty industrial coatings; it is the strategic application of physical and chemical texture. By leveraging common household items, you can break up the unnatural smoothness of budget materials and create a surface that looks like it has survived a hundred quests in a digital wasteland.
The Foundation: Breaking the Surface
Before a single drop of paint touches your prop, you must address the physical topology. Smooth foam is the biggest giveaway of a budget build. To create organic or industrial textures, you need to introduce "noise" to the surface.
Creating Organic Pitting and Stone
For stone walls, rocky armor, or alien skin, avoid using a sanding block. Instead, use a ballpoint pen or a soldering iron (in a well-ventilated area) to poke irregular indentations into your foam. For a more chaotic, natural look, try the "aluminum foil method": crumble a piece of heavy-duty kitchen foil into a tight ball and press it firmly into the foam. This creates a micro-texture of random creases and pits that perfectly mimics weathered concrete or granite.
Simulating Fabric and Leather
If you are using foam to simulate leather boots or heavy gambesons, you need a grain. A common household trick is using a stiff-bristled toothbrush or a wire brush. Gently scrub the surface of the foam in one direction to create linear striations. For a deeper, more leather-like grain, you can press a piece of actual coarse fabric or a textured kitchen sponge into the foam while heating it slightly with a heat gun, effectively "stamping" the texture into the material.
The DIY Texture Paste: Adding Three-Dimensionality
Paint alone cannot create depth. To achieve the look of rusted metal or peeling paint, you need a medium that adds physical volume. You don't need expensive modeling pastes; you can make your own "gunk" from the pantry.
The Flour and Glue Method
Mix white school glue, a small amount of flour, and a dash of water until you reach a thick, toothpaste-like consistency. This mixture can be dabbed onto armor joints or edges to simulate accumulated grime, dried mud, or oxidation. Once dry, this paste is incredibly durable and provides a tactile surface that catches the light and shadow, mimicking the "normal maps" used in game engines.
The Salt Technique for Corrosion
To create the look of salt-corroded metal or pitted rust, apply a layer of glue to your prop and sprinkle coarse sea salt over it. Let it dry completely, then paint over the entire surface. Once the paint is dry, scrub the salt away with a damp sponge. The salt leaves behind irregular, microscopic craters in the paint layer, creating a realistic, weathered metallic finish that looks far more authentic than a simple brown paint splash.
Mastering the "Dirty" Palette: Low-Cost Weathering
High-fidelity game characters rarely have clean gear. The goal of weathering is to tell a story: where does the armor hit the ground? Where does the sweat accumulate? Using professional pigments is expensive, but your kitchen is full of alternatives.
The Power of Instant Coffee and Tea
For fabric elements, avoid using black paint for shading, as it often looks artificial. Instead, use strongly brewed instant coffee or black tea. These organic dyes seep into the fibers of the fabric, creating a natural "grime" that mimics sweat and dirt. Apply it with a spray bottle for a general wash, or a sponge for targeted staining around collars and cuffs.
The "Dry Brush" with Household Pigments
Dry brushing is the most effective way to highlight edges. Instead of buying expensive metallic powders, look for eyeshadow or old makeup. Metallic gold, bronze, and silver eyeshadows are finely milled and can be applied with a dry brush to the edges of your prop to simulate "edge wear," where the paint has rubbed off to reveal the metal beneath. This creates a high-contrast look that makes your prop pop in photographs.
Advanced Finishing: The Matte vs. Gloss Balance
The final mistake many budget cosplayers make is leaving the entire piece with a uniform finish. In video games, different materials reflect light differently. A piece of armor might have a matte leather strap, a semi-gloss metal plate, and a high-gloss glass lens.
DIY Varnishing
If you cannot afford a variety of clear coats, use clear nail polish for high-gloss accents (like gemstones or wet blood) and hairbrush-applied matte medium or even a light dusting of cornstarch mixed into a clear sealant to kill the shine on fabric-simulated areas. By varying the reflectivity of your surfaces, you trick the eye into perceiving different materials, even if the entire prop is made from the same piece of EVA foam.
The Final "Wash"
To tie everything together, create a "black wash" using watered-down black acrylic paint or ink. Slather it over the entire prop, then immediately wipe it away with a rag. The dark pigment will remain trapped in the pits, creases, and textures you created in the first step, providing artificial ambient occlusion—the same effect game engines use to create depth in corners and crevices.
Summary Checklist for the Budget Builder
- Texture: Use aluminum foil for stone and wire brushes for leather.
- Volume: Use a glue-and-flour paste for rust and salt for corrosion.
- Color: Use coffee for fabric stains and eyeshadow for metallic edge wear.
- Finish: Mix matte and gloss finishes to differentiate materials.