Introduction to Hololive Cosplay and Character Horns
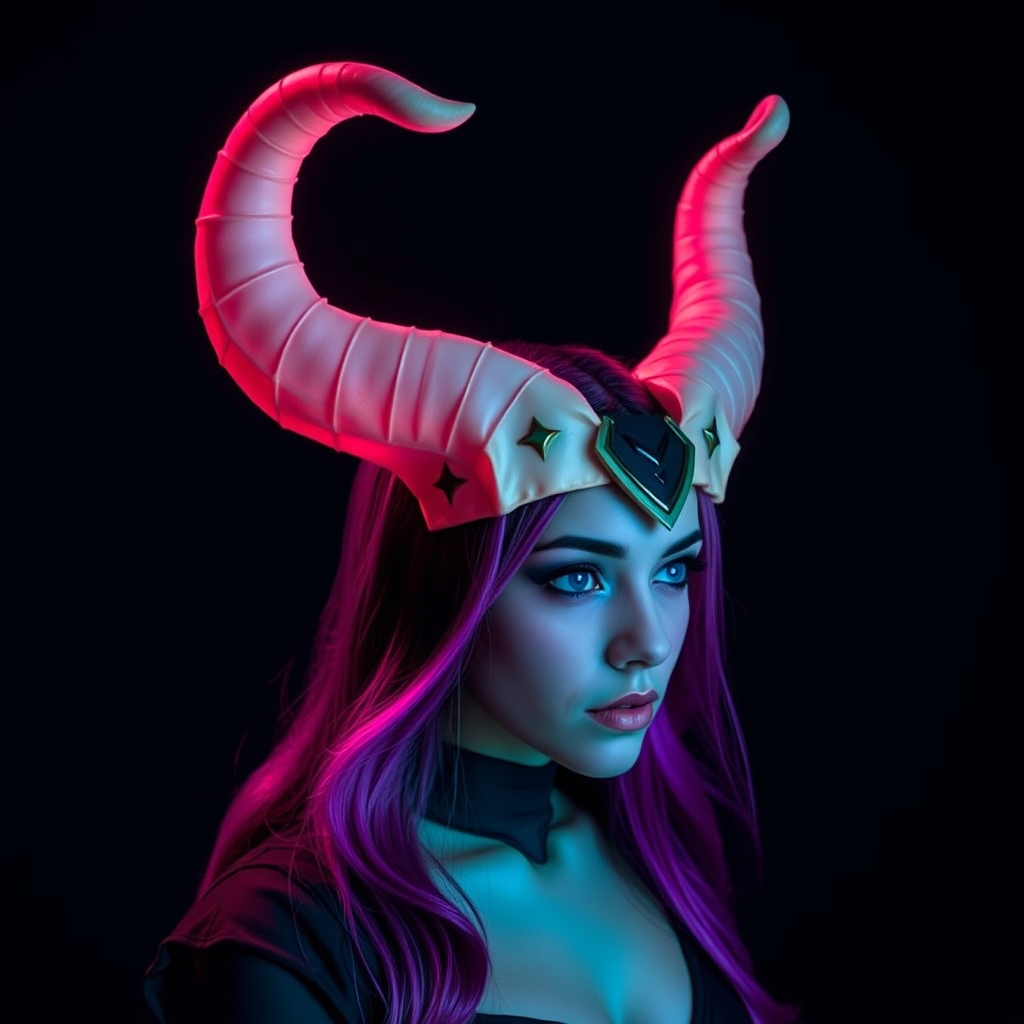
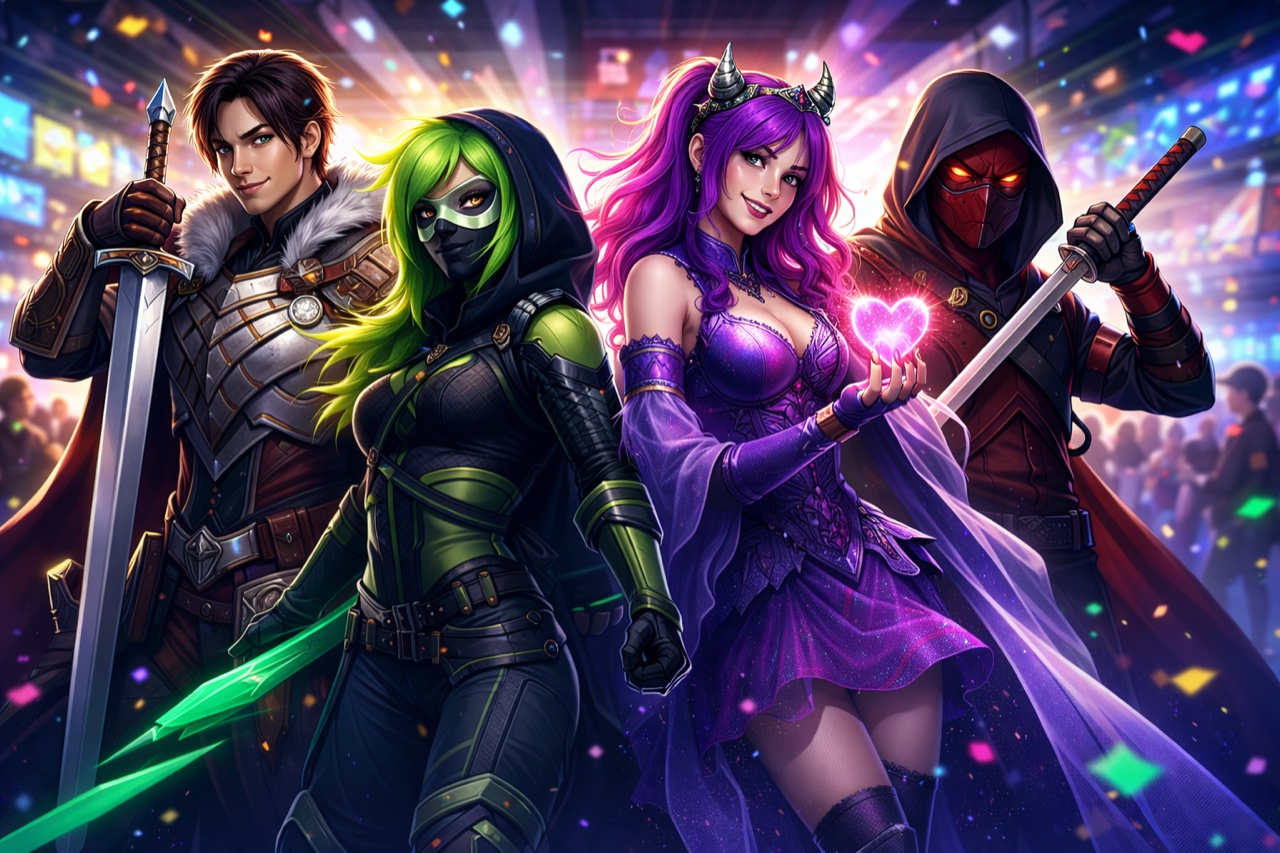
Hololive, a virtual YouTuber (VTuber) agency produced by Cover Corp, has taken the world by storm with its lovable and unique characters. As a cosplayer, bringing these digital personas to life requires attention to detail, especially when it comes to distinctive features like horns. In this article, we'll guide you through the process of creating accurate and stunning character horns using Worbla and resin.
Materials and Tools Needed
- Worbla: A versatile thermoplastic material ideal for prop-making and cosplay crafting.
- Resin: A durable and detailed material perfect for creating intricate horn designs.
- Resin mold or 3D printed horn model: For creating the horn shape and structure.
- Heat gun or Worbla heat applicator: To shape and mold Worbla.
- Sandpaper and files: For smoothing and refining the horn surface.
- Paint and primer: To achieve a realistic and vibrant color finish.
Step 1: Designing and Preparing the Horn Pattern
Start by researching your chosen Hololive character's horn design, taking note of its shape, size, and proportions. You can use reference images or 3D models to help you create a precise pattern. If you're not comfortable designing from scratch, consider using a pre-made 3D printed horn model or Worbla template.
Once you have your design, use a software like Adobe Illustrator or a drawing tablet to create a detailed pattern. This will serve as a guide for shaping your Worbla and resin horns.
Step 2: Shaping the Worbla Horn Base
Cut out the Worbla pattern and apply heat using a heat gun or Worbla heat applicator. This will make the material pliable and easy to shape. Use a combination of heat and gentle pressure to mold the Worbla into the desired horn shape.
Allow the Worbla to cool and harden completely before removing it from the mold or pattern. This will ensure a stable and rigid base for your horn.
Step 3: Creating the Resin Horn Details
Prepare your resin mixture according to the manufacturer's instructions. For best results, use a resin specifically designed for prop-making or casting.
Pour the resin mixture into the mold or onto the Worbla base, making sure to fill any intricate details or textures. Allow the resin to cure and harden completely, following the manufacturer's recommended curing time.
Step 4: Refining and Finishing the Horns
Once the resin is fully cured, carefully remove the horns from the mold or Worbla base. Use sandpaper and files to smooth out any rough edges or burrs.
Apply a coat of primer and paint to achieve a realistic and vibrant color finish. You can also add additional details like texture or weathering effects using specialized paints or techniques.
Tips and Variations for Advanced Cosplayers
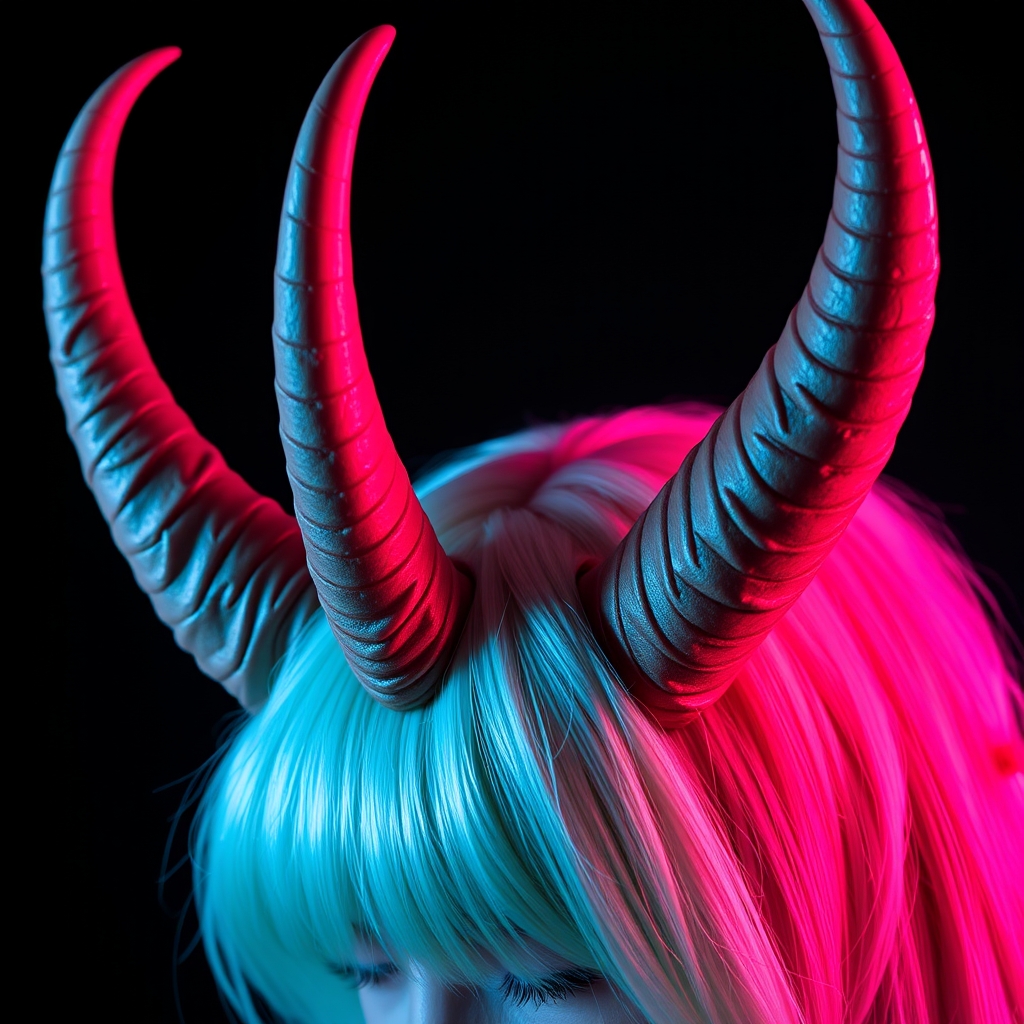
- Experiment with different Worbla and resin colors to create unique and personalized horn designs.
- Add LED lights or fiber optics to create glowing or illuminated horn effects.
- Use Worbla or resin to create additional details like horn bases, straps, or headbands.
- Combine Worbla and resin with other materials like foam, fabric, or 3D printing for added complexity and realism.
Conclusion and Final Tips
Crafting accurate and stunning character horns using Worbla and resin requires patience, attention to detail, and practice. By following this step-by-step guide, you'll be well on your way to elevating your Hololive cosplay game and creating show-stopping props that will impress at any convention or photoshoot.
Remember to always follow safety guidelines when working with Worbla and resin, and don't be afraid to experiment and try new techniques. Happy crafting!