Introduction to Weathering
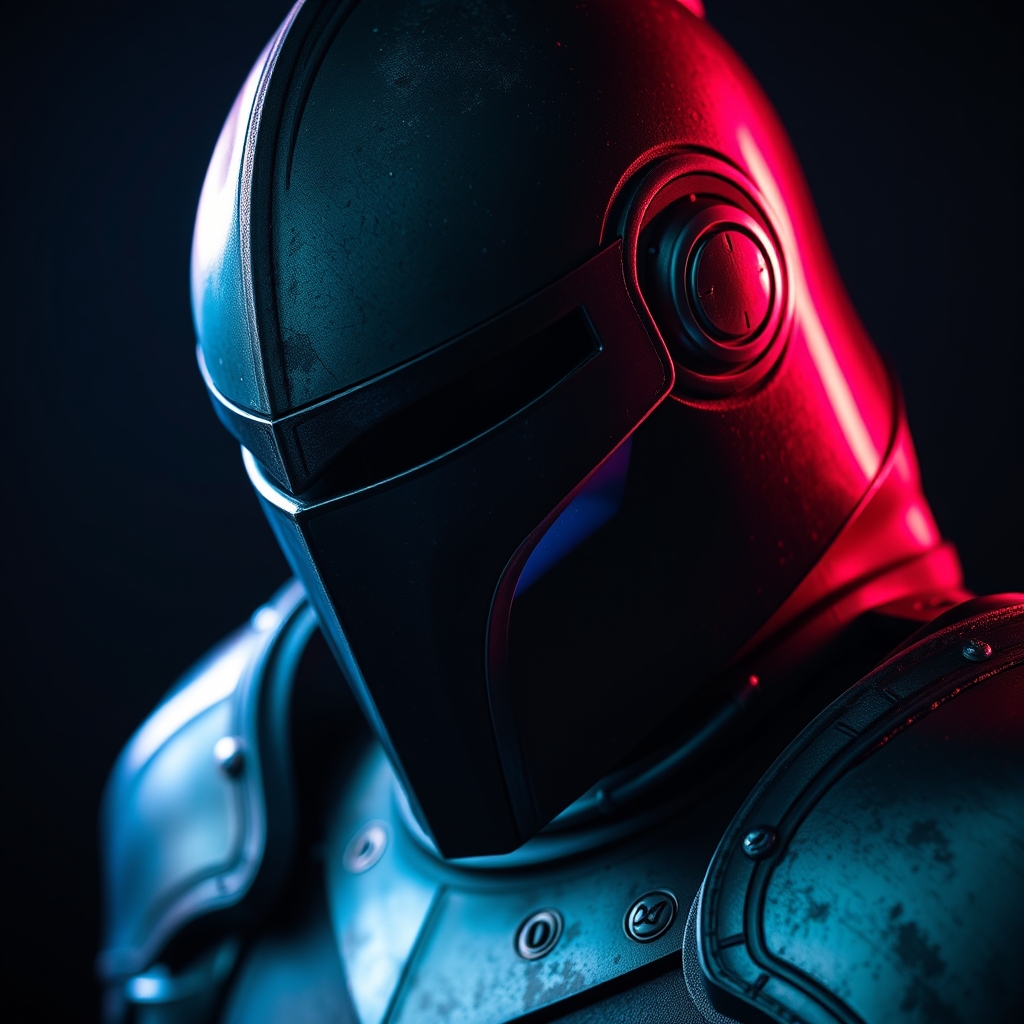
Weathering is a crucial step in creating realistic cosplay armor. It adds character and depth to your prop, transforming it from a shiny, new piece of equipment to a battle-worn and weathered relic. In this guide, we'll focus on two essential weathering techniques: drybrushing and washes. These methods are perfect for adding wear and tear to your cosplay armor, and with practice, you'll be able to achieve a realistic, battle-worn look.
Understanding Drybrushing
Drybrushing is a technique that involves brushing a almost-dry paintbrush with a small amount of paint onto a surface. This method is great for creating textured, rough effects, such as scratches, scuffs, and rust. To drybrush, you'll need a few simple materials:
- A paintbrush with stiff bristles (an old, worn-out brush works best)
- Acrylic paint (choose a color that matches the base coat of your armor or a color that you want to use for wear and tear)
- A palette or surface for mixing paint
To drybrush, start by loading the brush with a small amount of paint. Then, wipe most of the paint off on a paper towel or cloth, leaving only a hint of color on the brush. Brush the almost-dry brush over the surface of your armor, using light, gentle strokes. This will deposit a small amount of paint onto the surface, creating a textured, rough effect.
Tips for Effective Drybrushing
Here are a few tips to keep in mind when drybrushing:
- Use a light touch: Too much pressure can create a smooth, even coat, rather than a textured effect.
- Work in small areas: Drybrushing can be messy, so it's best to work in small areas to avoid getting paint everywhere.
- Experiment with different brushstrokes: Try using different brushstrokes, such as circular motions or back-and-forth strokes, to create different textures.
Understanding Washes
Washes are a technique that involves applying a thin layer of transparent paint or ink to a surface. This method is great for creating subtle, nuanced effects, such as shading, shadows, and grime. To create a wash, you'll need:
- Acrylic paint or ink (choose a color that you want to use for shading or grime)
- A solvent, such as water or a specialized thinner
- A paintbrush or sponge
To create a wash, start by mixing a small amount of paint or ink with a solvent. The ratio of paint to solvent will depend on the desired consistency of the wash – a thicker wash will be more opaque, while a thinner wash will be more transparent. Apply the wash to the surface of your armor using a paintbrush or sponge, working in small areas.
Tips for Effective Washes
Here are a few tips to keep in mind when working with washes:
- Start with a thin wash: You can always add more paint or ink to a wash, but it's harder to remove excess pigment.
- Work in small areas: Washes can be unpredictable, so it's best to work in small areas to avoid getting unwanted color or texture.
- Experiment with different solvents: Different solvents can change the consistency and texture of a wash, so try experimenting with different options to find the one that works best for you.
Combining Drybrushing and Washes
One of the most effective ways to add realism to your cosplay armor is to combine drybrushing and washes. By using these techniques together, you can create a battle-worn look that's full of texture, depth, and nuance. Here's an example of how to combine drybrushing and washes:
- Start by base-coating your armor with a smooth, even coat of paint.
- Use drybrushing to add textured, rough effects, such as scratches and scuffs.
- Apply a wash to the surface of your armor, using a solvent to thin the paint or ink.
- Use a sponge or cloth to blot excess wash and create subtle, nuanced effects.
By combining drybrushing and washes, you can create a realistic, battle-worn look that's sure to impress. Remember to experiment and have fun – weathering is all about creating unique, nuanced effects, so don't be afraid to try new things!
Conclusion
Mastering weathering techniques is a key part of creating realistic cosplay armor. By learning how to drybrush and apply washes, you can add texture, depth, and nuance to your prop, transforming it from a shiny, new piece of equipment to a battle-worn and weathered relic. With practice and patience, you'll be able to achieve a realistic, battle-worn look that's sure to impress. So why not give it a try? Grab some paint, a brush, and a solvent, and start weathering your way to a more realistic cosplay armor!