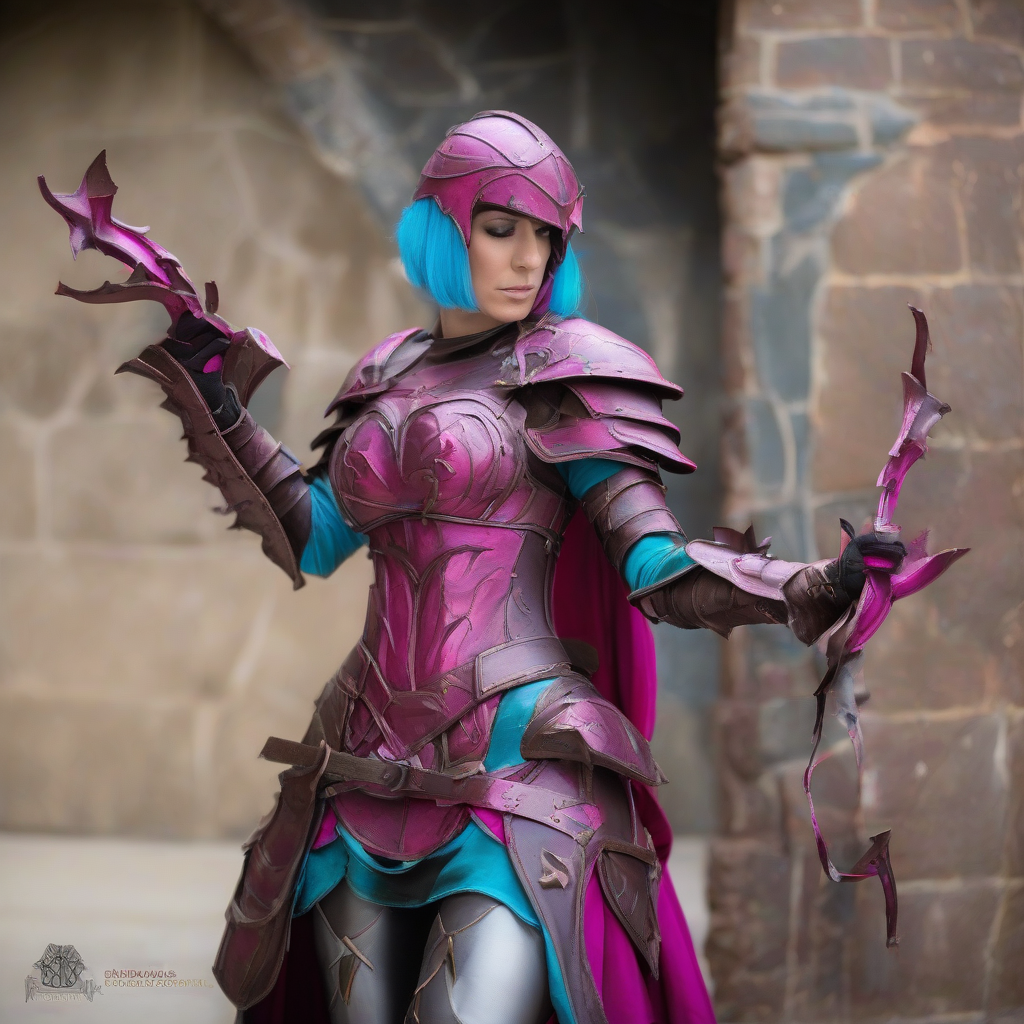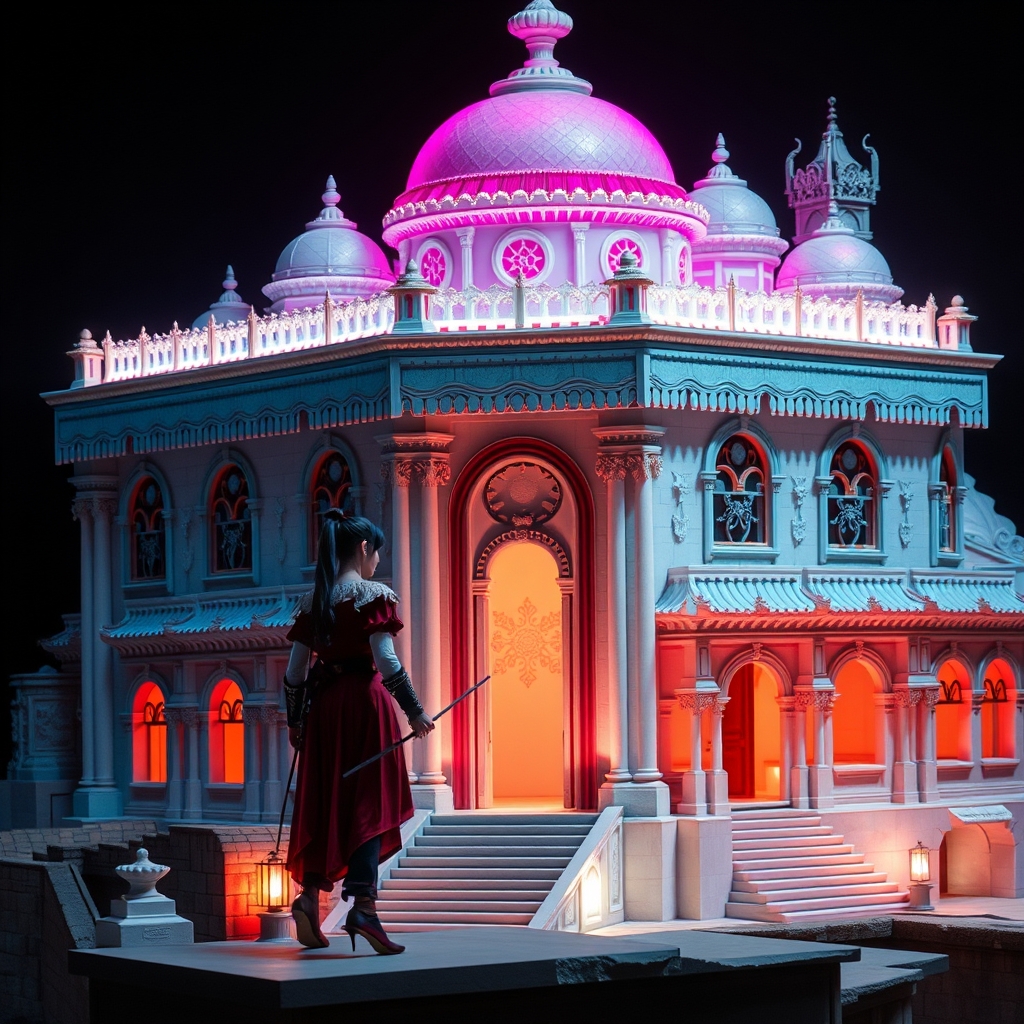
While most cosplayers focus on the character, the difference between a great photo and a cinematic experience often lies in the environment. Inazuma, the Electro nation of Genshin Impact, is defined by its striking blend of traditional Japanese aesthetics and fantastical, floating geometry. Whether you are building a miniature Torii gate for a photoshoot or a portable shrine backdrop for a convention stage, the challenge lies in recreating the intricate, lacquered look of Inazuman architecture without the weight of actual timber and stone.
Planning for Portability and Scale
The primary hurdle in set design is the "transportation paradox": you want the set to look massive, but it must fit through a standard door and into a vehicle. To achieve this, avoid building a single monolithic piece. Instead, utilize a modular system. Break your architectural design into panels—vertical pillars, horizontal lintels, and decorative roof eaves—that can be bolted together on-site.
When scaling, do not attempt to replicate a full-sized building. Instead, focus on suggestive architecture. A single, highly detailed corner of a shrine or a floating platform segment can communicate the entire vibe of Inazuma. Use a scale of 1:2 or 1:3 for large structural elements to ensure they remain manageable while still framing the cosplayer effectively.
The Skeleton: Choosing Your Core Materials
For Inazuman structures, which often feature sharp angles and heavy overhangs, a hybrid core is essential. High-density EVA foam (around 100kg/m3) provides the bulk of the structure, while PVC piping or wooden dowels provide the necessary rigidity to prevent sagging.
- High-Density EVA Foam: Use 10mm to 20mm sheets for the main walls and pillars. This provides a sturdy base that is lightweight and easy to cut.
- PVC Pipe: Integrate PVC pipes inside the foam pillars. This prevents the "wobble" common in large foam builds and allows you to create secure attachment points for other modules.
- Corrugated Plastic (Coroplast): For large flat surfaces like sliding shoji screens, use Coroplast as a backing to prevent the foam from bowing over time.
Building the Base Frame
- Cut your EVA foam into the primary rectangular shapes of your pillars.
- Carve a channel down the center of the foam to house your PVC pipe.
- Glue the pipe in place using a high-temp contact cement, ensuring the pipe extends slightly past the foam at the top and bottom for interlocking joints.
Detailing with Worbla and Thermoplastics
The hallmark of Inazuman design is the ornate carving and gold-leaf trim found on the edges of buildings. EVA foam is great for bulk, but it lacks the crispness required for these fine details. This is where Worbla or other heat-moldable thermoplastics become indispensable.
To create the characteristic "curved" eaves of Inazuman roofs, cut a base shape out of foam, then overlay it with a thin layer of Worbla. Heat the thermoplastic with a heat gun until it is pliable, then mold it into the sweeping, elegant curves seen in the Tenshukaku. Because Worbla retains its shape once cooled, it provides a structural rigidity that foam cannot achieve alone.
Adding Architectural Ornamentation
For the intricate floral or geometric carvings, avoid carving directly into the foam. Instead, create relief panels. Cut small shapes out of 2mm Worbla, heat them to create depth, and glue them onto the foam surface. This creates a 3D effect that catches the light, mimicking the look of carved wood. Once the shapes are set, you can sand the edges for a seamless transition between the ornament and the main structure.
Achieving the Inazuman Palette: Painting and Finishing
Inazuma's color palette is a sophisticated mix of deep vermillion, royal purple, and shimmering gold. To make foam look like lacquered wood or polished stone, you must prepare the surface correctly. Foam is porous and will "drink" paint, leading to a flat, matte finish that looks like plastic rather than architecture.
The Priming Process
Start with a flexible primer. A mixture of PVA glue and water (or a dedicated foam primer like Plasti Dip) is essential to seal the pores. For the high-gloss "lacquered" look typical of Japanese shrines, apply 3-4 thin coats of primer, sanding lightly between each layer with 400-grit sandpaper.
Layering Colors
- The Base Coat: Apply a satin-finish acrylic in your primary color (e.g., deep red).
- The Weathering: Use a "black wash" (heavily diluted black acrylic paint) in the crevices of your Worbla carvings. This adds artificial age and depth, making the set look like it exists in a world with history.
- The Metallic Trim: Use a high-pigment gold wax or acrylic paint for the trim. To achieve a professional look, apply the gold, then lightly brush over it with a dark brown glaze to simulate tarnished gold leaf.
- The Top Coat: Finish the structural elements with a high-gloss clear coat to give them that signature polished, reflective quality.
Assembly and Stability for Conventions
A set piece is only useful if it stays standing. For convention environments, where crowds can accidentally bump into your display, stability is paramount. Use sandbag weights hidden inside the bases of your pillars. If your set includes a platform, ensure it is built with a wide footprint to lower the center of gravity.
To connect your modular pieces, use "L-brackets" or simple bolt-and-nut systems through the PVC cores. This allows you to disassemble the entire set into flat-packed pieces for transport. Finally, if you are incorporating lighting—such as the soft glow of Electro crystals—integrate LED strips into the recessed areas of your Worbla carvings, diffusing the light with a thin layer of frosted acrylic or white foam.
By combining the structural efficiency of EVA foam with the artistic precision of Worbla, you can transform a simple cosplay presentation into a fully immersive Inazuman landscape, bringing the Eternal City to life on any stage.