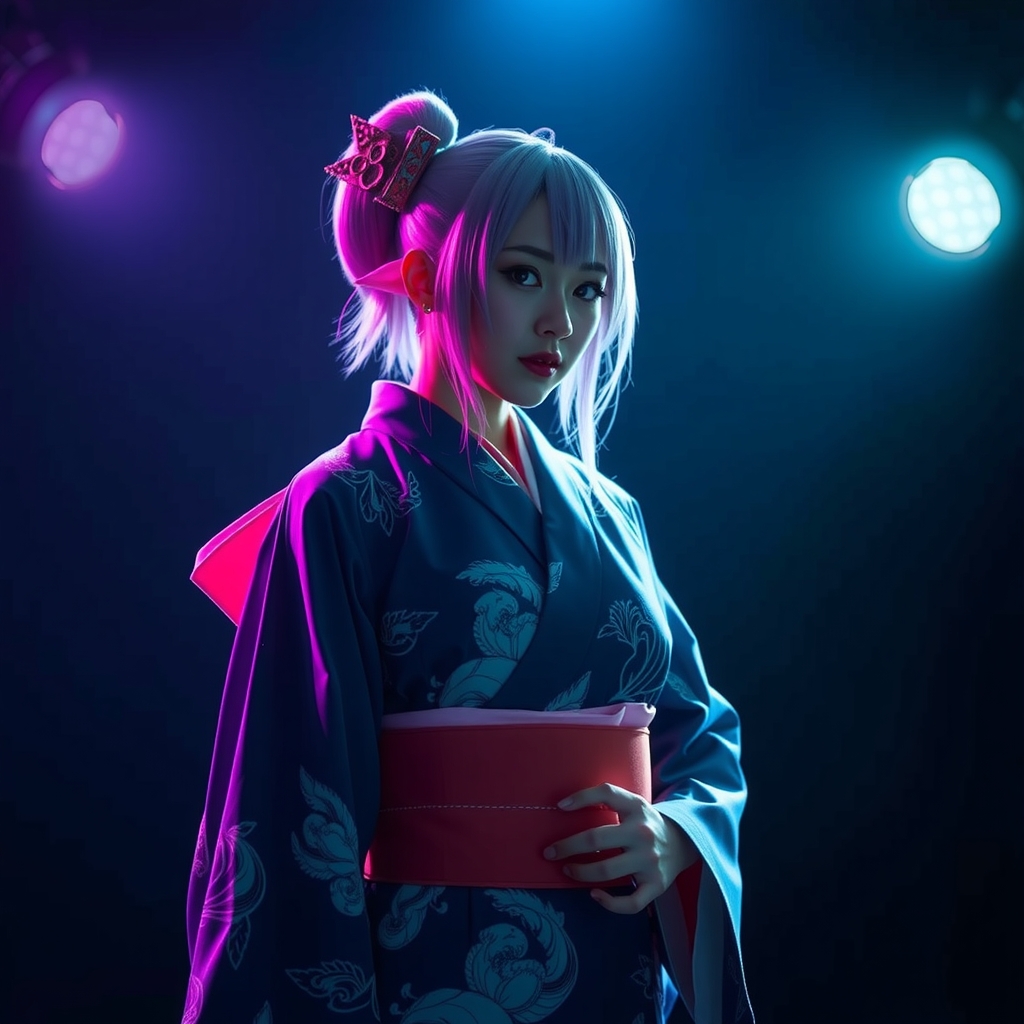
Adapting a traditional Japanese kimono for a cosplay project requires a delicate balance between cultural respect and the exaggerated aesthetics of anime. While a standard kimono follows a strict geometric construction based on rectangular bolts of fabric, anime designs often introduce impossible silhouettes, dramatic flares, and non-traditional layering. To successfully translate these designs into wearable art, a builder must understand the fundamental structure of the garment and where to strategically deviate from tradition to achieve a character's specific look.
Understanding the Basic Architecture
The foundation of any kimono-style garment is the tanmono, the traditional bolt of fabric. Unlike Western tailoring, which uses curved seams to fit the contours of the body, traditional Japanese garments are constructed primarily from straight lines and rectangles. This creates a boxy silhouette that relies on the waist sash, or obi, to create shape.
When analyzing an anime character's outfit, first determine if the garment is a true kimono, a yukata (lightweight cotton), or a haori (an open-front jacket). If the character's outfit features dramatic curves or a tight fit, you are no longer building a traditional garment, but rather a "kimono-inspired" costume. In these cases, you can introduce darts and contoured seams, but keeping the wide, square sleeves is essential to maintaining the visual identity of the piece.
Fabric Selection for Stylized Silhouettes
The drape of your fabric determines how the garment moves and how well it holds the "anime" shape. Traditional silk is beautiful but slippery and difficult to structure. For cosplayers, the choice of fabric should depend on the desired stiffness of the garment.
- Cotton and Linen Blends: Ideal for yukata or casual character wear. These fabrics provide a matte finish and hold creases well, which is useful for sharp collar lines.
- Heavyweight Satin or Duchess Satin: Best for formal or royal characters. These fabrics have a natural sheen and enough weight to hang straight, mimicking the look of heavy silk.
- Polyester Crepe: A versatile choice that resists wrinkling during conventions while providing a soft, fluid movement for long sleeves.
- Interfacing and Stabilizers: To achieve the stiff, architectural collars often seen in anime, apply a heavy-weight fusible interfacing to the eri (collar) and the sleeve hems. This prevents the fabric from collapsing and maintains the character's silhouette.
Adapting the Sleeves and Collar
The most iconic element of the kimono is the sleeve. In anime, these are often exaggerated—either trailing on the floor or ending in sharp, dramatic angles. To prevent long sleeves from becoming a hazard at conventions, consider integrating hidden supports.
For oversized sleeves, sew a lightweight horsehair braid into the hem. This adds structural integrity, preventing the fabric from clinging to the arms and helping the sleeve maintain its rectangular shape. If the character's sleeves are exceptionally long, you can create a "hidden loop" system: attach a small ribbon loop inside the sleeve that hooks around your middle finger, allowing you to lift the fabric easily when walking.
The collar is another area where anime departs from tradition. While a real kimono collar sits away from the neck, anime designs often feature high, stiff collars or deep, plunging V-necks. To achieve a high-standing collar, use a plastic boning strip or a thick layer of buckram inside the collar seam. This ensures the fabric stands upright without folding over during movement.
The Obi and Waist Construction
The obi is more than just a belt; it is the structural anchor of the entire outfit. In many anime designs, the obi is depicted as an impossibly wide or perfectly flat band. Achieving this requires internal reinforcement.
Avoid using thin fabric for the obi, as it will wrinkle and bunch under the weight of the kimono. Instead, construct the obi using a sandwich method: a layer of decorative outer fabric, a core of stiff interfacing or thin foam, and a lining fabric. For characters with complex bow designs (like the taiko musubi), do not attempt to tie the bow with the actual belt. Instead, craft the bow as a separate, pre-shaped piece and sew it directly onto the obi. This ensures the bow remains symmetrical and secure throughout the day.
Managing Layering and Volume
Many anime characters wear multiple layers, such as a nagajuban (under-robe) beneath a kimono, topped with a haori. Layering multiple full-length garments can lead to overheating and bulkiness around the shoulders.
To streamline the look, use "cheat" layering. Instead of sewing three full garments, sew the collar and sleeve cuffs of the under-layer directly to the main kimono. This creates the illusion of multiple layers while reducing the amount of fabric against the skin. If the character has a voluminous lower half, consider adding a lightweight petticoat or a hoop skirt beneath the kimono to push the fabric outward, creating that flared, bell-shaped silhouette common in stylized art.
Finishing Touches and Maintenance
Because kimono-style garments involve large expanses of fabric, they are prone to snagging and wrinkling. To maintain the garment, always hang it on a wide, padded hanger to avoid creating "shoulder nipples" in the fabric. Use a garment steamer rather than a traditional iron, as steamers are gentler on the synthetic fabrics typically used in cosplay.
Finally, pay attention to the hem. A traditional kimono hem is straight, but for cosplay, you may want to add a weighted hem tape. This ensures that the garment doesn't billow uncontrollably in the wind or get caught in your footwear, allowing you to maintain the character's poise and grace during a photoshoot or panel appearance.