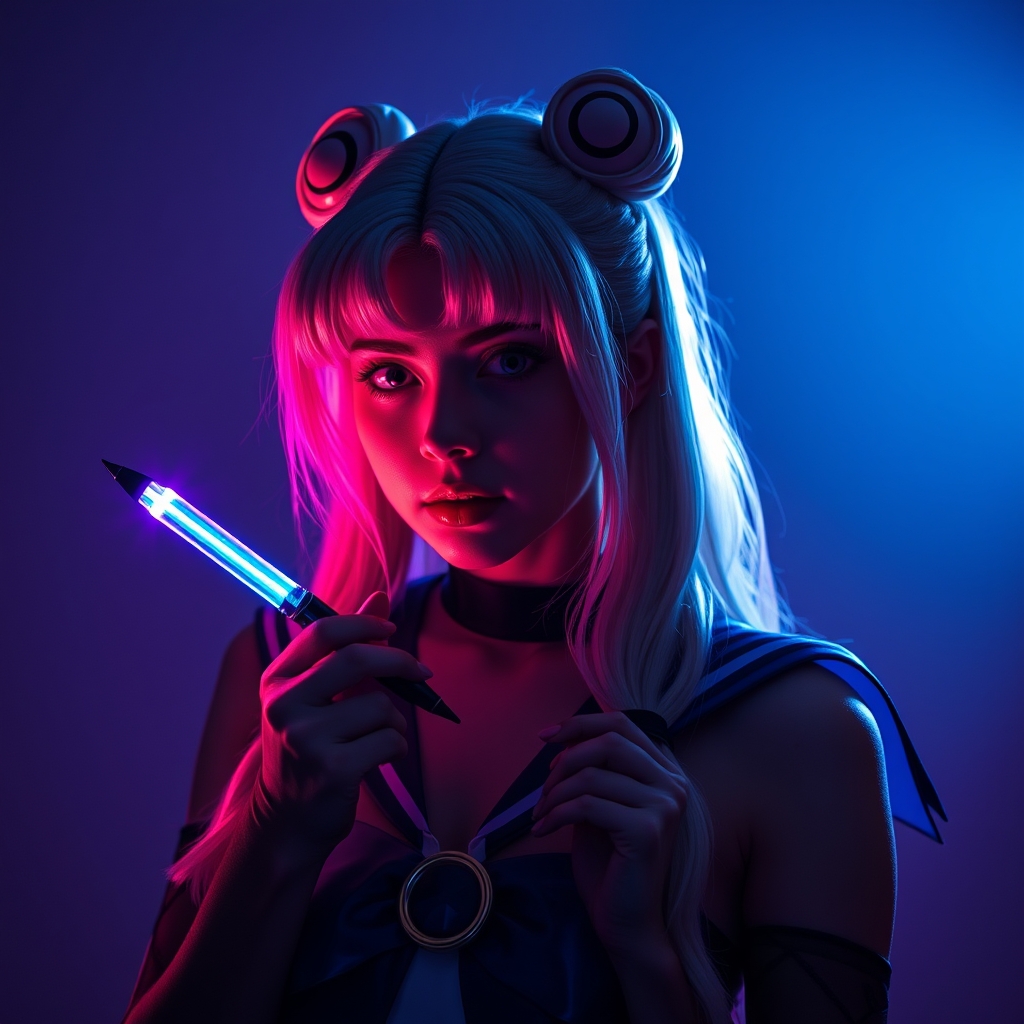
For many cosplayers, the "transformation pen" is the quintessential accessory of a Sailor Moon ensemble. However, the market is often split between two extremes: cheap, lightweight plastic toys that lack detail and expensive, limited-edition replicas that cost more than the rest of the costume combined. To achieve a professional, "screen-accurate" look, the secret lies in a hybrid approach. By combining the precision of 3D printing with the optical clarity of resin and a disciplined painting process, you can create a prop that feels heavy in the hand and glows with cinematic quality.
Phase 1: Designing for Durability and Detail
The biggest mistake beginners make is printing the pen as a single, solid piece. Because transformation pens are long and thin, they are prone to snapping at the neck or the base of the gem. To avoid this, you must design your model in modular components.
The Modular Breakdown
- The Base Handle: This should be the thickest part of the print, providing the structural integrity.
- The Neck/Ring: Print this separately so you can sand the seam perfectly before assembly.
- The Gem/Crystal: Do not print this in standard PLA or PETG. Print this as a "shell" or a hollow cavity to be filled with clear casting resin.
- The Topper: The decorative elements (like the crescent moon) should be printed with high resolution to capture the fine filigree.
When slicing your model, use a higher layer height for the internal handle but switch to 0.1mm or lower for the decorative topper. If you are using an FDM printer, orient the parts vertically to minimize the need for support structures on visible surfaces, though a resin (SLA) printer is highly recommended for the intricate details of the moon crown.
Phase 2: The Secret to the "Crystal" Look
A 3D-printed gem, even when printed in "transparent" filament, often looks milky or frosted. To get that deep, refractive glass look, you need to employ a resin casting technique. Instead of printing a solid gem, print a "mold" or a thin-walled vessel that acts as a container for UV-curable resin.
The Process:
- Sanding the Interior: Ensure the inside of your printed gem cavity is smooth. Any ridges from the 3D print will be magnified once the resin is poured.
- The Pour: Use a high-quality, clear UV resin. Pour it slowly to avoid trapping air bubbles. If bubbles appear, a quick pass with a butane torch or a heat gun will pop them instantly.
- Toning the Color: Do not use thick acrylic paint for the color. Instead, mix a tiny drop of alcohol-based ink or resin pigment into the clear resin before curing. This creates a translucent, "deep" color that allows light to pass through, mimicking a real gemstone.
- Curing: Use a UV lamp for a hard, durable finish. Once cured, sand the exterior of the gem with high-grit wet sandpaper (up to 3000 grit) and finish with a clear gloss compound.
Phase 3: Surface Preparation and "The Gap"
The difference between a "3D print" and a "prop" is the absence of layer lines. No matter how high your resolution is, the human eye can detect the stepping of a print. To achieve a factory-smooth finish, you must move through a rigorous sanding and filling cycle.
Start with 120-grit sandpaper to knock down the largest ridges. Once the shape is true, move to 220-grit. For the deep crevices of the Sailor Moon motifs, use a filler primer. Filler primer is a high-build spray that fills in the microscopic gaps between layers. After the primer dries, sand it back with 400-grit. Repeat this process—prime, sand, prime, sand—until the surface feels like polished stone. If you see a "pit" or a gap where two modular pieces meet, use a two-part epoxy putty to fill the seam, let it cure, and sand it flush.
Phase 4: Achieving the Metallic Sheen
The gold and silver elements of a transformation pen must look like metal, not painted plastic. The key here is the base coat and the choice of paint.
The Painting Workflow
- The Base Coat: Apply a gloss black primer. This is the industry secret for metallic paints; a dark, glossy base makes the gold "pop" and gives it a reflected depth.
- The Metallic Layer: Avoid standard "gold" acrylics, which often look like mustard yellow. Instead, use a high-pigment metallic spray or an airbrushed lacquer. For a luxury look, apply a gold leafing paint or a chrome-finish marker in the deepest recesses.
- The Clear Coat: To protect the paint and add a professional luster, apply a UV-resistant clear gloss. If you want a more "antique" look, use a satin finish, but for Sailor Moon, a high-gloss "candy" finish is usually the goal.
Phase 5: Final Assembly and Weighting
A prop that feels too light can feel like a toy. To give your transformation pen a premium, weighted feel, incorporate a "core" during the assembly phase. Before gluing your modular pieces together, slide a heavy-duty metal rod or a few weighted slugs into the handle section.
Use a strong cyanoacrylate (CA) glue for the structural bonds. However, for the gem, use a small amount of clear epoxy. This ensures that the gem is securely fastened but doesn't leave a visible glue residue that could cloud the transparency. Once the pieces are joined, do a final "touch-up" with a fine-tip brush to fill in any gaps created during the gluing process.
By treating the transformation pen as a piece of jewelry rather than a plastic toy, you elevate the entire cosplay. The combination of 3D precision, resin transparency, and a disciplined painting regimen transforms a simple accessory into a centerpiece that captures the magic of the anime.