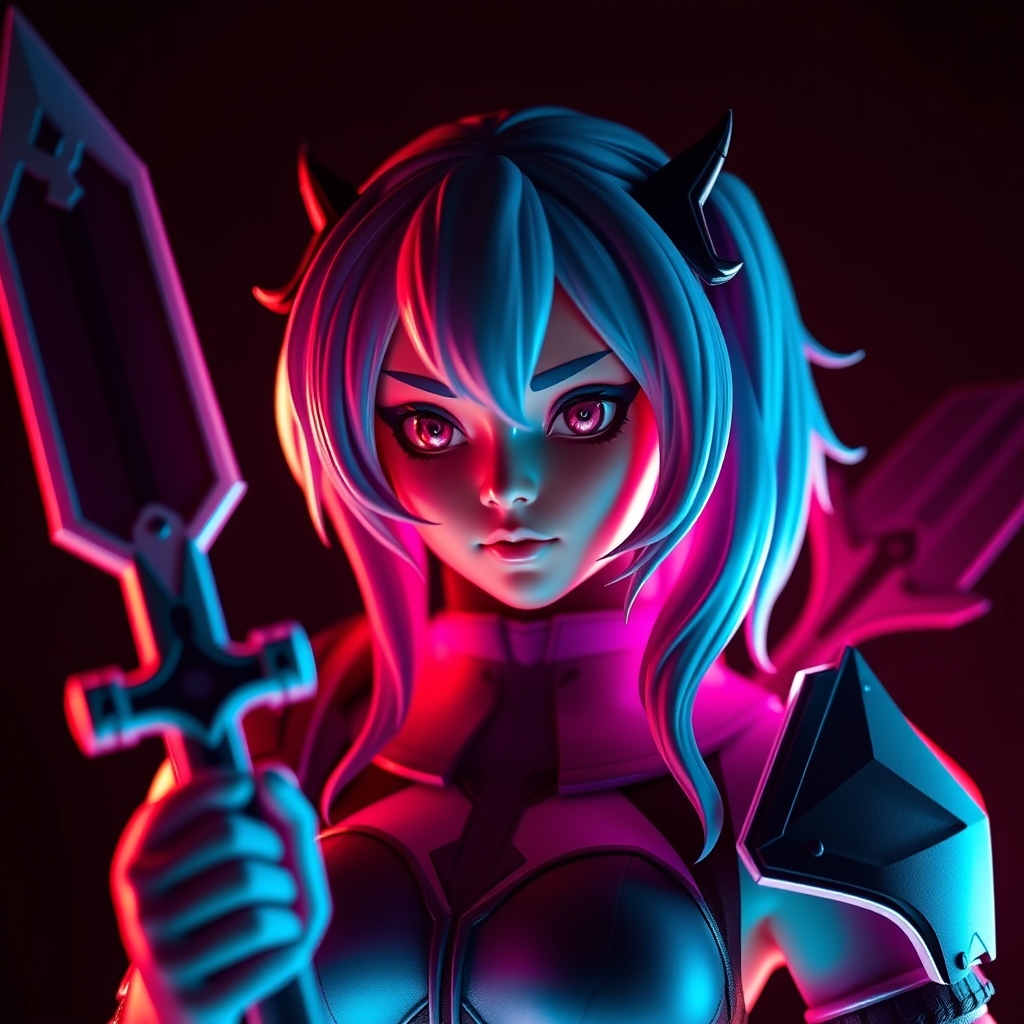
Introduction to 3D Printed Cosplay Miniatures
Miniatures have long been a staple of cosplay, allowing creators to add intricate details and personalized touches to their costumes. With the advent of 3D printing technology, cosplayers can now create highly realistic and complex miniatures with unprecedented ease and accuracy. In this guide, we'll walk you through the process of designing and printing 3D miniatures for cosplay, covering the essential tools, techniques, and tips for achieving hyper-realism.
Designing Your Miniature
Before diving into 3D printing, it's essential to develop a solid design concept. Start by researching your character and gathering reference images from various angles. This will help you identify key features, textures, and proportions that you want to capture in your miniature.
- Choose a 3D modeling software that suits your skill level, such as Blender (free), Tinkercad (free), or Fusion 360 (paid).
- Create a new project and set up your workspace with the desired units and scale.
- Use reference images to block out the basic shape and proportions of your miniature.
For complex designs, consider breaking down your model into smaller components, such as separate pieces for armor, accessories, or facial features. This will make it easier to work on individual parts and ensure a more accurate final product.
Modeling Techniques
When modeling your miniature, focus on achieving smooth, organic curves and crisp, clean lines. Use techniques like extrusions, sweeps, and lofts to create complex shapes, and don't be afraid to experiment with different tools and modifiers.
- Use a combination of push-pull and edge extrusion tools to create detailed textures and patterns.
- Apply subdivision surfaces or smooth modifiers to achieve a more organic, rounded appearance.
- Pay attention to polygon count and optimize your model for 3D printing by reducing unnecessary complexity.
3D Printing and Slicing
Once you've finalized your design, it's time to prepare it for 3D printing. Choose a suitable printer and filament material, taking into account factors like resolution, strength, and color.
- Popular 3D printing materials for cosplay miniatures include PLA, ABS, and resin.
- Configure your slicer software (e.g., Cura, Slic3r) with the recommended settings for your printer and material.
- Export your model as an STL file and import it into your slicer software.
Adjust the slicing settings to achieve the desired level of detail and print speed. For hyper-realistic miniatures, it's often necessary to use a higher resolution and slower print speed.
Post-Processing Techniques
After printing, your miniature will likely require some post-processing to achieve a smooth, realistic finish.
- Remove any support material and sand the surface to smooth out layer lines.
- Apply a primer or base coat to create a uniform base tone.
- Use acrylic paints or weathering powders to add color, shading, and texture.
For added realism, consider applying a clear coat or varnish to protect the finish and give it a glossy appearance.
Tips and Tricks for Achieving Hyper-Realism
To take your 3D printed miniatures to the next level, keep the following tips in mind:
- Study the work of other artists and miniatures makers to learn new techniques and gain inspiration.
- Pay attention to scale and proportion, ensuring that your miniature accurately represents the character.
- Experiment with different materials and finishes to achieve a unique, realistic look.
By following these guidelines and practicing your skills, you'll be well on your way to creating stunning, hyper-realistic 3D printed miniatures that will elevate your cosplay to new heights.