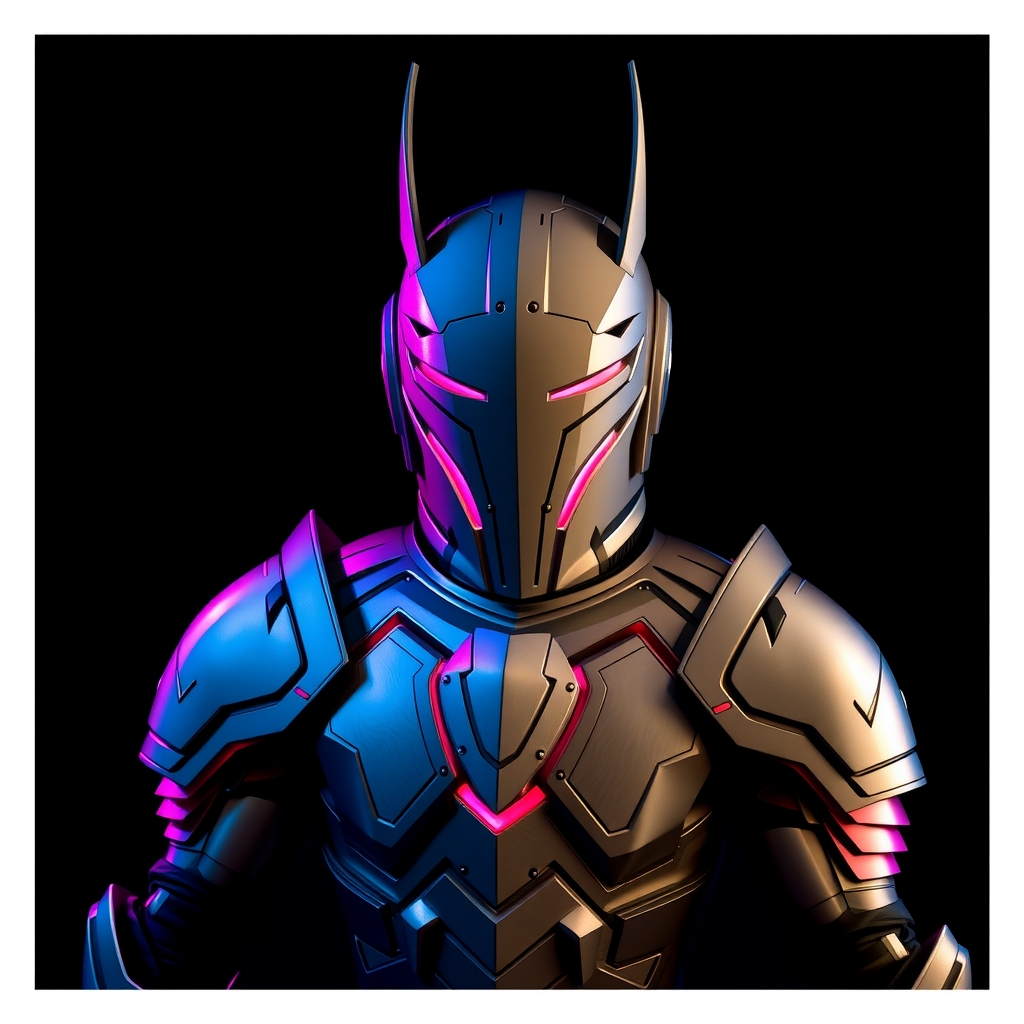
Introduction to Interactive Cosplay Props
As cosplayers, we're constantly seeking innovative ways to bring our characters to life. One exciting trend is the integration of technology into cosplay props, allowing for interactive and immersive experiences. In this guide, we'll explore how to create interactive cosplay props using Arduino and sensors, perfect for those with basic electronics knowledge and a desire to push the boundaries of prop making.
Getting Started with Arduino
Arduino is a microcontroller platform that enables you to create interactive projects. For cosplay prop making, we'll focus on the Arduino Uno, a popular and user-friendly board. To get started, you'll need:
- An Arduino Uno board
- A USB cable for programming
- The Arduino IDE software (free download)
- Basic electronics tools (e.g., wire strippers, pliers)
Familiarize yourself with the Arduino IDE and the Uno board's components. Online resources, tutorials, and communities are available to help you learn the basics.
Choosing the Right Sensors
Sensors are crucial for creating interactive props. They detect environmental changes, such as light, sound, or movement, and send signals to the Arduino board. Some popular sensors for cosplay props include:
- Infrared (IR) sensors for detecting proximity or movement
- Light-dependent resistors (LDRs) for sensing light levels
- Accelerometers for measuring acceleration and orientation
- Microphones for detecting sound levels
When selecting a sensor, consider the prop's intended interaction and the environment in which it will be used.
Designing and Building Interactive Props
With your Arduino board and sensors in hand, it's time to design and build your interactive prop. Consider the following steps:
- Conceptualize your prop's interaction: How will the user interact with the prop? What effects do you want to achieve?
- Choose a suitable sensor: Select a sensor that aligns with your prop's interaction and environment.
- Design the prop's electronics: Plan the circuitry and wiring for your sensor and Arduino board.
- Build the prop's structure: Use materials like foam, Worbla, or 3D printing to create the prop's shape and enclosure.
- Integrate the electronics: Install the Arduino board, sensor, and wiring within the prop.
- Program the Arduino: Write code to read sensor data and control the prop's behavior.
Example Project: Interactive Lightsaber
Let's create an interactive lightsaber prop that responds to sound and movement. We'll use:
- An Arduino Uno board
- A microphone sensor
- An accelerometer
- LED strips for the lightsaber blade
When the user moves the lightsaber or makes sound effects, the prop will change its LED pattern and brightness. This project demonstrates how to integrate multiple sensors and effects to create an immersive experience.
Tips and Best Practices
When working with electronics and interactive props, keep the following tips in mind:
- Use proper safety precautions when working with electricity and electronics.
- Test your prop in a controlled environment before taking it to a convention or event.
- Consider power sources and battery life for your prop.
- Make sure your prop is durable and can withstand handling and transportation.
Conclusion and Resources
With Arduino and sensors, you can unlock a new world of interactive and immersive cosplay props. Remember to experiment, learn, and share your creations with the cosplay community. For further guidance and inspiration, explore online resources, such as:
- Arduino official website and tutorials
- Adafruit and SparkFun electronics resources
- Cosplay communities and forums
- YouTube tutorials and prop-making channels