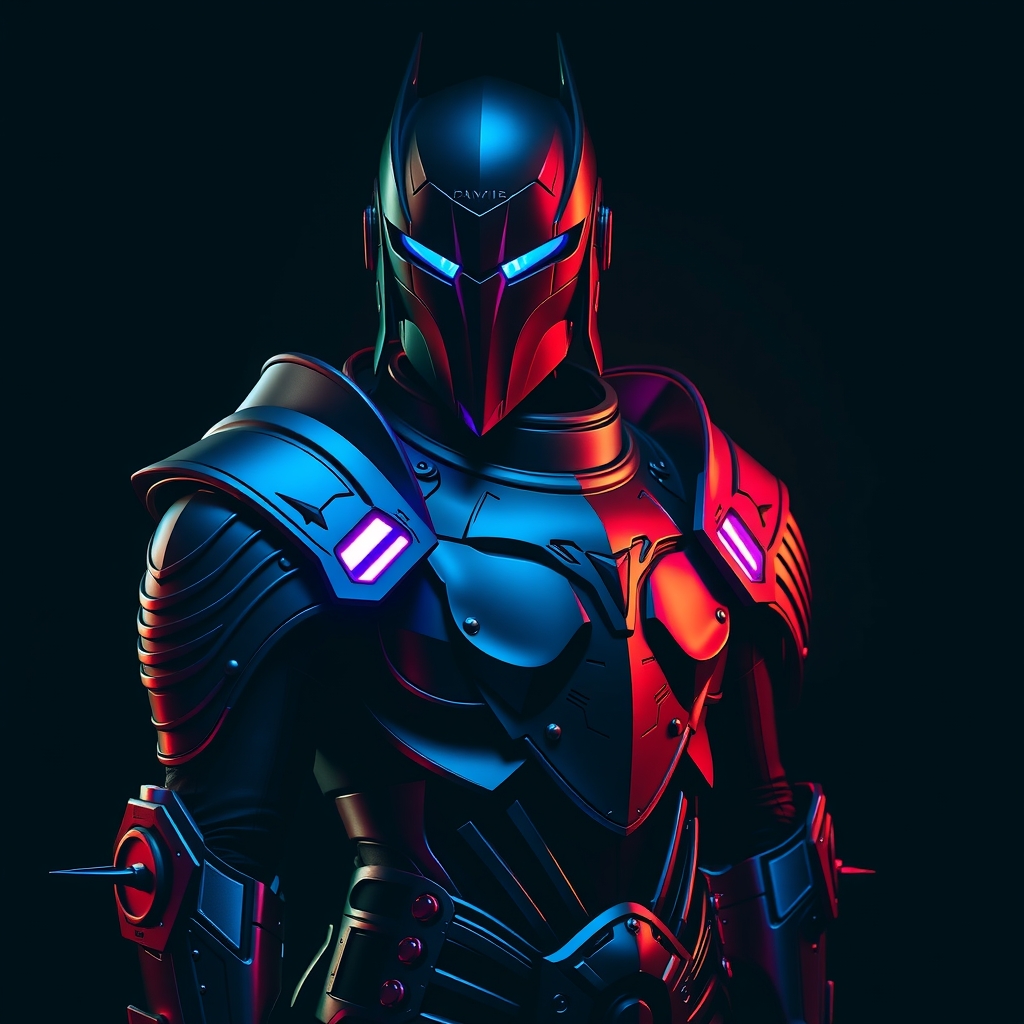
Introduction to Video Game-Inspired Cosplay Armor
Creating cosplay armor inspired by video games can be a challenging but rewarding experience. With the advancements in 3D printing technology and thermoplastic materials like Worbla, it's now possible to craft intricate and detailed armor pieces that were previously difficult or impossible to achieve. In this guide, we'll walk you through the step-by-step process of designing, 3D printing, and finishing video game-inspired cosplay armor using 3D printing and Worbla.Designing Your Armor
The first step in creating your cosplay armor is to design the pieces. You can use computer-aided design (CAD) software or 3D modeling programs like Blender or Tinkercad to create your design. When designing your armor, consider the following factors:- Reference images: Collect reference images of the armor from different angles to ensure accuracy.
- Scale: Make sure your design is proportional to your body.
- Material thickness: Consider the thickness of the material you'll be using and design accordingly.
- Articulation: Think about how you'll be able to move and articulate the different pieces.
3D Printing Your Armor
Once you have your design, it's time to 3D print your armor pieces. When choosing a 3D printing method, consider the following:- Resolution: Choose a resolution that balances detail and print time.
- Material: Select a material that's suitable for your design and Worbla finishing process.
- Support material: Use support material when necessary to prevent damage to your print.
Preparing Your Prints for Worbla
After 3D printing your armor pieces, you'll need to prepare them for Worbla finishing. This involves:- Removing support material: Carefully remove any support material from your prints.
- Sanding: Sand your prints to smooth out any rough edges or surfaces.
- Cleaning: Clean your prints thoroughly to remove any dirt or debris.
Applying Worbla
Worbla is a thermoplastic material that's commonly used to finish and add details to 3D printed cosplay armor. To apply Worbla, follow these steps:- Cutting Worbla: Cut Worbla into manageable pieces.
- Heating Worbla: Use a heat gun or Worbla-specific heat tool to heat the Worbla.
- Applying Worbla: Apply the heated Worbla to your armor pieces, smoothing out any wrinkles or bubbles.
Finishing and Details
The final step in creating your cosplay armor is to add finishing touches and details. This can include:- Painting: Use acrylic paint or airbrushes to add color and details.
- Edge highlighting: Use a hobby knife or sandpaper to create edge highlights.
- Adding electronics: Add LED lights, EL wire, or other electronics to create a more dynamic look.
Conclusion
Creating cosplay armor with 3D printing and Worbla requires a combination of design, printing, and finishing skills. With this guide, you'll be well on your way to crafting intricate and detailed armor pieces that will bring your video game-inspired cosplay to life. Remember to experiment, practice, and have fun with the process!For more information on 3D printing and Worbla, check out online resources like Thingiverse and Worbla.