## Introduction to Immersive Cosplay
The world of cosplay is no longer limited to simple costumes and props. As technology advances, cosplayers are continually pushing the boundaries of creativity and innovation. One of the most effective ways to bring a character to life is by incorporating projection mapping and LED lighting into your cosplay. In this guide, we'll explore the basics of these techniques and provide a step-by-step guide on how to integrate them into your gaming cosplay.
## Understanding Projection Mapping
Projection mapping is a technique that uses projectors to display images or videos onto a surface, creating the illusion of movement or change. This technology has been used in various fields, including art, architecture, and entertainment. In cosplay, projection mapping can be used to add dynamic effects to a costume or prop, such as glowing eyes, moving patterns, or simulated flames.
### Choosing the Right Equipment
To get started with projection mapping, you'll need a few pieces of equipment:
* A projector: Choose a projector that is compact, lightweight, and has a high brightness rating. LED projectors are ideal for cosplay due to their small size and low power consumption. * A computer or control device: You'll need a device to control the projector and display your content. This can be a laptop, smartphone, or a dedicated device like an Arduino or Raspberry Pi. * A surface to project onto: This can be a costume piece, prop, or even a mask. Make sure the surface is smooth and even for the best results.
## Working with LED Lighting
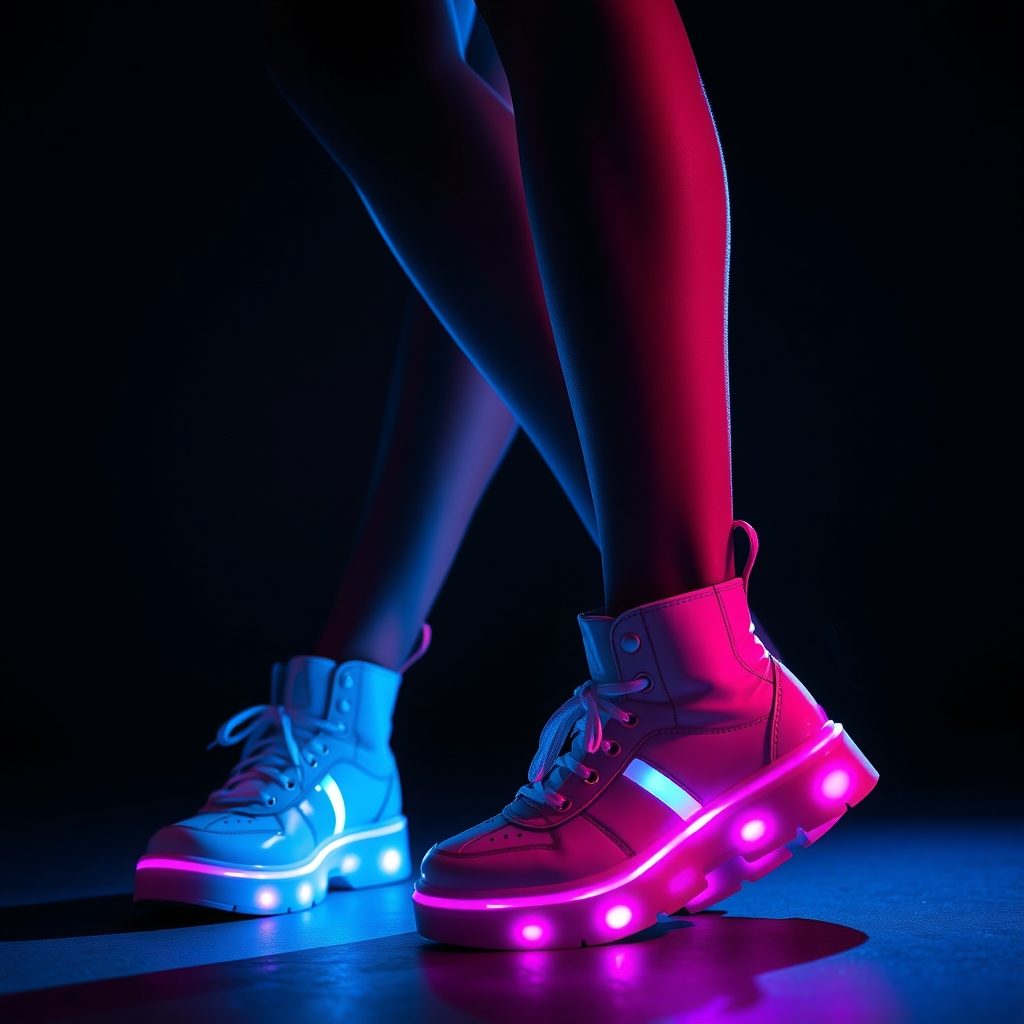
LED lighting is a popular choice for cosplay due to its energy efficiency, durability, and versatility. LEDs can be used to create a wide range of effects, from simple glow effects to complex animations.
### Choosing the Right LEDs
When selecting LEDs for your cosplay, consider the following factors:
* Color temperature: Choose LEDs that match the color scheme of your character or costume. * Brightness: Select LEDs with adjustable brightness to achieve the desired effect. * Power source: Make sure you have a reliable power source for your LEDs, such as batteries or a USB connection.
## Integrating Projection Mapping and LED Lighting into Your Cosplay
Now that we've covered the basics of projection mapping and LED lighting, let's dive into the process of integrating these technologies into your cosplay.
### Step 1: Design and Planning
Before you start building, take some time to plan and design your cosplay. Consider the following:
* Character research: Study your character's appearance, personality, and abilities to get inspiration for your design. * Costume design: Sketch out your costume design and think about how you can incorporate projection mapping and LED lighting into your design.
### Step 2: Building and Prototyping
Once you have a solid design plan, it's time to start building. Here are some steps to follow:
* Create a prototype: Build a prototype of your costume piece or prop to test your projection mapping and LED lighting effects. * Choose your materials: Select materials that are lightweight, durable, and suitable for your design.
### Step 3: Adding Projection Mapping
With your costume piece or prop built, it's time to add projection mapping:
* Set up your projector: Attach your projector to your costume or prop and adjust the focus and brightness to achieve the desired effect. * Create your content: Design and create your projection mapping content, such as animations or images, using software like Adobe After Effects or Blender.
### Step 4: Adding LED Lighting
Finally, it's time to add LED lighting to your cosplay:
* Wire your LEDs: Connect your LEDs to a power source and add any necessary controls, such as a switch or dimmer. * Test and adjust: Test your LED lighting effects and adjust as needed to achieve the desired effect.
## Tips and Tricks
Here are some additional tips and tricks to keep in mind when working with projection mapping and LED lighting:
* Practice makes perfect: Test your effects and make adjustments as needed to achieve the desired result. * Keep it simple: Don't overcomplicate your design – sometimes simple effects can be just as effective as complex ones. * Safety first: Make sure your costume and props are safe to wear and use, and follow proper safety precautions when working with electronics.
## Conclusion
Projection mapping and LED lighting can elevate your gaming cosplay to the next level, creating an immersive and engaging experience for both the wearer and the audience. By following these steps and tips, you can bring your character to life and take your cosplay to new heights. Whether you're a seasoned cosplayer or just starting out, we hope this guide has inspired you to experiment with these exciting technologies and push the boundaries of what's possible in the world of cosplay.