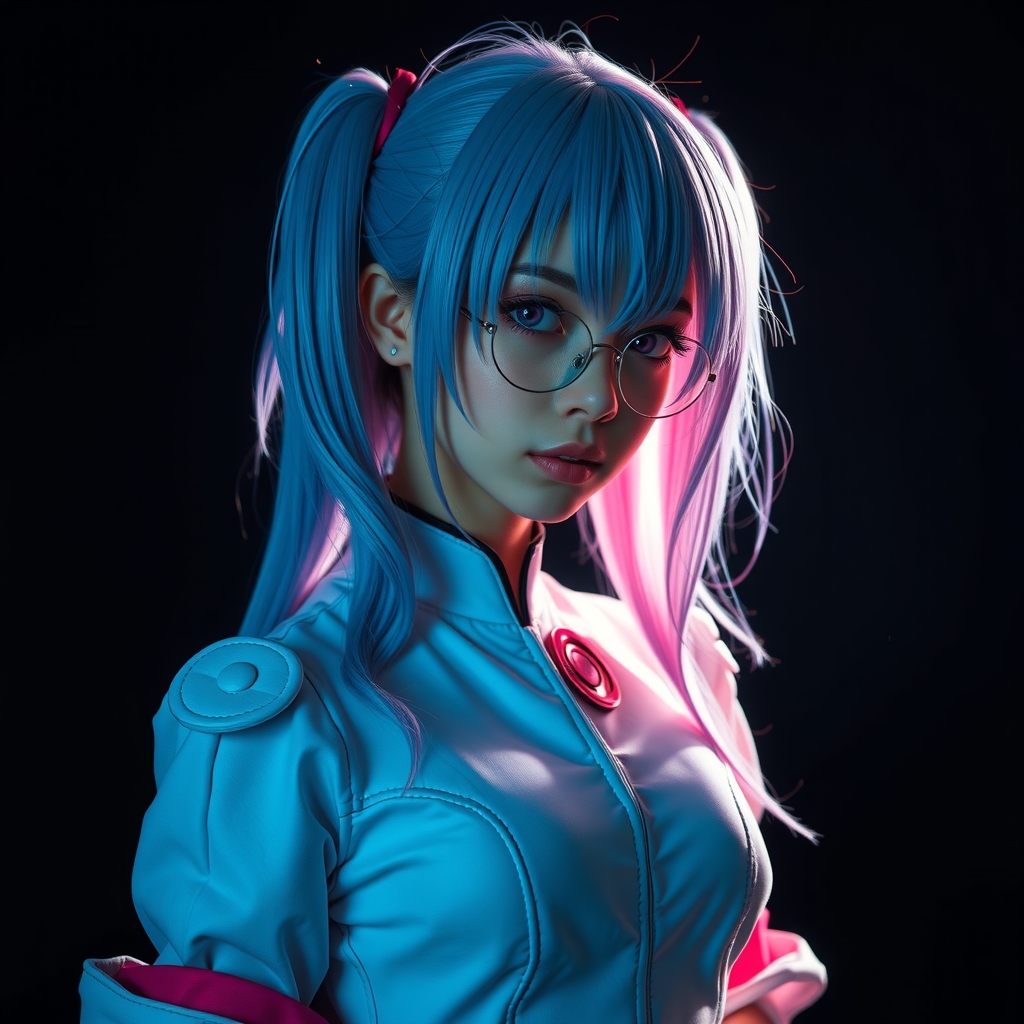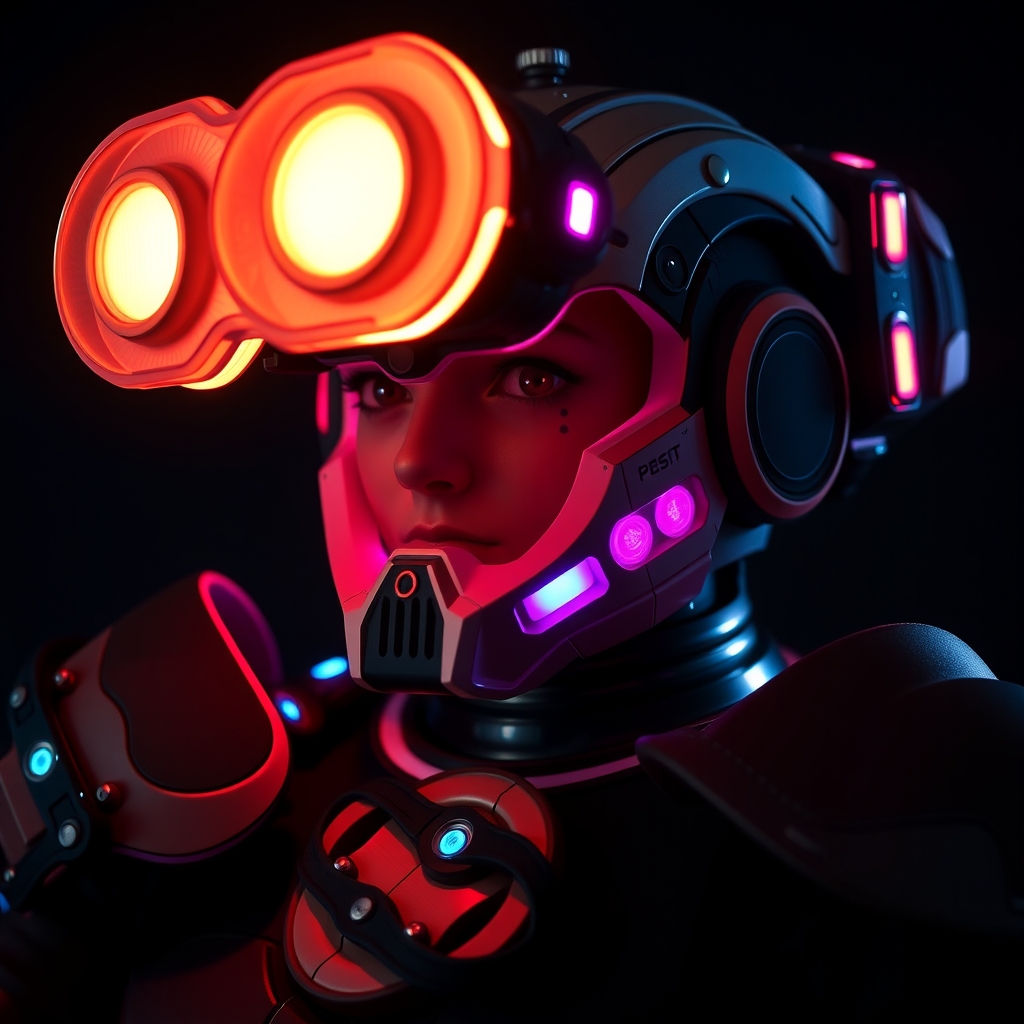
Introduction to Omnic Cosplay
Overwatch's Omnics are a favorite among cosplayers, with their intricate designs and metallic exteriors presenting a unique challenge for prop-makers. In this guide, we'll walk you through the process of creating an Omnic cosplay prop using 3D printing and Worbla, two powerful tools that can help you achieve a highly detailed and durable finish.
Designing and 3D Printing Omnic Prop Components
To start, you'll need to design or obtain 3D models of the Omnic prop components you want to create. You can find a variety of Omnic 3D models online, or use 3D scanning or modeling software to create your own. Once you have your design files, you can send them to a 3D printer or use a printing service to produce the components.
When choosing a 3D printing material, consider the level of detail and durability you need. Popular options include PLA, ABS, and resin, each with its own strengths and weaknesses. For a more metallic finish, you can use a 3D printing material with a metallic infill or apply a metal paint or coating after printing.
Preparing 3D Printed Components for Worbla
Before applying Worbla, make sure your 3D printed components are clean and free of oils or other contaminants. Use a primer or a coat of spray paint to create a surface for the Worbla to bond to, as this will help ensure a strong and durable bond.
Working with Worbla
Worbla is a versatile and popular thermoplastic material used in cosplay prop-making. It can be molded, shaped, and thermoformed to create complex details and textures. To work with Worbla, you'll need a heat gun or a thermoset oven to heat and shape the material.
When applying Worbla to your 3D printed components, start by cutting the material into manageable pieces and heating it until it's pliable and easy to shape. Use a combination of heat, pressure, and shaping tools to form the Worbla into the desired shape and texture.
Creating Intricate Details with Worbla
To create intricate details with Worbla, use a combination of heat, pressure, and shaping tools. You can use a heat gun to soften and shape the Worbla, or a thermoset oven to heat and mold the material. Experiment with different Worbla colors and textures to achieve a unique and metallic finish.
Finishing and Assembly
Once you've applied the Worbla and created the intricate details, it's time to finish and assemble the prop components. Use a combination of sanding, painting, and coating to achieve a smooth and metallic finish.
When assembling the prop components, use a strong adhesive, such as epoxy or super glue, to bond the parts together. Make sure the components are properly aligned and secured to ensure a sturdy and durable prop.
Tips and Tricks for Omnic Cosplay
- Use a combination of 3D printing and Worbla to achieve a highly detailed and durable finish.
- Experiment with different Worbla colors and textures to achieve a unique and metallic finish.
- Pay attention to prop weight and balance to ensure a comfortable and stable cosplay experience.
- Consider adding LED lights or other electronics to enhance the prop's appearance and functionality.
Conclusion
Crafting an Omnic cosplay prop using 3D printing and Worbla requires patience, skill, and attention to detail. With this comprehensive guide, you'll be well on your way to creating a highly detailed and durable prop that will elevate your Overwatch cosplay to the next level.