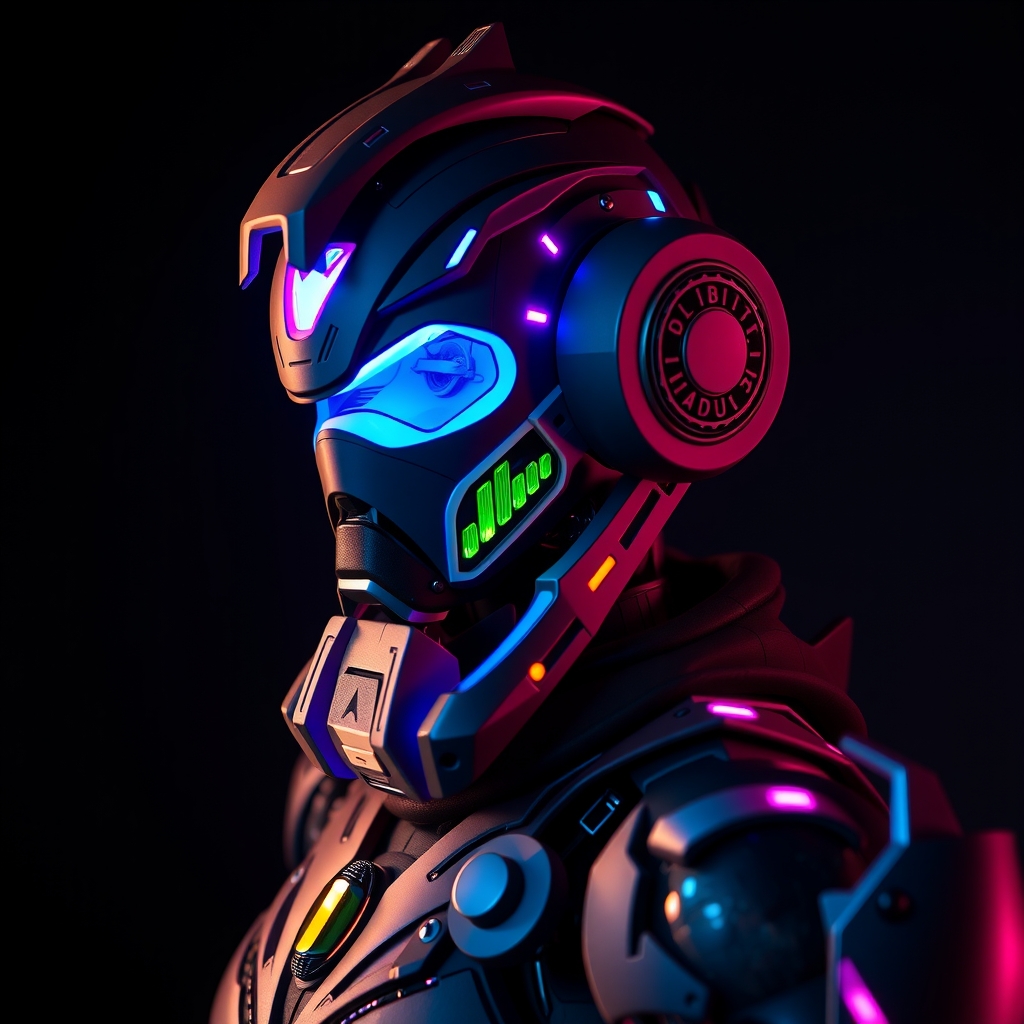
Introduction to Omnic Cosplay
Overwatch's Omnics are a beloved and iconic part of the game's lore, with their intricate designs and complex mechanical bodies making them a favorite among cosplayers. However, replicating these robots in cosplay form can be a daunting task, especially for those new to prop-making. In this guide, we'll walk you through the process of creating an Omnic cosplay prop using Worbla and resin, covering the essential steps and techniques to help you bring these incredible machines to life.
Materials and Tools Needed
Before starting your Omnic cosplay project, make sure you have the following materials and tools:
- Worbla: A versatile thermoplastic material ideal for creating complex shapes and details.
- Resin: A popular choice for casting and creating smooth, detailed surfaces.
- Resin casting molds: Used to shape and cast resin into the desired forms.
- Heat gun or Worbla heat gun attachment: For shaping and molding Worbla.
- Sandpaper and files: For smoothing and refining surfaces.
- Paint and primer: For adding color and protection to your prop.
- Reference images: Collect high-quality images of the Omnic design to guide your project.
Designing and Patterning Your Omnic Prop
Begin by studying reference images of the Omnic design, taking note of the intricate details and complex shapes. Use software like Blender or Adobe Illustrator to create a digital model or pattern of your prop, breaking it down into manageable sections for easier fabrication.
Create a Worbla pattern or template by printing out your design and cutting it into individual pieces. This will serve as a guide for cutting and shaping your Worbla sheets.
Working with Worbla
Worbla is an excellent material for creating complex shapes and details, but it requires some practice to master. Here's a brief overview of how to work with Worbla:
- Cut out your Worbla pattern pieces using scissors or a craft knife.
- Apply heat to the Worbla using a heat gun or Worbla heat gun attachment, carefully shaping it to the desired form.
- Use a combination of heat and pressure to mold the Worbla into intricate details and shapes.
- Allow the Worbla to cool and harden completely before handling or assembling the pieces.
Casting with Resin
Resin casting is a versatile technique for creating smooth, detailed surfaces and complex shapes. Here's a step-by-step guide to casting with resin:
- Prepare your resin casting mold by applying a release agent to prevent the resin from sticking.
- Mix your resin according to the manufacturer's instructions, carefully measuring the ratio of resin to hardener.
- Pour the mixed resin into the mold, using a pouring medium or vibratory tool to remove air bubbles.
- Allow the resin to cure and harden completely, following the manufacturer's recommended curing time.
Assembly and Finishing
Once you've created and cast all the individual pieces of your Omnic prop, it's time to assemble and finish the final product. Use a combination of adhesives, such as epoxy or super glue, to bond the pieces together.
Sand and file the assembled prop to smooth out any rough edges or surfaces, applying primer and paint to add color and protection.
Tips and Tricks
Here are a few additional tips and tricks to keep in mind when crafting your Omnic cosplay prop:
- Use reference images to ensure accuracy and attention to detail.
- Experiment with different materials and techniques to achieve the desired look and feel.
- Practice working with Worbla and resin before starting your project to build your skills and confidence.
- Consider adding LED lights or other electronics to enhance the overall appearance and functionality of your prop.
Conclusion
Crafting an Omnic cosplay prop using Worbla and resin requires patience, practice, and attention to detail, but the end result is well worth the effort. By following this comprehensive guide, you'll be able to create an intricate and realistic Omnic prop that showcases your skills and dedication to the craft of cosplay prop-making.