
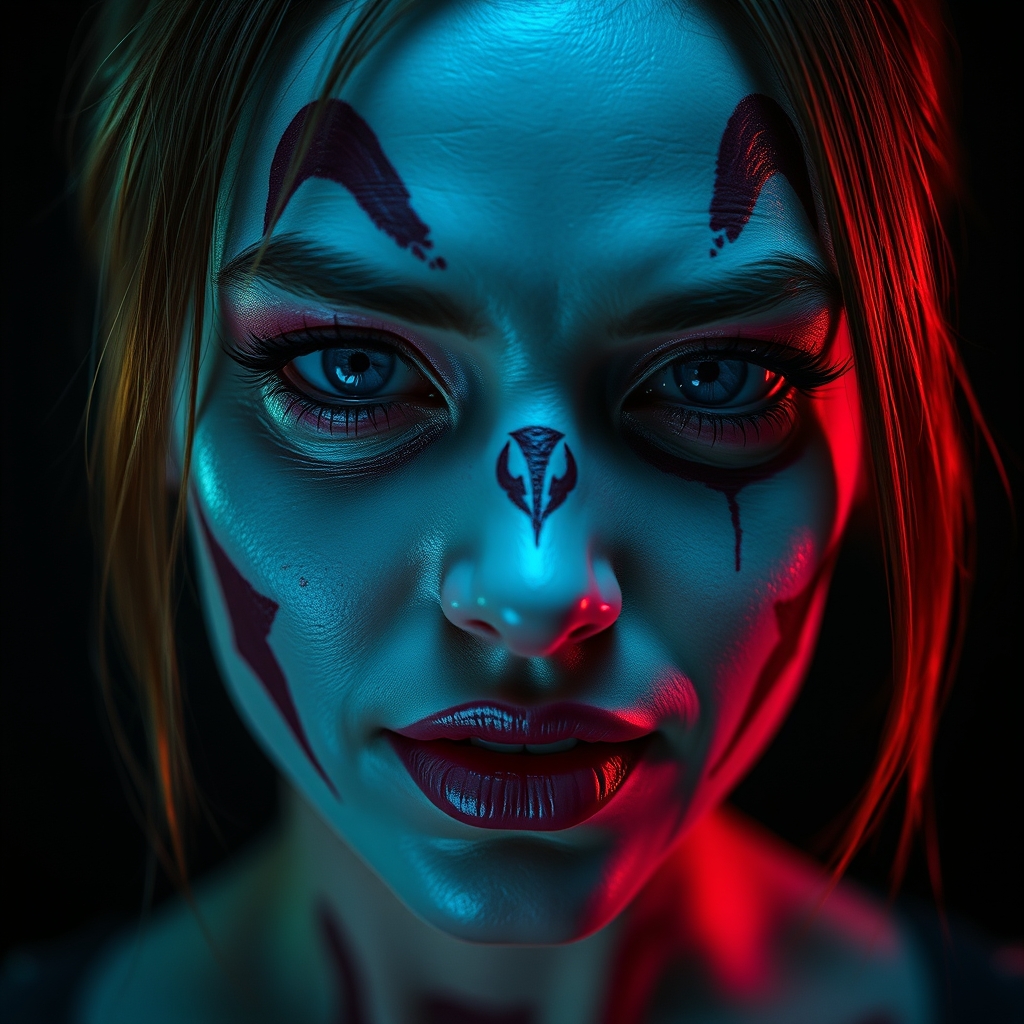
Introduction to Hyper-Realistic Scars in Cosplay
Video games have become a staple of modern pop culture, with many games boasting intricate characters, rich storylines, and detailed environments. As cosplayers, we strive to bring these characters to life, and one key aspect of this is accurately recreating their physical appearance, including scars. In this guide, we'll explore the basics of creating hyper-realistic scars using makeup and prosthetics, perfect for beginners looking to take their cosplay to the next level.
Understanding Scars and Skin Texture
Before diving into the world of scar creation, it's essential to understand the basics of skin texture and scar formation. Scars can be raised, recessed, or flat, and their texture can vary greatly depending on the type of injury or condition that caused them. Study reference images of scars from various angles and lighting conditions to get a sense of their texture and appearance.
Types of Scars
- Raised scars: These are thick, raised, and often red or pink in color. Examples include keloid and hypertrophic scars.
- Recessed scars: These are sunken or depressed, often caused by acne, surgery, or injury. Examples include atrophic scars.
- Flat scars: These are smooth and flat, often caused by minor injuries or surgical procedures.
Materials and Tools for Scar Creation
To create realistic scars, you'll need a few basic materials and tools. These include:
- Prosthetic pieces (e.g., scar wax, putty, or pre-made scar pieces)
- Makeup (e.g., liquid latex, cream makeup, and powder)
- Paint and brushes (for adding color and texture)
- Adhesives (e.g., spirit gum, Pros-Aide, or Telesis)
- Reference images
Step-by-Step Guide to Creating a Raised Scar
- Prep the skin: Clean and moisturize the area where you'll be applying the scar.
- Apply prosthetic piece: Use adhesive to attach a small piece of scar wax or putty to the skin.
- Shape and texture: Use a brush or tool to shape and texture the prosthetic piece, creating a raised, irregular surface.
- Color and blend: Use makeup to add color and blend the edges of the scar with the surrounding skin.
- Seal with powder: Set the makeup with a light dusting of powder.
Tips and Tricks for Realistic Scars
To take your scar creation to the next level, keep the following tips in mind:
- Study reference images: Observe how scars interact with light and shadow.
- Layer and build: Gradually build up layers of makeup and prosthetics to achieve a realistic, dimensional look.
- Blend, blend, blend: Seamlessly merge the edges of the scar with the surrounding skin.
- Practice makes perfect: Don't be discouraged if it takes a few attempts to get the hang of creating realistic scars.
Common Mistakes to Avoid
When working with makeup and prosthetics, it's easy to make mistakes that can detract from the overall appearance of the scar. Avoid:
- Over-application: Too much makeup or prosthetic material can look cakey or unnatural.
- Poor blending: Failing to blend the edges of the scar with the surrounding skin can create a noticeable, artificial line.
- Insufficient setting: Not setting the makeup with powder or sealant can cause it to smudge or fade quickly.
Conclusion and Resources
Creating hyper-realistic scars with makeup and prosthetics takes time and practice, but with patience and dedication, you can achieve stunning results. For further learning and inspiration, check out online tutorials, special effects makeup books, and social media communities dedicated to cosplay and makeup artistry.
Some recommended resources include:
- YouTube channels like Kat Von D and Make Up For Ever
- Special effects makeup books like SFX Makeup Applied to Stage and Screen
- Online communities like Cosplay Makeup and Special Effects Makeup on Instagram



