Introduction
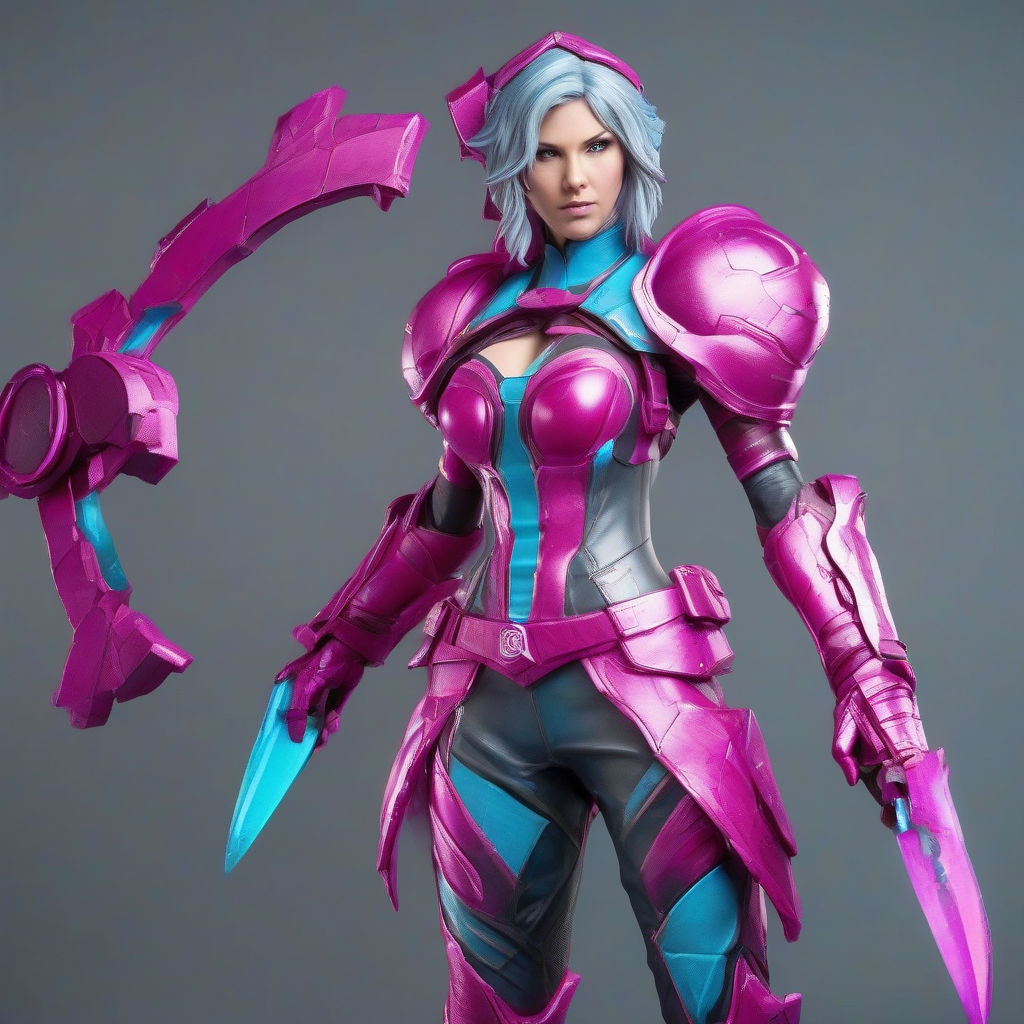
Video game skins have become an integral part of gaming culture, allowing players to personalize their characters and express themselves. For cosplayers and prop-makers, creating hyper-realistic replicas of these skins can be a challenging but rewarding task. In this guide, we'll walk you through the process of crafting realistic video game skins using 3D printing and resin casting.
Designing and Preparing Your Model
The first step in creating a hyper-realistic video game skin is to design and prepare your 3D model. You can use software like Blender, Tinkercad, or Fusion 360 to create your model from scratch or modify an existing one. Make sure to research and gather reference images of the skin you want to replicate, paying attention to details like textures, patterns, and color schemes.
Once you have your design, export it as a STL file and prepare it for 3D printing by checking for errors, repairing any issues, and optimizing the model for printing.
3D Printing Your Model
For 3D printing, you'll need a reliable printer that can produce high-quality prints with good resolution and accuracy. Popular options include the Prusa i3, Creality Ender 3, and Formlabs Form 2. Choose a printer suitable for your budget and experience level.
When printing, make sure to use a suitable material for your model, such as PLA, ABS, or resin. Adjust your print settings to achieve the desired level of detail and surface finish.
Resin Casting and Post-Processing
After 3D printing your model, you'll need to cast it in resin to achieve a hyper-realistic finish. For this, you'll need a resin casting kit, a vacuum chamber or pressure pot, and a suitable resin material.
- Prepare your resin mixture according to the manufacturer's instructions.
- Cast the resin mixture into the 3D printed mold, making sure to eliminate any air bubbles.
- Cure the resin in a controlled environment, following the manufacturer's guidelines.
Once the resin is cured, remove it from the mold and perform post-processing tasks like sanding, painting, and applying a finish coat.
Adding Texture and Details
To achieve a truly hyper-realistic finish, you'll need to add texture and details to your resin cast. You can use techniques like:
- Painting: Use acrylic or enamel paints to add color and shading to your model.
- Decals: Apply decals or stickers to add logos, patterns, or other details.
- Texture paste: Use texture paste or putty to create realistic textures like fabric, leather, or metal.
Tips and Tricks
Here are some additional tips and tricks to help you achieve a hyper-realistic finish:
- Study reference images: Gather as many reference images as possible to ensure accuracy and attention to detail.
- Experiment with materials: Try different materials and techniques to achieve the desired look and feel.
- Pay attention to scale: Make sure your model is proportional to the original skin.
- Practice patience: Creating a hyper-realistic video game skin takes time, patience, and dedication.
Conclusion
Crafting hyper-realistic video game skins using 3D printing and resin casting requires a combination of technical skills, creativity, and attention to detail. By following this step-by-step guide, you'll be able to create stunning replicas of your favorite video game skins. Remember to experiment, practice, and push the boundaries of what's possible with 3D printing and resin casting.