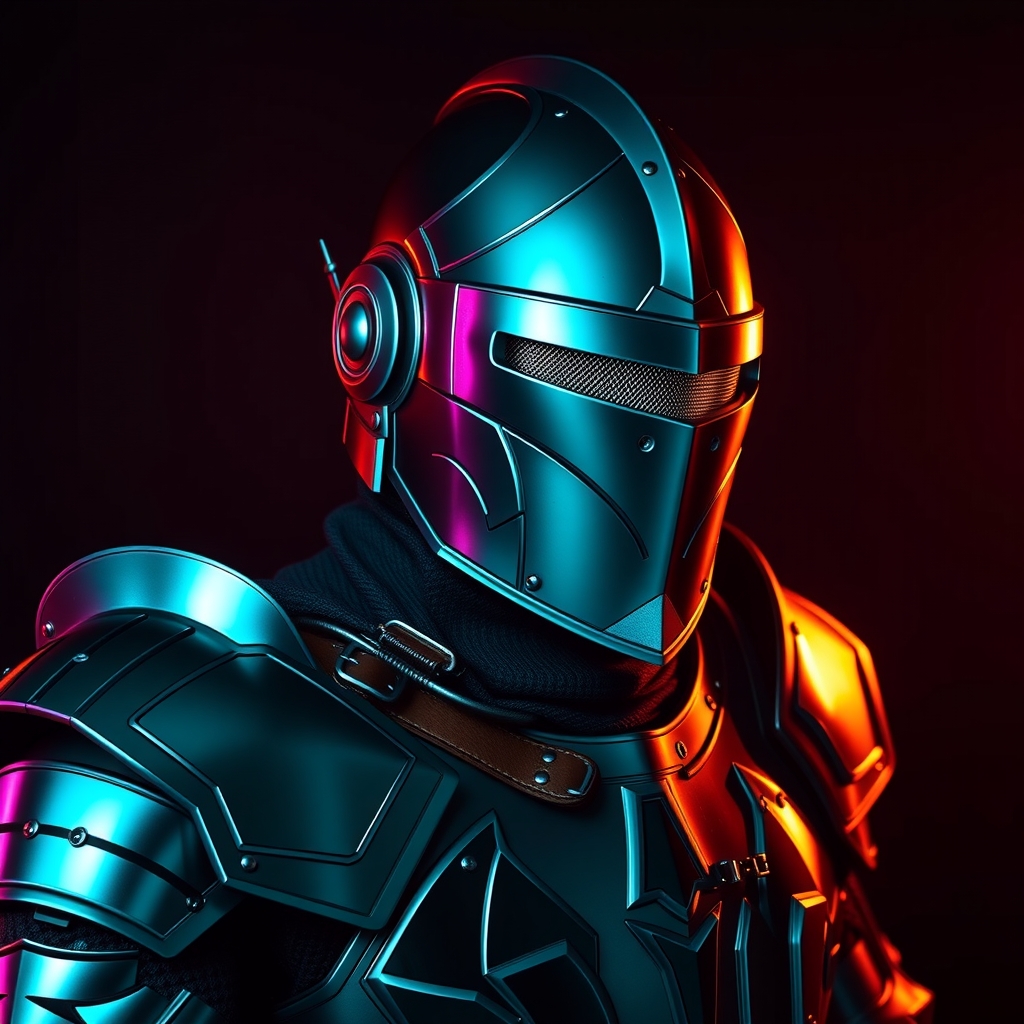
Introduction to Cosplay Armor Crafting
Cosplay armor is a crucial element in bringing many characters to life, adding an extra layer of realism and visual appeal to a costume. For beginners, the process of creating armor can seem daunting, but with the right materials and techniques, it's achievable. Thermoplastic and paint are popular choices for crafting cosplay armor due to their durability, versatility, and relatively low cost.
Understanding Thermoplastic
Thermoplastic is a type of plastic that can be melted and molded when heated, and then hardened when cooled. This property makes it ideal for crafting complex shapes and designs. There are various types of thermoplastic available, including Worbla, Wonderflex, and Thermoplastic sheets. When working with thermoplastic, it's essential to have a heat source, such as a heat gun or a kitchen oven, and a safe working space.
Choosing the Right Thermoplastic
- Worbla: A popular choice among cosplayers, Worbla is a thermoplastic that can be molded and shaped with heat. It's available in various thicknesses and can be used to create detailed, intricate designs.
- Wonderflex: Another popular thermoplastic, Wonderflex is known for its flexibility and is often used for creating more flexible armor pieces.
Preparing Your Workspace and Materials
Before starting your project, ensure you have a well-ventilated workspace and the necessary materials. This includes:
- Thermoplastic sheets
- Heat source (heat gun or oven)
- Protective gear (gloves, safety glasses)
- Paint and primer
- Paintbrushes and foam brushes
- Reference images of your character's armor
Creating a Pattern and Shaping Thermoplastic
To create a pattern, you can use paper or cardboard to draw and cut out the design. This will serve as a template for your thermoplastic piece. When shaping thermoplastic, it's essential to work slowly and carefully to avoid burning or deforming the material.
- Place the thermoplastic sheet on a flat surface and apply heat evenly.
- Use a mold or shape the thermoplastic by hand to achieve the desired design.
- Allow the thermoplastic to cool and harden completely.
Painting and Finishing Your Armor
Once your thermoplastic piece is shaped and hardened, it's time to add color and detail with paint. Primer is essential for creating a smooth, even surface for painting.
- Apply primer to the entire piece, allowing it to dry completely.
- Use acrylic or enamel paint to add color and details.
- Seal your paint job with a clear coat to protect the paint and give it a glossy finish.
Tips and Tricks for a Professional Finish
- Use reference images to ensure accuracy in your design and paint job.
- Work in thin layers, allowing each layer to dry before adding additional coats.
- Experiment with different painting techniques, such as drybrushing or washes, to achieve a unique look.
Conclusion and Additional Resources
Crafting cosplay armor with thermoplastic and paint requires patience, practice, and attention to detail. With these steps and tips, beginners can create durable, visually stunning armor pieces that will elevate their cosplay game. For additional resources and tutorials, consider visiting online crafting communities or YouTube channels dedicated to cosplay and prop-making.