
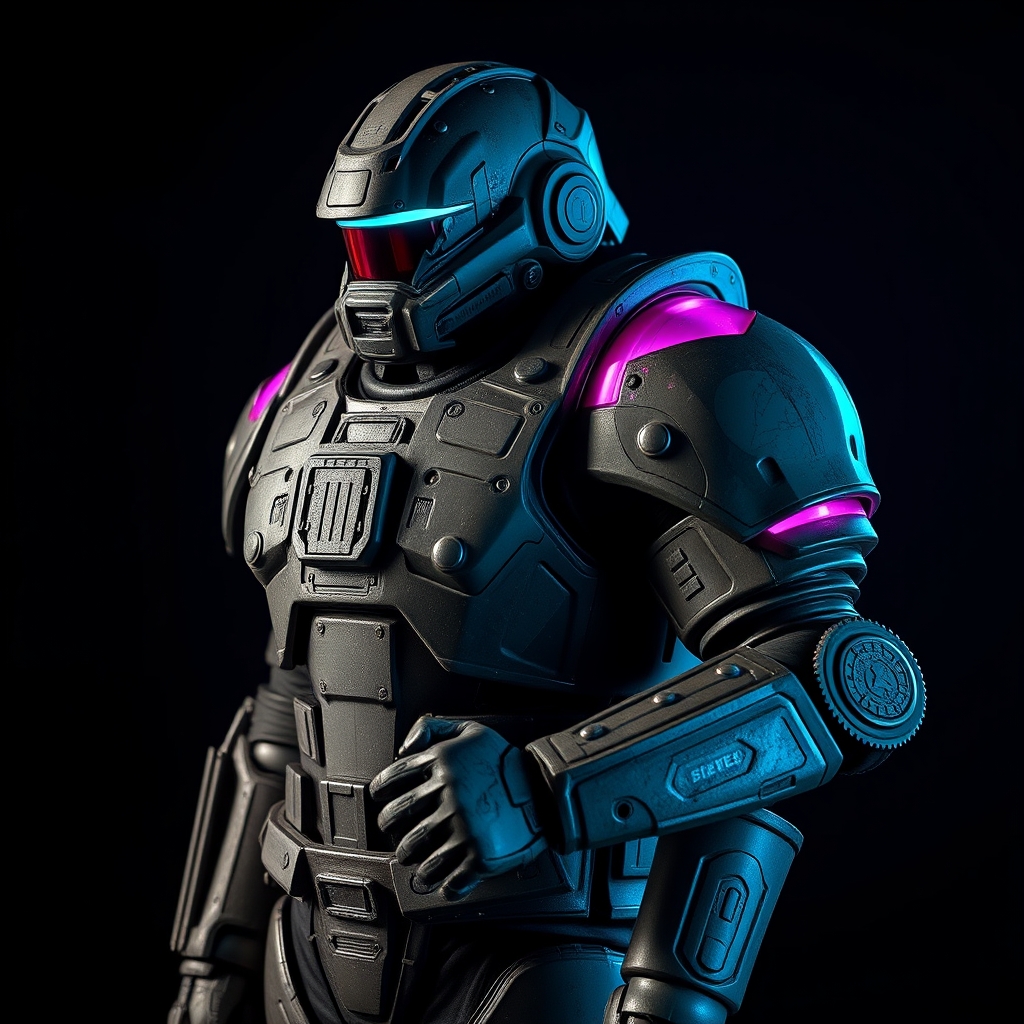
Introduction to Power Armor Crafting
Fallout's iconic power armor has been a staple of cosplay and fandom for decades. The intricately detailed and battle-worn suits have captivated audiences worldwide. With the right materials and techniques, you can create a hyper-realistic power armor costume that will make you stand out at any convention. In this guide, we'll walk you through the process of crafting Fallout power armor using EVA foam and advanced weathering techniques.
Design and Pattern Making
Before you begin crafting your power armor, it's essential to have a solid design and pattern in place. Study reference images of the power armor from various angles to get a sense of the shape, proportions, and details. You can use software like Adobe Illustrator or Autodesk Fusion 360 to create a digital model and generate patterns for your EVA foam pieces.
Alternatively, you can use a combination of cardboard, foam board, or Worbla to create a mockup of your design. This will help you visualize the shape and make any necessary adjustments before cutting into your EVA foam.
EVA Foam Basics
EVA (ethylene-vinyl acetate) foam is a popular material for cosplay and prop-making due to its versatility, durability, and affordability. When working with EVA foam, keep the following tips in mind:
- Choose a high-density EVA foam (around 2-3 lbs/cu.ft) for a more rigid and durable finish.
- Use a hot wire foam cutter or a sharp utility knife to cut your EVA foam pieces.
- Apply a thin layer of contact cement or EVA foam adhesive to bond pieces together.
Building the Armor Pieces
With your design and patterns in place, it's time to start building your power armor pieces. Use your EVA foam to create the individual components, such as the chest plate, shoulder pads, and helmet.
To add details and texture to your pieces, you can use a variety of techniques, including:
- Heat shaping: Use a heat gun to shape and mold your EVA foam pieces.
- Carving: Use a Dremel or a carving tool to add intricate details and textures.
- Adding details: Use materials like fabric, leather, or Worbla to add straps, buckles, and other details.
Weathering and Painting
Weathering and painting are crucial steps in creating a hyper-realistic power armor costume. To achieve a battle-worn look, you'll need to use a combination of painting and weathering techniques.
Here's a basic weathering and painting process:
- Prime your EVA foam pieces with a coat of primer or gesso.
- Apply a base coat of paint using acrylic or enamel paints.
- Use washes and drybrushing to add shading and texture.
- Add metallic details using metallic paints or markers.
- Seal your finish with a clear coat of varnish or polyurethane.
Advanced Weathering Techniques
To take your power armor to the next level, you can use advanced weathering techniques like:
- Edge highlighting: Use a fine brush to apply highlights to raised edges and details.
- Panel lining: Use a fine brush to apply dark washes to recessed areas and panel lines.
- Chipping and flaking: Use a weathering powder or a chipping medium to create a worn, battle-damaged look.
For a more realistic finish, you can also use reference images of real-world machinery and industrial equipment to study the effects of wear and tear.
Conclusion and Tips
Crafting a hyper-realistic Fallout power armor costume requires patience, dedication, and practice. Don't be afraid to experiment and try new techniques – and don't be too hard on yourself if your first attempts don't turn out as expected.
Here are some final tips to keep in mind:
- Start small and build up to more complex projects.
- Use reference images and study the work of other cosplayers and prop-makers.
- Practice, practice, practice – and have fun!
With these techniques and a bit of creativity, you'll be well on your way to creating a battle-ready power armor costume that will impress even the most seasoned cosplayers.



