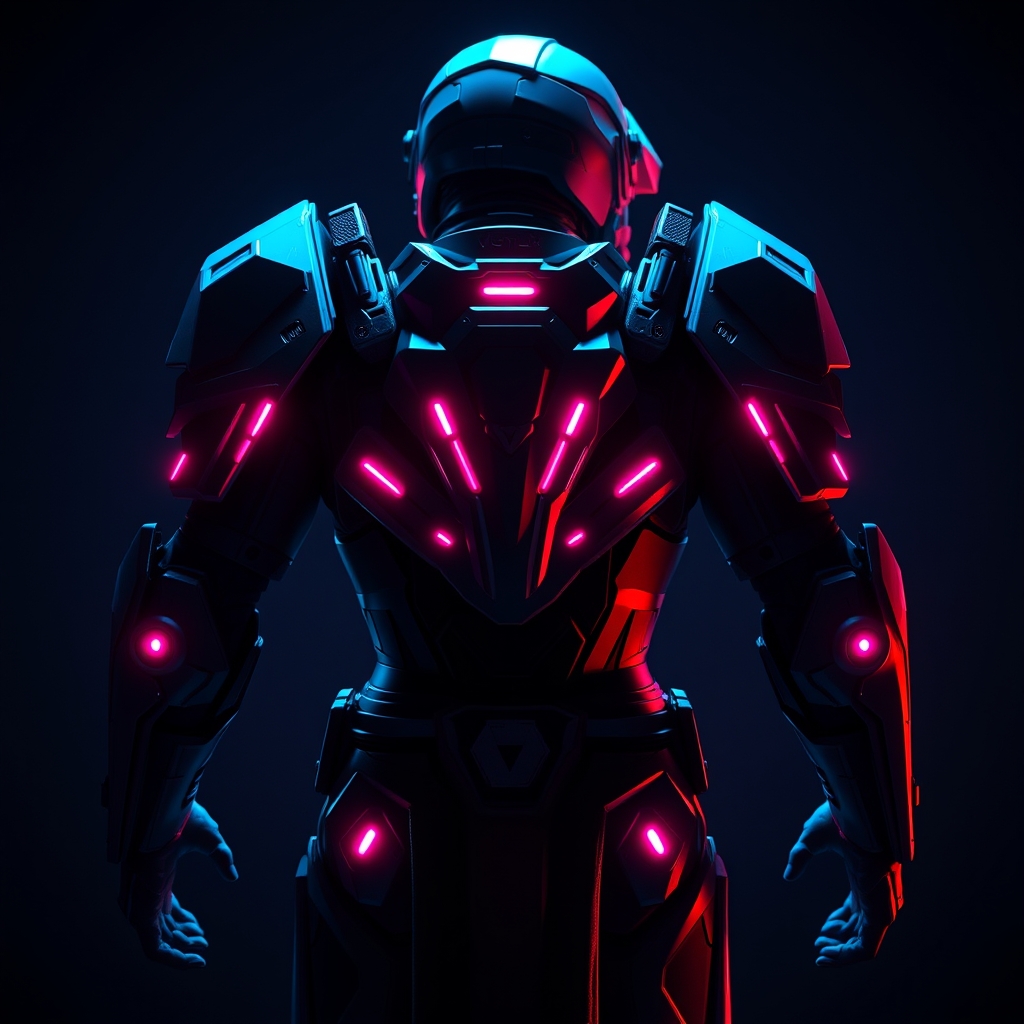
Introduction to Destiny 2 Exoskeleton Armor
Destiny 2, a popular first-person shooter game, features a wide range of visually stunning exoskeleton armors that have captured the imagination of cosplayers and gamers alike. These armors, worn by the game's Guardians, are not only functional in-game but also serve as a symbol of a player's character and their accomplishments. In this article, we will explore the process of crafting hyper-realistic Destiny 2 exoskeleton armor using 3D printing and foam crafting techniques.
Design and Planning
Before starting your project, it's essential to plan and design your exoskeleton armor. Study reference images of the armor you want to create, taking note of its shape, texture, and details. You can find plenty of reference images online or by playing the game. Consider the following factors:
- Scale: Ensure that your armor is proportional to your body or a mannequin.
- Material: Decide which materials you will use for the main body, details, and finishing touches.
- Complexity: Assess the level of complexity and detail required for your armor.
3D Modeling and Printing
3D printing is an excellent way to create complex and detailed parts for your exoskeleton armor. You can either create your own 3D models using software like Blender or use existing models from online repositories. When 3D printing, keep in mind:
- Layer height: Adjust the layer height to achieve the desired level of detail.
- Infill density: Balance infill density with print time and material usage.
- Support material: Use support material when necessary to prevent print failures.
Popular 3D printing materials for cosplay include PLA, ABS, and PETG. Each material has its strengths and weaknesses, so experiment to find the best one for your project.
Foam Crafting and Shaping
Foam crafting is a versatile and accessible technique for creating armor parts, especially for larger sections like chest plates and shoulder pads. You can use various types of foam, such as:
- EVA foam: A popular choice for cosplay due to its flexibility and ease of shaping.
- PU foam: A more rigid foam suitable for creating detailed and textured parts.
To shape and form your foam parts, use a combination of tools like:
- Heat guns: Apply heat to shape and mold the foam.
- Carving tools: Use gouges, chisels, and files to refine and detail your foam parts.
- Adhesives: Bond foam parts together using adhesives like hot glue or epoxy.
- Painting: Use acrylic paints or airbrushing techniques to achieve a realistic color scheme and weathering effects.
- Weathering: Add wear and tear to your armor using techniques like drybrushing, washes, or applying weathering powders.
- Sealing: Apply a clear coat to protect your paint and foam from damage.
- Cosplay forums and social media groups.
- 3D printing and foam crafting tutorials on YouTube.
- Online marketplaces for 3D printing materials and foam supplies.
Finishing Touches
Once you have created and assembled your armor parts, it's time to add the finishing touches. This includes:
Conclusion
Crafting hyper-realistic Destiny 2 exoskeleton armor using 3D printing and foam crafting requires patience, creativity, and attention to detail. By following this guide, you'll be well on your way to creating an impressive and authentic-looking armor set. Remember to experiment, take risks, and have fun with the process. Happy crafting!
Additional Resources
For more information on 3D printing and foam crafting, check out online communities like: