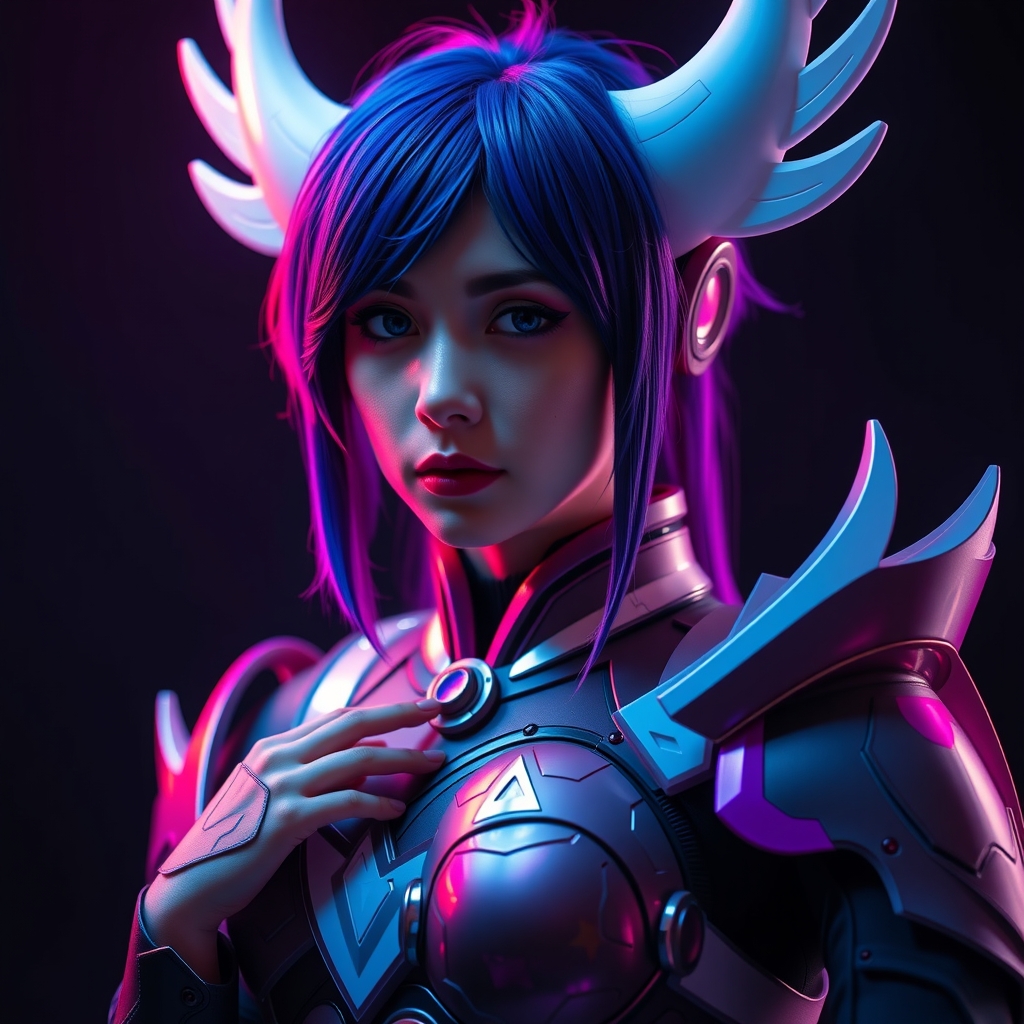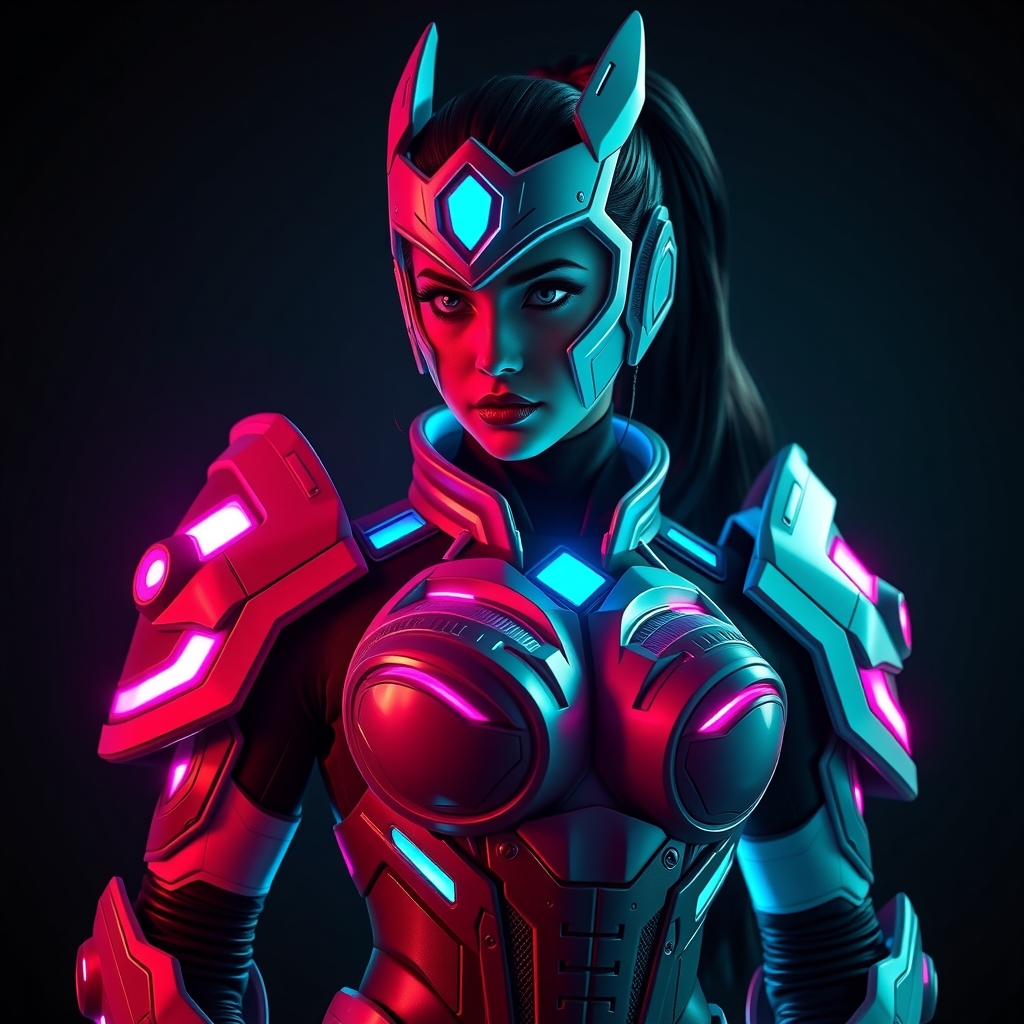
Introduction to Symmetra's Omnic Armor
Symmetra, the omnic sentinel from Blizzard's popular team-based shooter Overwatch, boasts an intricately designed armor set that has captured the hearts of many cosplayers. The armor's unique blend of omnic and futuristic elements makes it a challenging yet rewarding prop to recreate. In this guide, we'll walk you through the process of building Symmetra's omnic armor using Worbla and EVA foam, two popular materials in the cosplay community.
Materials and Tools Needed
- Worbla Thermoplastic
- EVA Foam sheets (various thicknesses)
- Hot glue gun
- Heat gun
- Sandpaper (various grits)
- Paint and primer
- Reference images of Symmetra's armor
Design and Pattern Making
Before starting the build process, gather reference images of Symmetra's armor to understand its design and structure. Use these references to create a detailed pattern or blueprint of the armor pieces, taking note of the intricate details and shapes. You can use paper or cardboard to create a mockup of the pieces, making sure to account for any seams or joints.
For a more accurate representation, consider using 3D modeling software or printing out 3D models of the armor pieces. This will help you visualize the final product and make any necessary adjustments before cutting into your materials.
Cutting and Shaping EVA Foam
Using your patterns or blueprints, cut out the individual armor pieces from the EVA foam sheets. For more complex shapes, you can use a combination of hot wire foam cutters or a craft knife. Sand the cut edges to smooth them out and remove any excess foam.
EVA foam is an excellent material for creating the base structure of the armor pieces, as it's lightweight and easy to work with. However, it can be prone to damage, so be sure to handle the pieces with care.
Worbla Application and Shaping
To add durability and a smooth surface to your EVA foam pieces, apply Worbla thermoplastic. Cut a piece of Worbla slightly larger than the foam piece, and apply it using a heat gun. Make sure to follow the manufacturer's instructions for temperature and application guidelines.
Once the Worbla is applied, use a combination of sandpaper and heat to shape and smooth out the surface. This will help create a seamless bond between the Worbla and EVA foam, ensuring a durable and long-lasting prop.
Assembly and Finishing Touches
Using hot glue, assemble the individual armor pieces into the complete Symmetra armor set. Make sure to align the pieces carefully, as any misalignment can be difficult to correct.
Once the armor is assembled, use a combination of paint and primer to add color and weathering effects. You can also add additional details, such as metallic paint or decals, to enhance the overall appearance of the armor.
Tips and Variations
To add an extra layer of realism to your Symmetra armor, consider adding LED lights or glow-in-the-dark accents. You can also experiment with different materials, such as fabric or leather, to create a unique and personalized take on the armor.
When working with Worbla and EVA foam, be sure to follow proper safety precautions, including using protective gear and working in a well-ventilated area.
Conclusion
Recreating Symmetra's omnic armor using Worbla and EVA foam requires patience, attention to detail, and practice. By following this guide and using the right materials, you can create a stunning and durable cosplay prop that's sure to impress. Don't be afraid to experiment and add your own unique touches to make the armor truly yours.