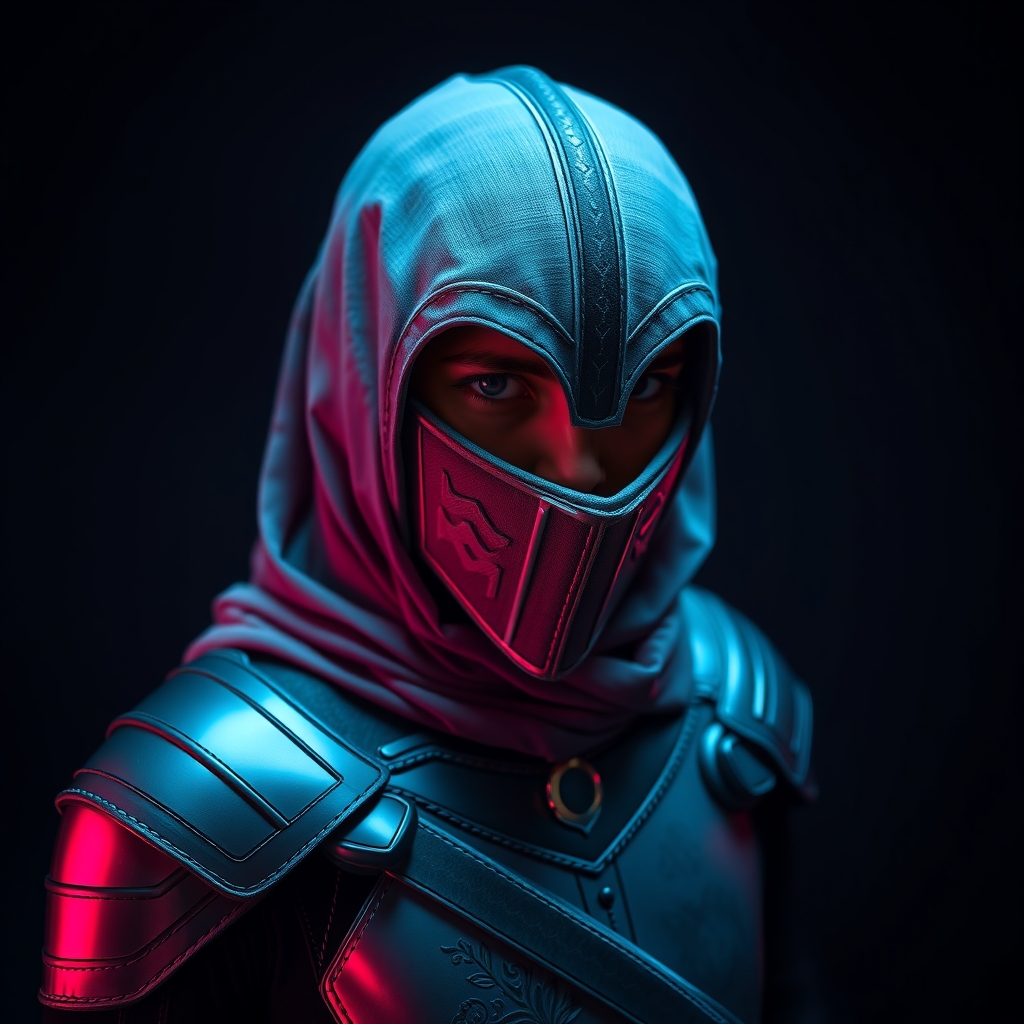
The most common barrier for new cosplayers is the perceived cost of entry. When looking at professional builds, it is easy to assume that high-density EVA foam, industrial resins, and expensive 3D printers are the only paths to a screen-accurate prop. However, some of the most impressive details in the community are achieved not through expensive specialty products, but through the creative repurposing of mundane materials.
The secret to "budget" crafting is not simply finding the cheapest option, but finding materials that mimic the structural properties of expensive alternatives. By understanding the physics of your materials—their rigidity, flexibility, and how they take paint—you can build complex armor and weaponry using items found in your kitchen, garage, or local discount store.
The Foundation: Structural Substitutes
Before adding detail, every prop needs a core. While carbon fiber or aluminum are ideal for strength, they are costly and difficult to work with. Instead, look for materials that provide rigidity but remain easy to cut.
1. PVC Pipe and Conduit
PVC is the gold standard for budget frames. Beyond simple cylinders, you can heat PVC with a heat gun or oven (in a well-ventilated area) to create organic curves. For thinner, more flexible supports, electrical conduit is an excellent alternative that often resists bending better than standard PVC.
2. Corrugated Plastic (Yard Signs)
Often found in discarded political or business signs, corrugated plastic is essentially a weatherproof, rigid version of cardboard. It is incredibly lightweight and provides a flat surface that is perfect for large armor plates or shields. To hide the "ribbed" texture of the plastic, simply cover it with a thin layer of joint compound or gesso before painting.
3. Heavy-Duty Cardboard and Cereal Boxes
Not all cardboard is created equal. Double-walled shipping boxes provide structural integrity for large builds, while thin cereal box card (chipboard) is ideal for intricate detailing. Chipboard can be layered and glued to create a 3D effect on a flat surface, mimicking the look of embossed metal or carved leather.
Adding Dimension: Texture and Detail
Once the silhouette of your prop is established, the difference between a "costume" and a "prop" lies in the surface detail. You do not need expensive sculpting clay to achieve this.
4. Hot Glue "Filigree"
Hot glue is more than just an adhesive; it is a sculpting medium. By piping hot glue onto a surface, you can create raised veins, cables, or ornate scrollwork. Once cooled, hot glue can be sanded slightly and painted. Because it is slightly translucent, it also works well for creating "energy" effects when backlit with LEDs.
5. EVA Foam Scraps and Craft Foam
While high-density foam is the industry standard, the thin, colorful sheets of craft foam found in school supply aisles are invaluable for small details. They can be cut into tiny gears, rivets, or trim. Because they are so thin, they can be glued onto a base without adding bulk, providing a crisp, clean edge that looks like machined metal once painted.
6. Plastic Bottle Caps and Lids
Look at the waste bin before buying specialty knobs or buttons. Bottle caps, toothpaste lids, and plastic rings from milk jugs can be transformed into futuristic buttons, vents, or mechanical joints. When layered and painted with a metallic finish, the original source of the plastic becomes invisible.
Advanced Finishes: Mimicking High-End Materials
The final stage of any budget build is the finish. The goal is to remove the "homemade" look by hiding the seams and textures of your unconventional materials.
7. Wood Filler and Joint Compound
To hide the gaps between cardboard or plastic pieces, use wood filler or lightweight joint compound. These materials can be smeared into seams and then sanded down to a perfectly smooth finish. This creates the illusion that your prop was cast from a single piece of resin rather than assembled from scraps.
8. Aluminum Foil and Duct Tape
For a quick "industrial" look, aluminum foil can be glued down and then coated in a clear sealant to create a hammered metal effect. Duct tape, while often frowned upon for final looks, is an incredible structural tool for reinforcing joints. If you cover duct tape with a layer of gesso or primer, it becomes a durable, flexible skin that can be painted over.
9. Bubble Wrap and Packing Peanuts
For organic or alien textures, bubble wrap can be glued to a surface and then painted over to create a "scaled" or "cellular" appearance. Packing peanuts, when melted slightly with a heat gun, can be transformed into irregular, rock-like clusters or biological growths, perfect for fantasy armor or creature props.
10. Old Clothing and Fabric Scraps
Leather is expensive, but old faux-leather jackets or heavy canvas bags can be repurposed. By soaking fabric in a mixture of white glue and water (a process known as "hardening"), you can mold fabric into rigid shapes that look like hardened leather or ancient parchment once they dry.
Practical Tips for Budget Assembly
Using unconventional materials requires a different approach to assembly than using professional-grade supplies. To ensure your budget prop lasts through a full convention day, follow these guidelines:
- Test Your Adhesives: Not all glues work on all plastics. Always perform a "spot test" on a scrap piece of your material to ensure the glue bonds and doesn't melt the plastic.
- Prime Everything: Unconventional materials have different porosities. A high-quality primer is the "great equalizer." It fills in small textures and provides a uniform surface for your paint to cling to, preventing peeling.
- Sand Between Layers: The secret to a professional finish is sanding. Whether you are using hot glue or joint compound, sanding the surface smooth before painting removes the "DIY" markers and makes the prop look manufactured.
- Reinforce Stress Points: Budget materials like cardboard can fold under pressure. Use "triangulation"—adding small triangular supports to the inside of your build—to increase strength without adding significant weight.
Cosplay is, at its heart, an exercise in problem-solving. The most rewarding builds are often those where the creator looked at a piece of trash and saw a piece of armor. By experimenting with these ten materials, you can achieve high-fidelity results while keeping your budget focused on the elements of your costume that truly require a premium investment.