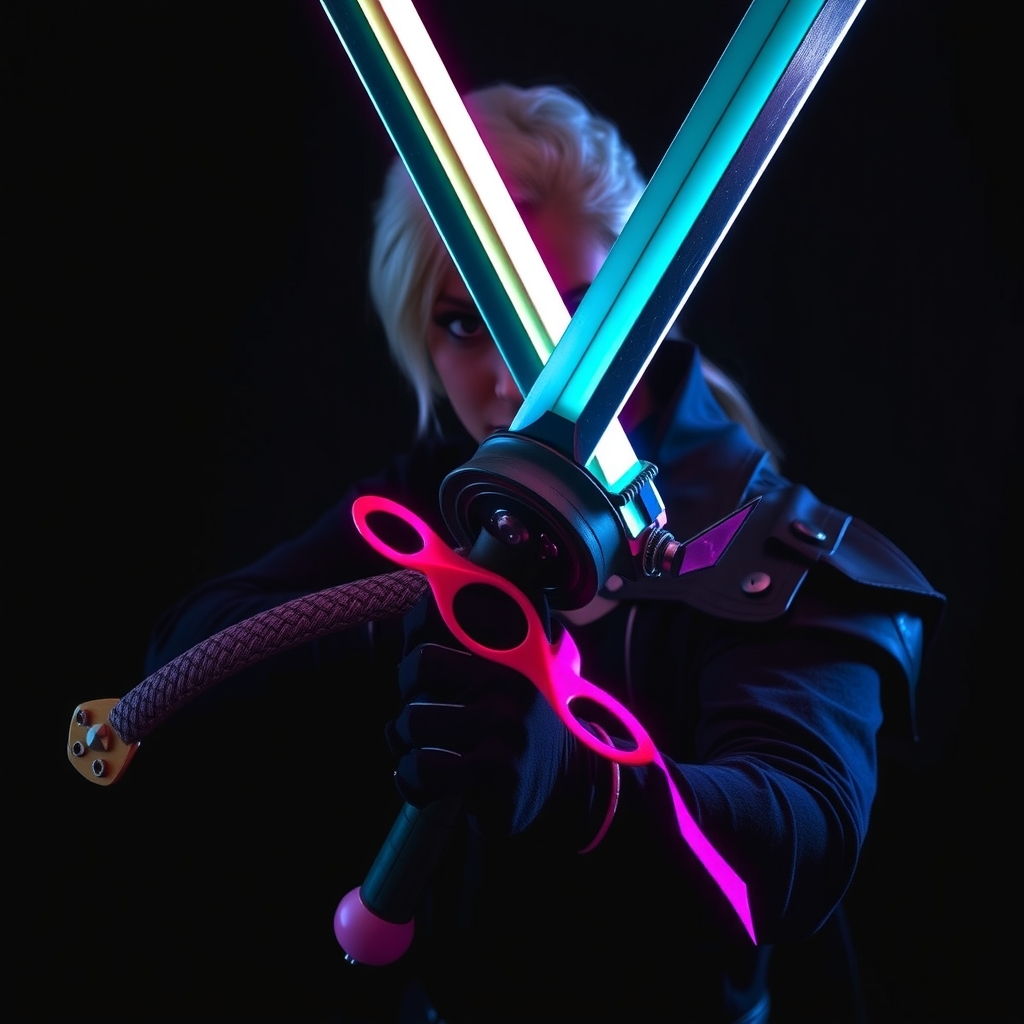
Entering the world of high-fantasy armor can be intimidating, especially when looking at the intricate plates, leather straps, and weathered metal of the Dragon Age universe. For many, the barrier to entry is the cost of EVA foam, Worbla, or 3D printers. However, some of the most convincing "battle-worn" armor is actually created from the most humble of materials: corrugated cardboard and hot glue. By focusing on texture, layering, and strategic painting, you can achieve a professional look without spending a fortune.
The Foundation: Selecting and Preparing Your Cardboard
Not all cardboard is created equal. For Dragon Age armor—which often features a mix of heavy plate and flexible leather—you need a variety of cardboard types. Single-wall corrugated cardboard is ideal for large structural pieces like pauldrons or greaves. Cereal boxes and cracker boxes (known as chipboard) are essential for smaller, detailed filigree or overlapping scales.
To ensure your armor doesn't look like a shipping box, you must manage the "grain" of the cardboard. The internal fluting (the wavy part) provides structural strength in one direction but makes the material prone to folding in another. When cutting your patterns, align the fluting to the natural curves of your body. For curved sections, such as a rounded breastplate, gently roll the cardboard over a table edge or a PVC pipe to break the internal tension, allowing it to curve without kinking.
Essential Tool Kit for Budget Builders
- Heavy-duty utility knife: A sharp blade is non-negotiable to prevent jagged edges.
- High-temp hot glue gun: High-temp glue bonds more securely to cardboard fibers than low-temp versions.
- Metal ruler: For precise cuts and straight edges.
- Sandpaper (120 and 220 grit): Essential for smoothing out glue globs and cardboard edges.
- White glue (PVA): For sealing the cardboard before painting.
Architecting the Armor: The Layering Method
The secret to making cardboard look like steel or hardened leather is layering. A single sheet of cardboard looks flat and artificial. To create the illusion of depth and weight, build your pieces in tiers. For a Dragon Age-style gauntlet, start with a base layer that fits your arm snugly. Then, glue smaller, overlapping strips of chipboard on top to simulate articulated plating.
Hot glue serves as more than just an adhesive; it is a sculpting tool. Once your basic shapes are assembled, use the glue gun to create "beading" or raised rivets along the edges of your armor. By applying a small dot of glue and immediately pressing a seed bead or a small circle of cardboard on top, you can mimic the look of heavy industrial rivets used in Orlesian or Ferelden armor.
Tips for Structural Integrity
- Triangulation: If a piece is wobbling, glue a small triangular brace of cardboard to the interior to lock the angle.
- Double-Walling: For high-impact areas like the chest or shoulders, glue two sheets of corrugated cardboard together with the grains running perpendicularly to create a rigid, plywood-like effect.
- Edge Finishing: To hide the "holes" (fluting) on the edges of your cardboard, apply a thin bead of hot glue along the rim and smooth it with your finger, or cover the edge with a thin strip of masking tape before painting.
The Magic of the Seal: Preventing the "Soggy" Look
The biggest mistake budget builders make is painting directly onto raw cardboard. Acrylic paint is water-based; if you apply it too heavily, the cardboard will absorb the moisture, warp, and lose its shape. To prevent this, you must seal the material.
The most cost-effective sealant is a mixture of 50% white glue (PVA) and 50% water. Apply this mixture in thin coats across the entire surface. This creates a plastic-like barrier that prevents the paint from soaking in and provides a smoother surface for your final colors. For an even more durable finish, a cheap can of clear acrylic spray sealer works wonders. Allow the sealant to dry completely—usually 24 hours—before moving to the painting phase.
Painting for Realism: Weathering and Metallic Effects
To move from "cardboard costume" to "realistic armor," you need to master the art of the dry brush and the wash. Avoid using a single flat color. Even the cleanest armor in Dragon Age has variations in tone.
Start with a dark base coat, such as matte black or deep brown. Once dry, use a technique called dry brushing: dip a stiff brush in a metallic silver or gold paint, wipe almost all of it off on a paper towel, and lightly flick it across the raised edges of your armor. This highlights the "wear" on the metal, making the edges look like they have been scuffed in battle.
To add depth, apply a "black wash." Mix a small amount of black acrylic paint with a lot of water and a drop of dish soap (to break the surface tension). Brush this over the entire piece, then immediately wipe it away with a rag. The dark paint will remain trapped in the crevices, cracks, and around the rivets, creating an artificial shadow that gives the armor a heavy, weathered appearance.
Final Assembly and Comfort
Cardboard armor can be rigid and uncomfortable. To ensure you can actually wear your creation to a convention, focus on the attachment points. Avoid gluing the armor directly to your clothes. Instead, use recycled fabric scraps or old belts to create straps. Poke small holes through the cardboard and use hot glue to "anchor" the fabric straps to the inside of the armor.
If a piece feels too tight, don't be afraid to cut a "relief slit" in the cardboard and overlap the edges with a piece of fabric. This allows the armor to flex with your movement. Finally, if you find that the hot glue is peeling away from the cardboard due to tension, reinforce the joint with a piece of duct tape on the interior side for added security.
Creating high-fidelity cosplay doesn't require a massive budget; it requires a shift in perspective. By treating recycled cardboard as a raw sculpting medium rather than a disposable box, you can bring the gritty, atmospheric world of Thedas to life while keeping your wallet intact.