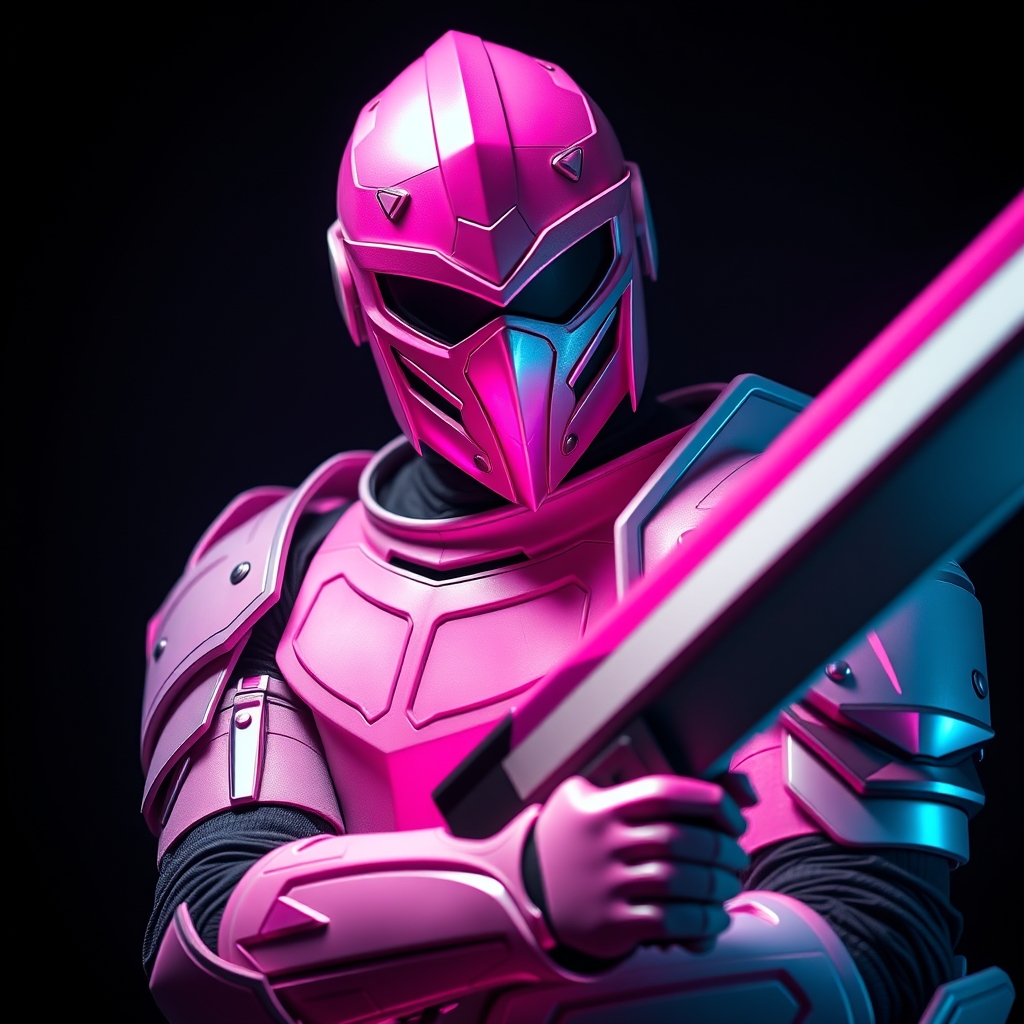
Introduction to Hyper-Realistic Cosplay Armor
Creating hyper-realistic cosplay armor is a dream for many cosplayers and prop makers. With the advancement of materials and technologies, achieving a highly detailed and accurate replica of gaming armor is now more accessible than ever. In this guide, we'll walk you through the process of creating stunning gaming armor using Worbla and 3D printing.
Designing and 3D Printing Armor Pieces
The journey to creating hyper-realistic cosplay armor begins with design. Utilize 3D modeling software such as Blender or Tinkercad to create detailed models of your armor pieces. You can also find and modify existing models from online repositories like Thingiverse or GrabCAD.
Once your design is complete, it's time to 3D print your armor pieces. Choose a 3D printing technology that suits your needs, such as FDM (Fused Deposition Modeling) or SLA (Stereolithography). For larger pieces, FDM is often preferred for its cost-effectiveness and ability to print with durable materials.
- Tip: Ensure your 3D printer is calibrated correctly to achieve high-quality prints.
- Recommendation: Use a 3D printing material that is compatible with Worbla, such as PLA or ABS.
Preparing 3D Printed Pieces for Worbla
After printing, your pieces may require post-processing. Sanding and filling any imperfections will create a smooth surface for applying Worbla. This thermoplastic material is ideal for creating durable, detailed armor pieces.
- Clean the 3D printed pieces thoroughly to remove any dirt or oils.
- Sand the surface to achieve a smooth finish.
- Apply a primer if necessary to ensure better adhesion of Worbla.
Applying Worbla for a Finishing Touch
Worbla is a versatile material that can be molded, vacuum-formed, or applied in sheets. For armor making, Worbla thermoplastic sheets are commonly used. Here's how to apply Worbla:
- Heat the Worbla sheet to make it pliable.
- Apply the Worbla to the 3D printed piece, ensuring it covers the entire surface.
- Use a heat gun or Worbla heat gun attachment to shape and mold the Worbla into details.
Adding Details and Finishing
With Worbla applied, you can add intricate details using various tools, such as a Dremel or Worbla's own detailing tools. Paint and finish the armor with techniques suitable for the character's aesthetic.
Assembly and Final Touches
Once all pieces are completed, assemble the armor. You may need to use adhesives, Velcro, or magnetic attachments to secure the pieces together. Ensure the armor is wearable and comfortable.
Tips for Wearability
- Consider the weight and balance of the armor.
- Ensure visibility and mobility.
- Add padding if necessary for comfort.
Conclusion
Creating hyper-realistic gaming armor with Worbla and 3D printing is a rewarding process that requires patience, creativity, and practice. By following these steps and tips, you'll be well on your way to crafting stunning cosplay armor that will impress at any convention.
For more information and tutorials on cosplay crafting techniques, visit BYO Cosplay and explore our extensive library of guides and articles.