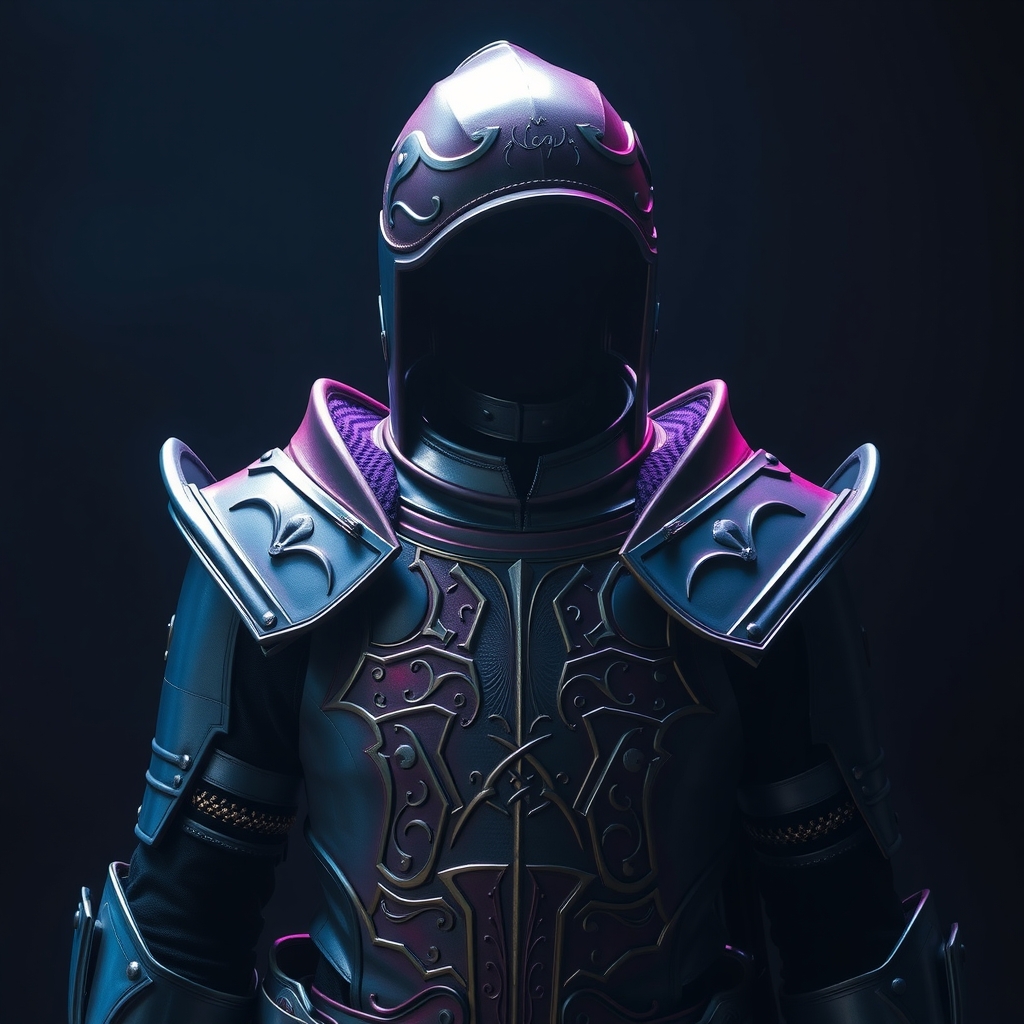
Introduction to Elder Scrolls Armor
Creating Elder Scrolls armor is a dream project for many cosplayers and prop makers. The intricate designs, detailed textures, and imposing presence of the armor make it a challenging yet rewarding project. In this guide, we'll walk you through the process of crafting realistic Elder Scrolls armor using Worbla and foam.
Materials and Tools Needed
- Worbla thermoplastic sheets
- Foam (e.g., Worbla's Thermocore or similar products)
- Heat gun or Worbla's heat gun attachment
- Protective gloves and safety glasses
- Reference images of Elder Scrolls armor
- Pattern making materials (e.g., paper, cardboard, or digital tools)
- Adhesives (e.g., hot glue, epoxy, or contact cement)
- Painting and finishing materials (e.g., primer, acrylic paint, and clear coat)
Designing and Pattern Making
Before starting your project, gather reference images of the Elder Scrolls armor you want to create. Study the design, texture, and details of the armor. Create a pattern or blueprint of the armor pieces using paper, cardboard, or digital tools. This step is crucial in ensuring accuracy and saving time during the crafting process.
Break down the armor into individual pieces, and consider the complexity of each part. Identify areas that require Worbla, foam, or a combination of both. Make adjustments to your pattern as needed to accommodate the materials and techniques you'll be using.
Cutting and Shaping Foam
Use a template or pattern to cut out the foam pieces. You can use a hot wire foam cutter or a sharp utility knife to cut through the foam. For more intricate designs, use a Dremel or a similar tool to shape and refine the foam pieces.
Sand the foam pieces to smooth out any rough edges or surfaces. Apply a coat of primer or a bonding agent to the foam to create a surface for the Worbla to adhere to.
Working with Worbla
Worbla is a versatile thermoplastic material that can be molded, shaped, and formed to create complex designs. To work with Worbla, preheat your heat gun or Worbla's heat gun attachment to the recommended temperature.
Place the Worbla sheet over the foam piece or pattern, and apply heat evenly to shape the Worbla into the desired form. Use a thermometer to monitor the temperature and avoid overheating the Worbla.
Shaping and Forming Worbla
Use a combination of heat and pressure to shape the Worbla into the desired form. You can use a Worbla tool or a similar instrument to shape and refine the Worbla.
Apply multiple layers of Worbla to achieve the desired thickness and texture. Allow each layer to cool and set before adding additional layers.
Assembly and Finishing
Assemble the armor pieces using adhesives, such as hot glue, epoxy, or contact cement. Make sure to align the pieces carefully and apply even pressure to avoid creating air pockets or bubbles.
Once the armor is assembled, sand and prime the surface to prepare it for painting. Apply multiple coats of paint and clear coat to achieve a realistic finish.
Adding Details and Weathering
Add details such as rivets, bolts, or engravings using a variety of techniques, including painting, drybrushing, or applying small parts. Weathering techniques, such as washes, drybrushing, or edge highlighting, can add depth and realism to the armor.
Apply a clear coat to protect the paint and finish. Seal any gaps or seams with a flexible sealant to ensure durability and flexibility.
Conclusion
Crafting Elder Scrolls armor with Worbla and foam requires patience, skill, and attention to detail. By following this step-by-step guide, you'll be able to create a realistic and imposing piece of armor that showcases your creativity and craftsmanship.
For more information on Worbla and foam crafting, visit the official Worbla website or online forums dedicated to cosplay and prop making. Share your creations and experiences with the community, and don't be afraid to ask for advice or guidance from fellow crafters.