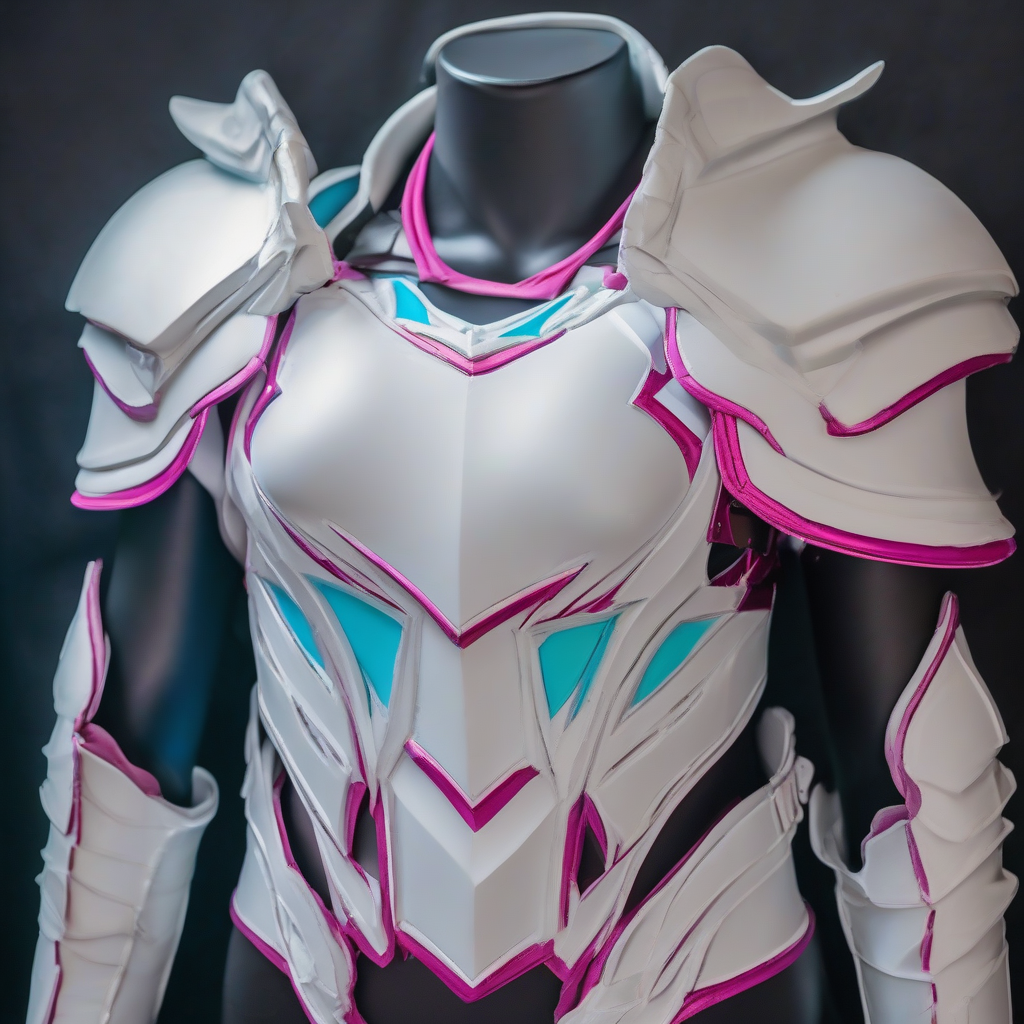
Introduction to EVA Foam Cosplay Armor
EVA foam has become a popular material in the cosplay community due to its versatility, durability, and ease of use. It is an excellent choice for crafting cosplay armor, especially for beginners. In this guide, we will walk you through the process of creating a stunning EVA foam chest plate, a crucial component of many cosplay armor sets.
Materials and Tools Needed
- EVA foam sheets (various thicknesses)
- Heat gun or hair dryer
- Utility knife or craft knife
- Cutting mat or old cardboard
- Glue (hot glue, epoxy, or contact cement)
- Sandpaper (various grits)
- Paint and primer (optional)
- Reference images of the desired chest plate design
Designing and Pattern Making
Before you start cutting and shaping your EVA foam, it's essential to have a clear design in mind. Look for reference images of the chest plate you want to create and take note of its shape, size, and details. You can use paper or cardboard to create a pattern, or draw the design directly onto the EVA foam sheet.
Keep in mind that EVA foam can be shaped and molded, but it's not as flexible as some other materials. Make sure your design takes into account the limitations of the material and the tools you have available.
Creating a Pattern
- Draw the basic shape of the chest plate onto paper or cardboard, using your reference images as a guide.
- Add details such as curves, angles, and cutouts.
- Refine your pattern, making sure it is symmetrical and proportional.
- Transfer the pattern onto the EVA foam sheet, using a marker or pencil.
Cutting and Shaping the EVA Foam
With your pattern in place, it's time to start cutting and shaping your EVA foam. Use a utility knife or craft knife to carefully cut out the basic shape of the chest plate.
Heat Shaping
EVA foam can be shaped and molded using heat. Use a heat gun or hair dryer to heat the foam, making it pliable and easy to shape.
- Apply heat to the area you want to shape, moving the heat gun or hair dryer slowly back and forth.
- As the foam becomes pliable, use your hands or a tool to shape it into the desired form.
- Allow the foam to cool and harden before handling it further.
Assembly and Finishing
Once you have cut and shaped your EVA foam pieces, it's time to assemble them into a complete chest plate.
Glueing and Bonding
- Apply glue to the edges of the foam pieces and attach them to each other, following the manufacturer's instructions.
- Use clamps or weights to hold the pieces in place while the glue dries.
- Allow the glue to fully dry before handling the chest plate.
Sanding and Finishing
- Use sandpaper to smooth out any rough edges or bumps.
- Progress through various grits, from coarse to fine, for a smooth finish.
- Apply primer and paint, if desired, to achieve a realistic or decorative finish.
Conclusion and Tips for Beginners
Crafting a stunning EVA foam chest plate requires patience, practice, and attention to detail. Don't be discouraged if your first project doesn't turn out perfectly – it's all part of the learning process.
Some final tips for beginners:
- Start with a simple design and gradually move on to more complex projects.
- Practice heat shaping and gluing techniques on scrap EVA foam before working on your actual project.
- Join online communities or forums to connect with other cosplayers and learn from their experiences.