
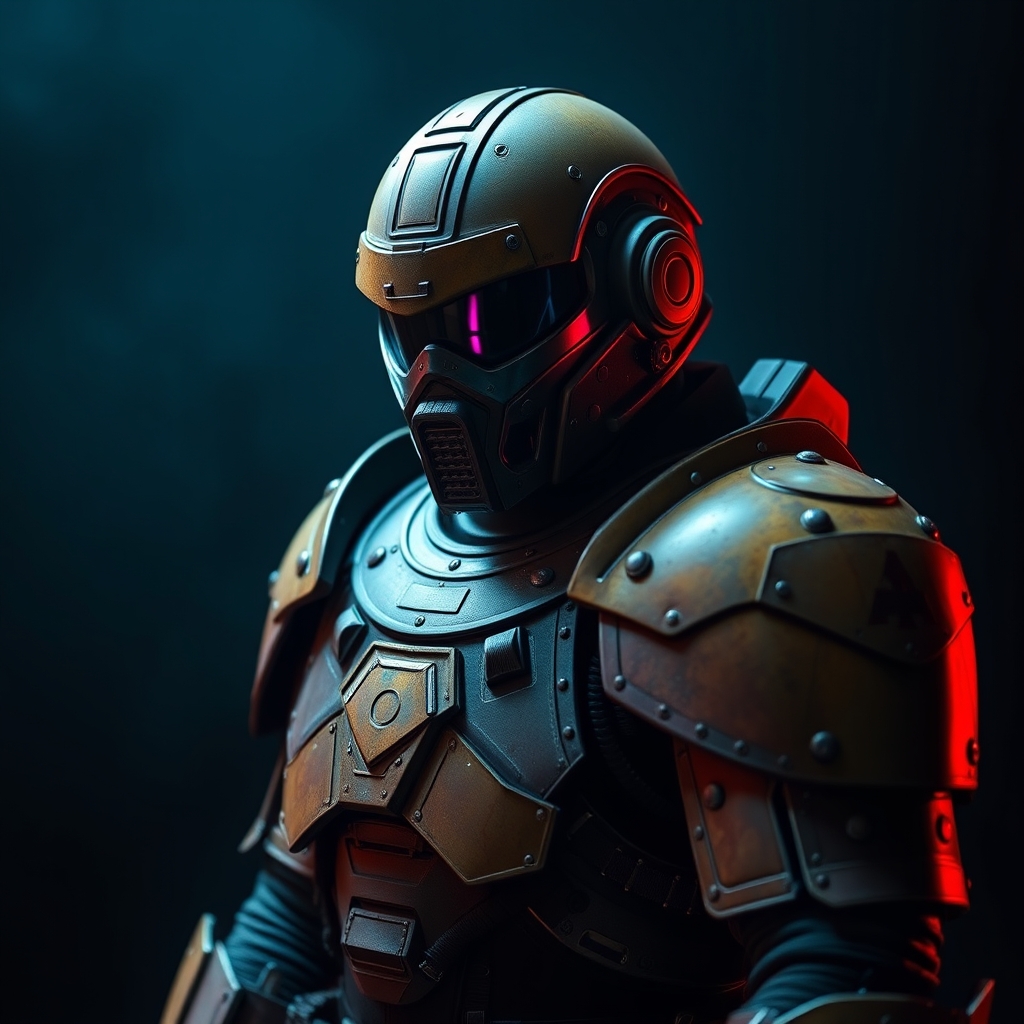
Introduction
Creating a hyper-realistic Helldivers armor set requires attention to detail, the right materials, and a bit of creativity. In this guide, we'll walk you through the process of crafting a stunning armor set using EVA foam and advanced weathering techniques. Whether you're a seasoned cosplayer or a newcomer to the world of prop-making, this tutorial will provide you with the knowledge and skills needed to bring this iconic armor to life.
Materials and Tools
Before we begin, make sure you have the following materials and tools:
- EVA foam sheets (various thicknesses)
- Hot glue gun
- Contact cement
- Paint and primer
- Weathering powders and paints
- Airbrush (optional)
- Sandpaper and files
- Reference images of Helldivers armor
Design and Pattern Making
The first step in creating your Helldivers armor is to design and create a pattern. Study reference images of the armor and take note of the shapes, curves, and details. You can use paper or cardboard to create a rough pattern, or use software like Adobe Illustrator or Blender to create a more precise design.
Once you have your pattern, transfer it to the EVA foam sheets and cut out the individual pieces. Make sure to leave a small margin around each piece for gluing and sanding.
EVA Foam Construction
Begin by gluing the EVA foam pieces together using hot glue. Make sure to apply even pressure to avoid creating air bubbles or wrinkles. Once the glue has dried, use contact cement to reinforce the joints and add additional stability to the armor.
Use sandpaper and files to smooth out any rough edges or bumps. You can also use a Dremel or other rotary tool to add details like rivets, bolts, or texture to the armor.
Weathering and Painting
To achieve a hyper-realistic look, you'll need to add weathering and wear to the armor. Start by priming the entire armor set with a coat of primer. This will help the paint adhere and create a uniform base coat.
Use acrylic paint to add color and details to the armor. You can use reference images to get an accurate color match. Once the paint has dried, use weathering powders and paints to add dirt, grime, and wear to the armor.
For a more realistic look, use an airbrush to apply subtle shading and gradient effects. You can also use a wet palette to blend the colors and create a more natural look.
Advanced Weathering Techniques
To take your weathering to the next level, try using advanced techniques like:
- Edge highlighting: Use a fine brush to apply a lighter color to the edges of the armor, creating a subtle highlight effect.
- Washes: Use a thin layer of paint or ink to add shading and depth to recessed areas.
- Stippling: Use a small brush to apply tiny dots of paint, creating a textured, worn look.
Remember to work slowly and build up the weathering gradually. It's easier to add more weathering than it is to remove it, so start with subtle effects and gradually increase the intensity.
Finishing Touches
Once you're happy with the weathering, apply a clear coat to protect the armor and give it a glossy finish. You can also add additional details like decals, logos, or emblems to complete the look.
Finally, assemble the armor set and make any necessary adjustments. With a little patience and practice, you'll have a stunning Helldivers armor set that's sure to impress at any cosplay event.



