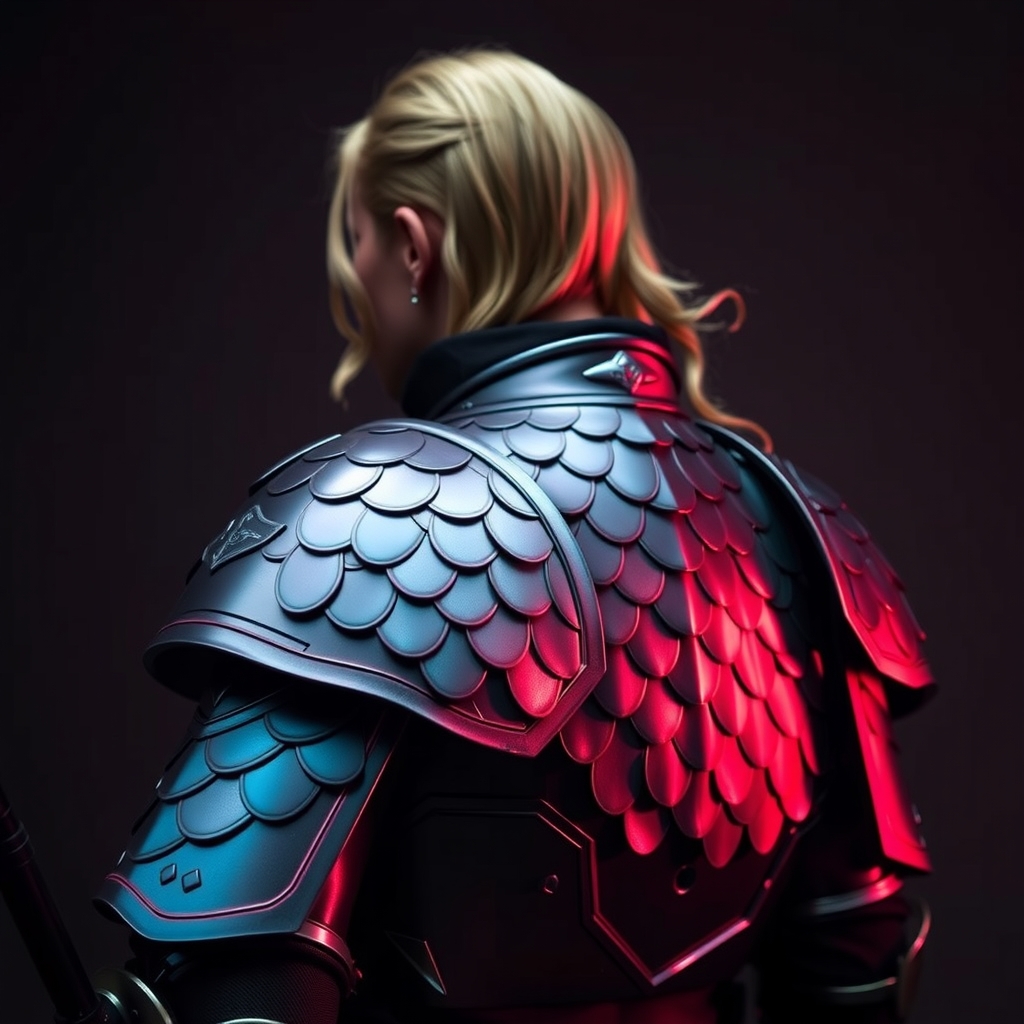
Introduction to Cosplay Scales
Cosplay scales are a popular feature in many fantasy and sci-fi costumes, adding a touch of realism and texture to armor builds. Whether you're a seasoned cosplayer or just starting out, creating realistic scales can seem daunting. However, with the right materials and techniques, you can achieve a professional-looking finish. In this guide, we'll walk you through the process of crafting shiny cosplay scales using resin and paint.
Materials and Tools Needed
- Resin ( epoxy or polyurethane-based)
- Hardener
- Paint (acrylic or enamel-based)
- Primer
- Clear coat
- Mold material (silicone or plastic)
- Mixing cups and stir sticks
- Paintbrushes and airbrush (optional)
Creating the Mold
To create realistic scales, you'll need a mold to shape your resin. You can use silicone or plastic to create a mold, depending on the desired texture and finish. For a more realistic scale pattern, you can use a texture plate or a piece of fabric with a scale-like pattern. Apply a release agent to the mold material to ensure the resin will release easily once set.
When creating the mold, make sure to add a pouring channel and a vent to allow air to escape. This will help prevent bubbles from forming in the resin.
Mixing and Casting the Resin
Once your mold is ready, it's time to mix and cast the resin. Follow the instructions on the resin packaging for the correct mixing ratio and curing time. Make sure to mix the resin and hardener thoroughly, as any air pockets or uneven mixing can affect the final result.
Pour the mixed resin into the mold, making sure to fill it to the top. Use a stir stick or mixing cup to remove any air bubbles that form. Let the resin cure for the recommended amount of time, usually several hours or overnight.
Demolding and Sanding
Once the resin is fully cured, carefully remove it from the mold. If using a silicone mold, gently flex the mold to release the resin. If using a plastic mold, you may need to use a release agent or carefully pry the resin out.
Use a hobby knife or sandpaper to remove any excess resin or flash from the edges of the scales. Sand the scales using progressively finer grits of sandpaper to achieve a smooth finish.
Priming and Painting
Apply a primer to the scales to create a uniform base coat and help the paint adhere. Choose a primer that's suitable for the type of paint you'll be using.
Once the primer is dry, use acrylic or enamel-based paint to add color and shading to the scales. You can use a paintbrush or airbrush to achieve a smooth, even finish. Apply multiple thin coats of paint, allowing each coat to dry before adding the next.
Adding a Shiny Finish
To achieve a shiny finish, apply a clear coat to the scales. Choose a clear coat that's suitable for the type of paint you used and follow the instructions for application.
For an extra glossy finish, you can use a polishing compound or a clear resin coat. Apply the polishing compound or resin according to the manufacturer's instructions and let it cure before handling the scales.
Tips and Variations
To add extra realism to your scales, you can vary the size, shape, and texture of each scale. You can also experiment with different colors and shading techniques to create a more natural look.
Consider adding a backing material, such as fabric or Worbla, to the scales to make them more comfortable to wear. You can also use a combination of resin and other materials, such as foam or cardboard, to create a more complex armor piece.