Introduction
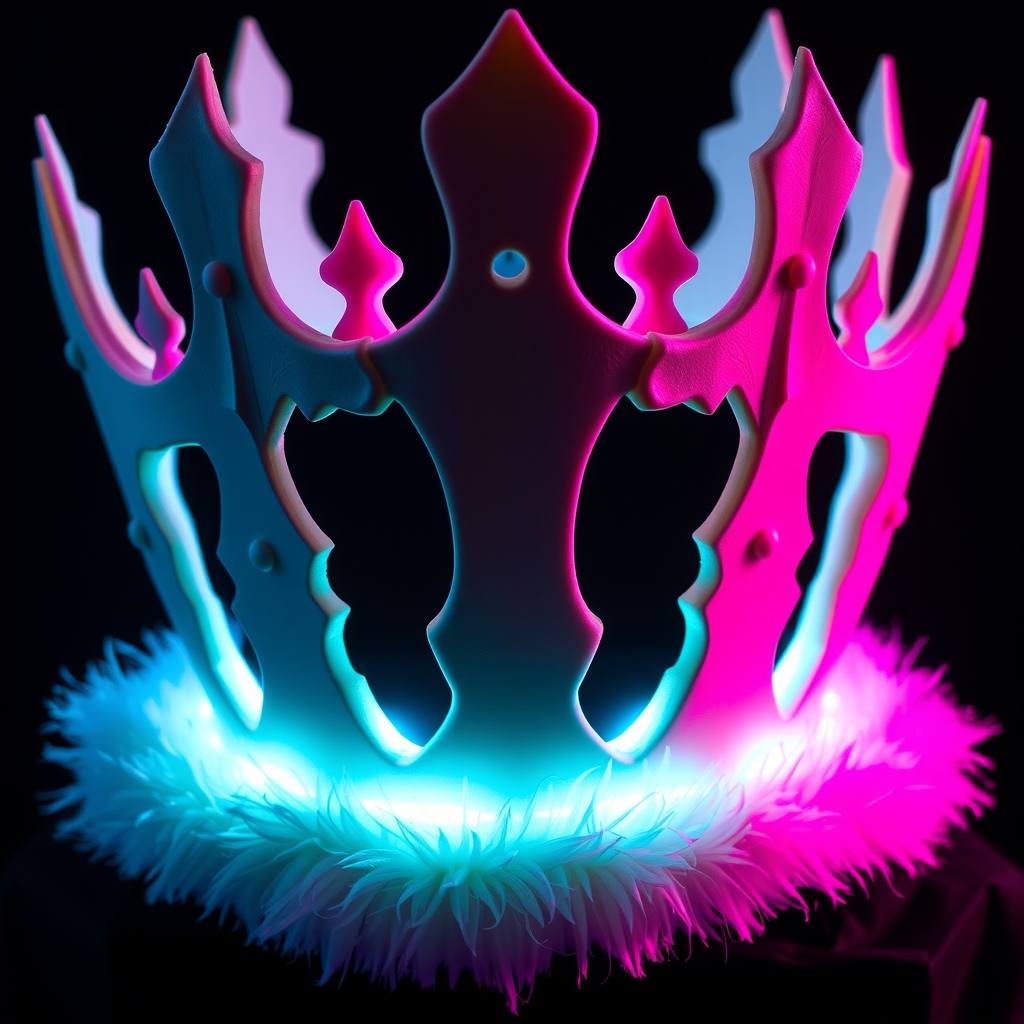
The Crown of the Ivory King, a majestic and intimidating piece of headwear from the Dark Souls series, is a popular choice among cosplayers and prop makers. Made from intricately designed and shaped materials, this crown is a testament to the craftsmanship and attention to detail of its creators. In this tutorial, we will guide you through the process of transforming EVA foam into a stunning Crown of the Ivory King, perfect for cosplay or display.
Materials and Tools Needed
- EVA foam sheets (various thicknesses)
- Hot glue gun and glue sticks
- Contact cement
- Foam sealant (optional)
- Paint and primer
- Reference images of the Crown of the Ivory King
- Modeling tools (e.g., foam cutter, heat gun, sanding block)
- Measuring tape or ruler
- Pencil or marker
Design and Pattern Making
Before starting the project, gather reference images of the Crown of the Ivory King from various angles. Study the design, shape, and details of the crown, taking note of the curves, lines, and textures. Use a pencil or marker to sketch the crown's design onto paper or cardboard, creating a pattern or template. This will serve as a guide for cutting out the EVA foam pieces.
To create a more accurate pattern, measure the circumference of your head and add a few inches to determine the size of the crown. Use a flexible measuring tape or a piece of string to get an accurate measurement. Transfer the measurements to your pattern, ensuring a comfortable and secure fit.
Cutting and Shaping the EVA Foam
Using your pattern, cut out the individual pieces of the crown from the EVA foam sheets. You may need to use a combination of foam cutters, scissors, or a craft knife to achieve the desired shapes and curves. For more intricate cuts, use a heat gun to soften the foam, allowing for more precise shaping.
Once the pieces are cut, use a sanding block or sandpaper to smooth out any rough edges or burrs. Apply a small amount of contact cement to the edges of the pieces and attach them to each other, forming the basic shape of the crown.
Adding Details and Texture
Using a heat gun or a modeling tool, add texture and details to the crown, such as the intricate designs and patterns found on the Crown of the Ivory King. You can also use a toothpick or a small tool to create small details, like the crown's rivets or inlays.
For a more realistic look, apply a layer of foam sealant to the crown, allowing it to dry completely before sanding. This will help to fill in any gaps or imperfections, creating a smooth surface for painting.
Painting and Finishing
Prime the crown with a coat of primer, allowing it to dry according to the manufacturer's instructions. Then, apply layers of paint, using reference images to achieve an accurate color scheme. You may need to use multiple coats to achieve the desired color and coverage.
Once the paint is dry, apply a clear coat to protect the finish and give the crown a glossy appearance. You can also add additional details, such as a fabric or leather lining, to enhance the overall look and comfort of the crown.
Conclusion and Tips
Crafting the Crown of the Ivory King from EVA foam requires patience, attention to detail, and practice. Don't be discouraged if your first attempt doesn't turn out perfectly – with time and experience, you'll develop the skills and techniques needed to create a stunning and accurate replica.
Some additional tips to keep in mind:
- Use reference images to ensure accuracy and attention to detail.
- Work in a well-ventilated area, and use protective gear when working with power tools or chemicals.
- Experiment with different materials and techniques to achieve the desired look and texture.
- Join online communities or forums to share your work and learn from others.