
Introduction
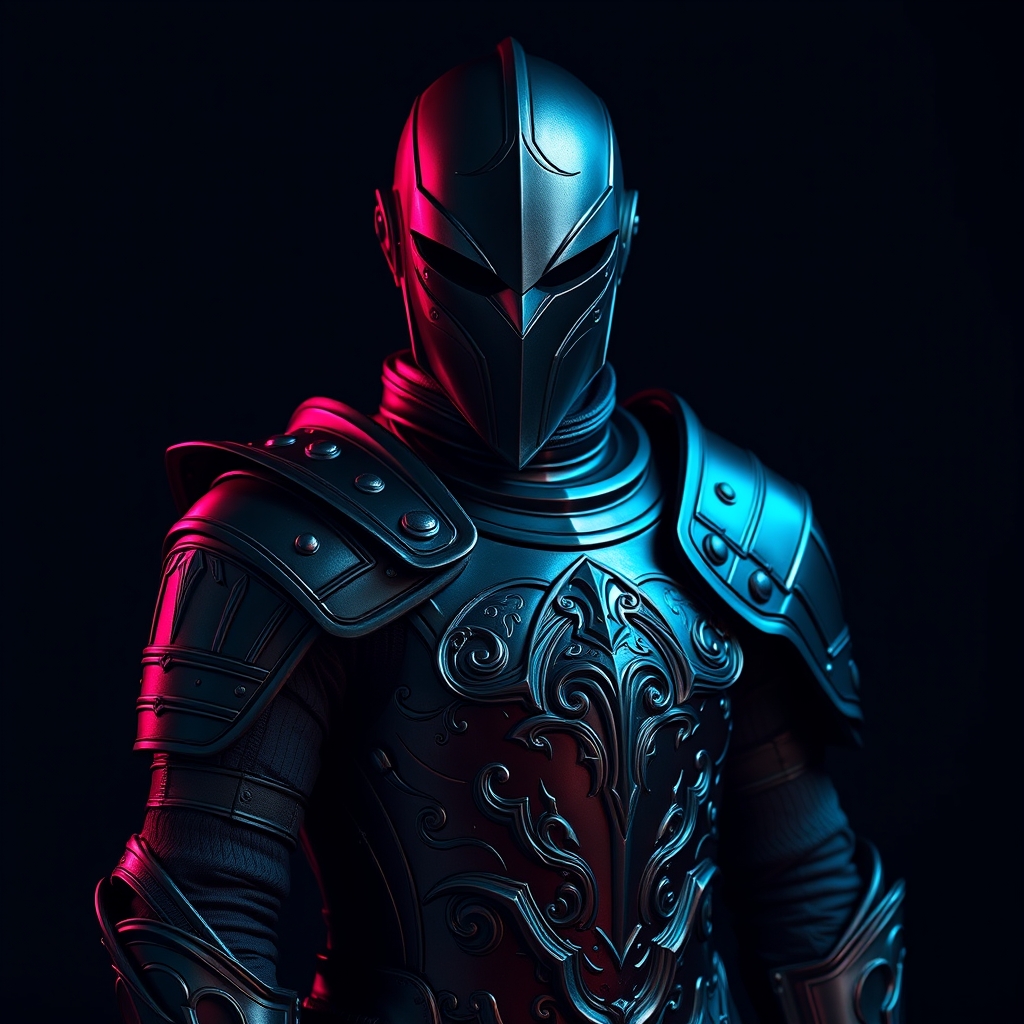
For fans of the Elder Scrolls Online series, creating a replica of the game's iconic armor sets can be a dream come true. With the right materials and techniques, cosplayers and prop makers can bring these fantastical armors to life. In this guide, we'll walk you through the process of crafting hyper-realistic Elder Scrolls Online armor using foam and Worbla, two popular materials in the cosplay and prop making communities.
Materials and Tools Needed
Before starting your project, make sure you have the following materials and tools:
- High-density foam (e.g., Worbla's Thermoplastic Foam or similar products)
- Worbla (various types, including Worbla Thermoplastic, Worbla Fusion, and Worbla Arkemide)
- Heat gun or hair dryer
- Hot wire foam cutter or craft knife
- Sandpaper and files
- Paint and primer (acrylic or enamel)
- Reference images of the desired Elder Scrolls Online armor set
Design and Pattern Making
The first step in creating your Elder Scrolls Online armor is to gather reference images of the desired set. Study the armor's design, shape, and details. Use these references to create a pattern or template for your armor pieces. You can use paper or cardboard to create a rough template, or software like Adobe Illustrator or Autodesk Fusion 360 to create a more precise digital template.
Once you have your pattern, use it to cut out the corresponding foam pieces. Make sure to add a 1/4 inch margin around each piece to allow for sanding and shaping.
Foam Shaping and Worbla Application
Use a hot wire foam cutter or craft knife to shape and refine your foam pieces. Sand the edges and surfaces to smooth out any rough spots.
Next, apply Worbla to the foam pieces using a heat gun or hair dryer. Start by applying a thin layer of Worbla to the entire piece, making sure to cover all surfaces evenly. Use a heat gun or hair dryer to shape and mold the Worbla to the desired shape.
For more complex details, you can use Worbla Fusion or Worbla Arkemide to create raised patterns or textures. Apply these materials using a heat gun or hair dryer, and shape them with a toothpick or modeling tool.
Assembly and Finishing
Once all your armor pieces are shaped and Worbla'd, it's time to assemble them. Use a combination of hot glue, epoxy, or Worbla to attach the pieces together. Make sure to align the pieces carefully and use clamps or weights to hold them in place while the adhesive sets.
After assembly, sand the entire armor piece to smooth out any rough edges or bumps. Apply primer and paint to achieve the desired color and finish.
Tips and Variations
To add an extra layer of realism to your Elder Scrolls Online armor, consider adding weathering effects like scratches, dents, or bloodstains. Use a combination of paint, ink, and washes to achieve these effects.
For a more durable finish, apply a clear coat of varnish or resin to protect the Worbla and paint.
Experiment with different Worbla colors and textures to create unique and personalized armor sets.
Conclusion
Crafting hyper-realistic Elder Scrolls Online armor with foam and Worbla requires patience, skill, and attention to detail. With this step-by-step guide, cosplayers and prop makers can create stunning replicas of their favorite armor sets. Don't be afraid to experiment and add your own personal touches to make your armor truly unique.
For more information on foam crafting and Worbla, check out the following resources:
- Worbla's official website: https://www.worbla.com/
- YouTube tutorials on foam crafting and Worbla: https://www.youtube.com/results?search_query=foam+crafting+worbla
- Elder Scrolls Online cosplay communities: https://www.elderscrollsonline.com/en/cosplay



