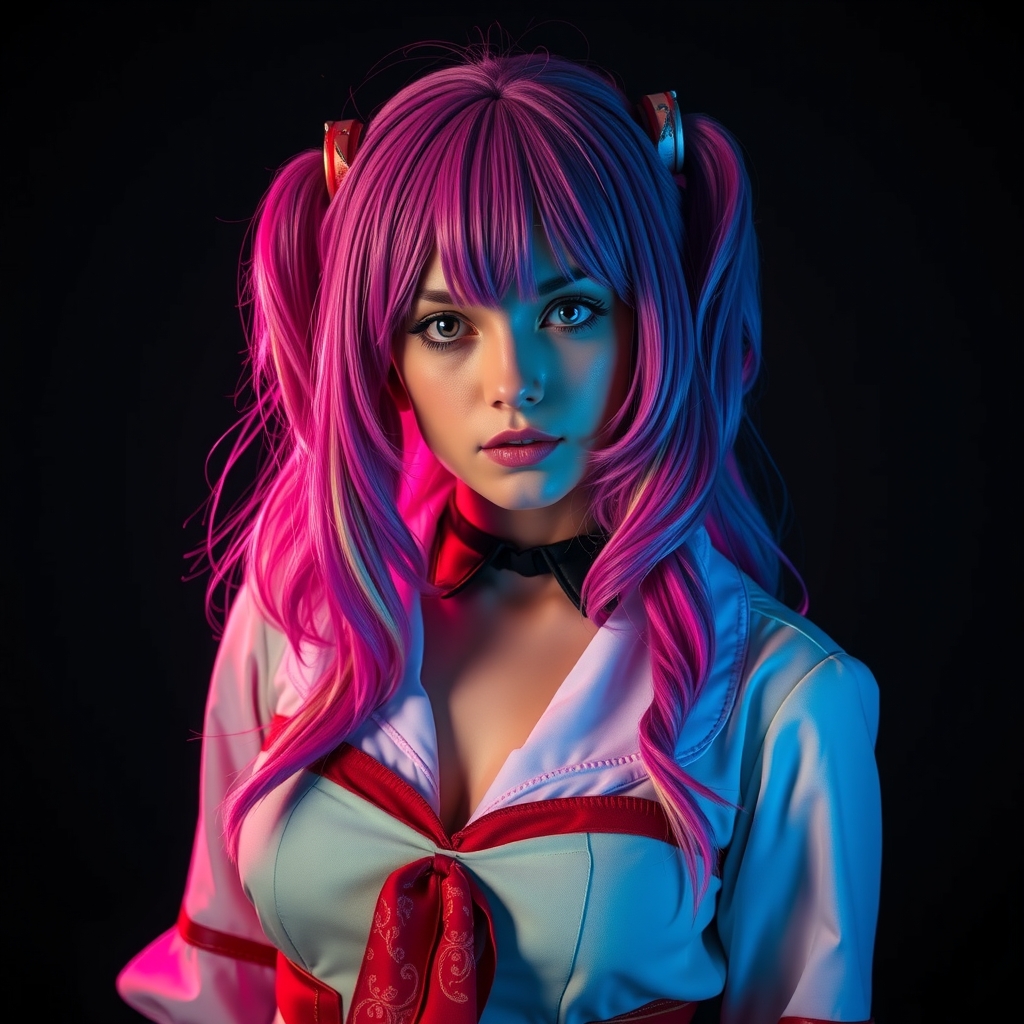
For many cosplayers, the wig is the crowning glory of a costume. However, few things are as intimidating as the first snip of the scissors. Whether you are aiming for the blunt, architectural bangs of a high-fashion anime antagonist or the soft, wispy fringe of a slice-of-life protagonist, the difference between a "costume wig" and a "character hairstyle" lies in the technique of the cut and the mastery of volume.
Understanding the Foundation: Prep and Placement
Before a single strand of synthetic fiber is cut, you must establish the correct placement. A common mistake is cutting bangs while the wig is on a mannequin head without considering how the wig will sit on a human scalp. Synthetic wigs often shift, and a fringe cut perfectly on a stand may end up poking you in the eye or sitting too high once worn.
Start by securing the wig to a canvas block head using T-pins. Ensure the lace front is aligned exactly where your natural hairline begins. If the wig has a heavy fringe already, do not cut it immediately. Instead, comb the hair forward and use a mirror to check the "drop point"—the exact length where the hair hits your brow. Mark this point with a washable marker or a clip before proceeding. Remember: synthetic hair bounces back. Always cut the fringe one inch longer than you think you need; you can always take more off, but you cannot add hair back.
The Golden Rule of Cutting: Point Cutting vs. Blunt Cutting
The "helmet look" occurs when cosplayers cut bangs in a straight, horizontal line. In nature, hair varies in length and thickness. To achieve a realistic look, you must employ two primary cutting techniques: blunt cutting for structure and point cutting for texture.
Blunt Cutting for Bold Styles
Blunt cuts are ideal for characters with a very structured, graphic look. To execute this, comb the hair flat against the forehead. Use a fine-tooth comb to hold the section firmly and cut in a straight line. However, even "blunt" bangs benefit from a slight inward curve toward the bridge of the nose to prevent the fringe from looking like a flat curtain.
Point Cutting for Natural Movement
Point cutting is the secret weapon of professional wig stylists. Instead of cutting across the hair, hold the scissors vertically (perpendicular to the floor) and snip into the ends of the hair in small, rhythmic motions. This removes bulk and creates a feathered, staggered edge. This technique is essential for "see-through" bangs or wispy fringes, as it prevents the hair from clustering into thick, unnatural clumps.
Architecting Volume: Teasing and Backcombing
Realistic bangs rarely lie completely flat against the forehead; they have a "lift" at the root that provides dimension. To achieve this without making the wig look frizzy, you need to master the art of the tease.
- Sectioning: Separate the fringe from the rest of the wig using duckbill clips.
- The Tease: Take a small section of hair at the root. Using a fine-tooth teasing comb, push the hair downward toward the scalp in short, firm strokes. Do this 3-4 times to create a small "cushion" of hair.
- Smoothing: Gently brush the top layer of the hair over the teased section to hide the nest of tangles.
- Setting: Apply a high-hold freezing spray or a specialized wig lacquer to lock the volume in place.
For characters with "gravity-defying" spikes or swoops, you can incorporate a small piece of clear acrylic or a hidden piece of foam inside the teased section to provide a structural skeleton for the hair to lean on.
The Art of the "Swoop" and Side-Swept Fringes
Side-swept bangs are a staple of anime and gaming designs, but they often slip back into the face during a convention. The key to a permanent swoop is a combination of heat and adhesive.
Begin by brushing the fringe in the desired direction. Use a handheld steamer or a low-heat flat iron (ensure the wig is heat-resistant) to curve the hair away from the face. While the hair is still warm, pin it into place with a flat clip. Once the hair cools, the shape is "set."
To ensure the swoop stays put during a long day of photoshoots, apply a small amount of clear-drying spirit gum or a strong-hold gel to the root of the swoop and press it against the wig cap. This creates an invisible anchor that prevents the hair from sliding back to the center.
Finishing Touches: Taming Flyaways and Adding Realism
Once the cut and shape are complete, you must address the synthetic sheen and stray fibers. Many budget wigs have an unnatural plastic glow that ruins the realism of a carefully styled fringe.
- Matting: Use a small amount of dry shampoo or a specialized wig powder to dull the shine of the bangs. This makes the hair look more like organic protein and less like nylon.
- Taming: Use a clear mascara wand or a tiny amount of diluted clear glue on a toothbrush to slick down flyaways along the part line.
- Blending: Ensure the edges of the fringe blend seamlessly into the side lengths of the wig. Use the point-cutting technique to create a gradual transition from the short center to the longer sides.
Maintenance and On-the-Go Fixes
Bangs are the first part of a wig to lose their shape due to humidity, wind, or sweat. To keep your fringe looking sharp throughout a convention, carry a "touch-up kit" consisting of a travel-sized bottle of strong-hold hairspray, a wide-tooth comb, and a few bobby pins.
If your bangs begin to flatten, avoid over-spraying, as this can lead to a "crunchy" texture. Instead, gently lift the roots with your fingers and apply a light mist of spray from a distance. If the fringe begins to separate into clumps, a quick brush-through with a wide-tooth comb will redistribute the fibers and restore the intended silhouette.