
Introduction
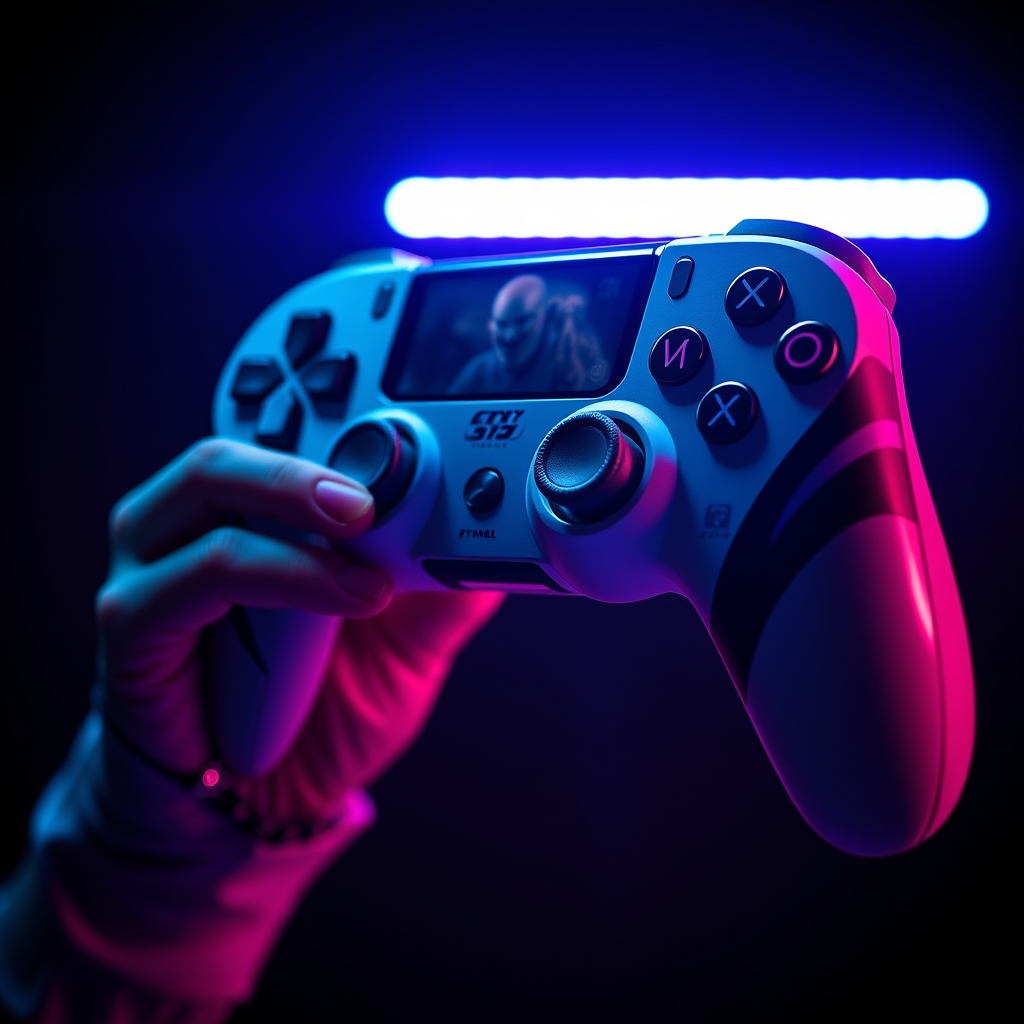
As a cosplayer, creating accurate and detailed props can make or break a costume. For gamers and fans of video games, a custom-designed controller skin can add an extra layer of authenticity to a cosplay. In this guide, we'll walk you through the process of creating custom video game controller skins using vinyl and decals. With these simple steps, you can elevate your cosplay game and create a one-of-a-kind prop.
Materials and Tools Needed
Before starting your project, gather the necessary materials and tools:
- Vinyl sheets (various colors and finishes)
- Decal paper or vinyl decal sheets
- Printer and ink
- Cutting tool (craft knife, scissors, or a vinyl cutter)
- Transfer tape
- A video game controller (to use as a template or base)
- Measuring tape or calipers
- Design software (e.g., Adobe Illustrator or Photoshop)
Designing Your Skin
To create a custom controller skin, you'll need to design your layout and graphics. Use design software to create a template or mockup of your controller skin. You can find pre-made templates online or create your own using measurements from your controller.
Consider the following design tips:
- Use high-resolution images or vector graphics for crisp lines and details.
- Choose colors and patterns that match your cosplay character's aesthetic.
- Keep your design simple and bold, as intricate details may be difficult to apply.
Applying Vinyl Skins
Once you have your design, it's time to apply the vinyl skin to your controller. Follow these steps:
- Clean the controller surface with a soft cloth and mild soap.
- Measure and cut your vinyl sheet to size, leaving a small margin around the edges.
- Apply transfer tape to the vinyl sheet, making sure to cover the entire surface.
- Place the vinyl sheet onto the controller, starting from the center and working your way outwards.
- Use a credit card or similar tool to smooth out air bubbles and ensure a tight fit.
Adding Decals
Decals can add an extra layer of detail to your controller skin. To apply decals:
- Print your decal design onto decal paper or vinyl decal sheets.
- Cut out the decal using a craft knife or scissors.
- Apply transfer tape to the decal, making sure to cover the entire surface.
- Place the decal onto the controller, using a level or ruler to ensure accurate placement.
- Use a credit card or similar tool to smooth out air bubbles and ensure a tight fit.
Tips and Variations
To take your custom controller skin to the next level, consider the following tips and variations:
- Use different materials, such as carbon fiber or metallic finishes, to create a unique look.
- Add glow-in-the-dark accents or paint for an extra pop of color.
- Experiment with different vinyl patterns and textures, such as glitter or holographic finishes.
- Create a themed controller skin to match your cosplay character's personality or style.
Conclusion
Creating a custom video game controller skin with vinyl and decals is a fun and rewarding project for cosplayers and prop makers. With these simple steps and design tips, you can elevate your cosplay game and create a one-of-a-kind prop that's sure to impress. Happy crafting!



