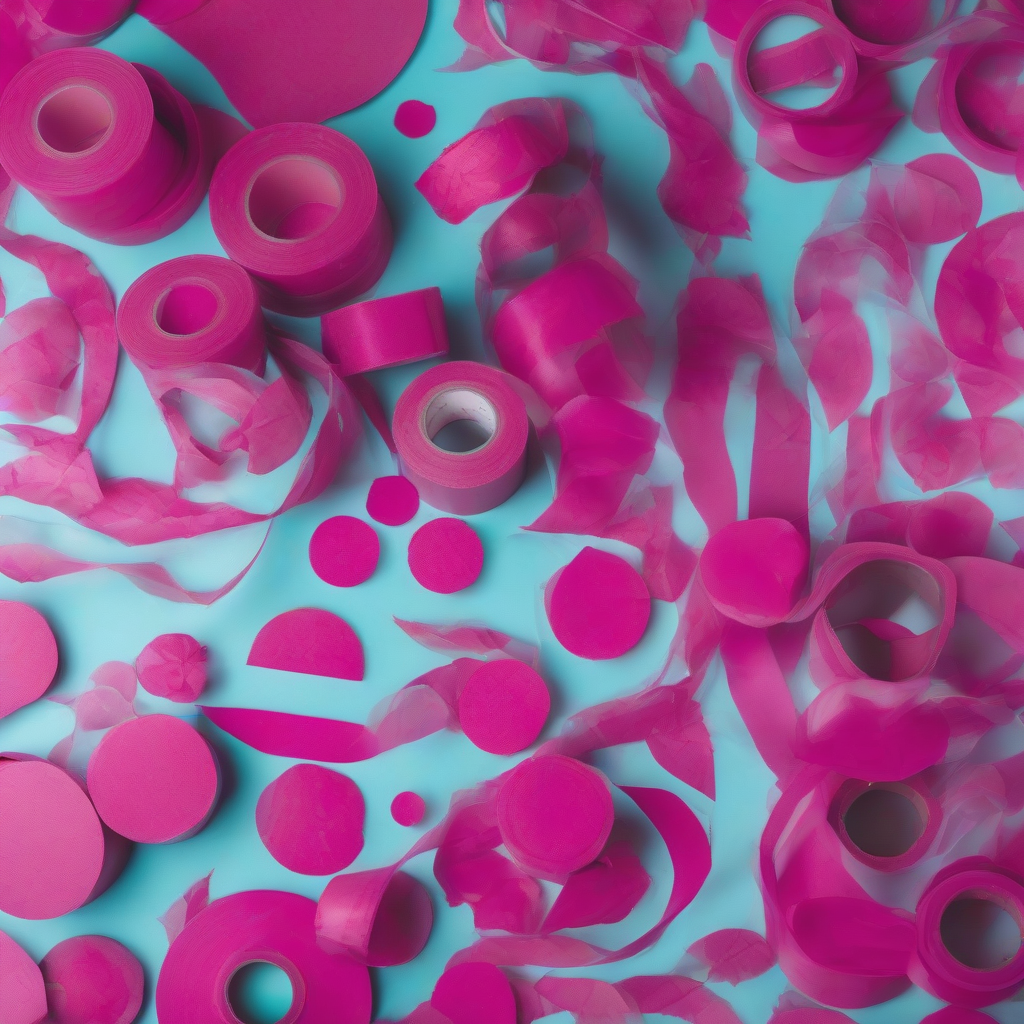
Introduction to Washi Tape
Japanese washi tape has become a staple in the cosplay community, and for good reason. This versatile, paper-based tape is coated with a gentle adhesive that allows it to stick to a variety of surfaces without leaving residue. Its flexibility and forgiving nature make it an ideal material for adding intricate details to your cosplay props, armor, and accessories.
Choosing the Right Washi Tape
With a vast array of washi tape designs and colors available, selecting the right one for your project can be overwhelming. When choosing a washi tape, consider the color, pattern, and width that will best suit your design. For cosplay details, it's often best to opt for a tape with a subtle design or a solid color to ensure it blends seamlessly with your costume.
- Width: Washi tape comes in various widths, ranging from 1-50mm. Thicker tapes are ideal for creating bold designs, while thinner tapes are better suited for delicate details.
- Adhesive strength: Some washi tapes have a stronger adhesive than others. If you're working with a delicate surface, choose a tape with a gentle adhesive to avoid damage.
- Surface type: Consider the surface you'll be applying the tape to. For example, if you're working with fabric, choose a tape specifically designed for use on textiles.
Preparing Your Surface
Before applying washi tape to your cosplay piece, ensure the surface is clean and dry. Any dirt, oils, or moisture can affect the tape's adhesive properties, causing it to peel off prematurely.
- Clean the surface: Gently wipe the surface with a soft cloth and mild soap solution. Allow it to dry completely before proceeding.
- Remove any finishes: If your surface has a glossy or textured finish, lightly sand it to create a smooth surface for the tape to adhere to.
Basic Application Techniques
Mastering basic application techniques is essential for achieving professional-looking results with washi tape.
- Straight lines: To create straight lines, apply the tape slowly and smoothly, using a ruler or guide to ensure accuracy.
- Curves: For curved lines, gently stretch the tape as you apply it, using a gentle pulling motion to achieve a smooth, even curve.
- Edges: To create crisp edges, apply the tape carefully, using a credit card or similar tool to smooth out any air bubbles or wrinkles.
Advanced Techniques and Tips
Once you've mastered basic application techniques, experiment with advanced methods to add intricate details to your cosplay.
- Layering: Layer multiple strips of washi tape to create textured, dimensional designs.
- Stenciling: Use washi tape to create stencils for painting or applying other materials to your cosplay piece.
- Masking: Apply washi tape as a mask to protect areas of your cosplay piece from paint or other materials.
Removing Washi Tape
Removing washi tape can be a delicate process, especially if it's been applied to a sensitive surface.
- Peel slowly: Gently peel the tape off at a 45-degree angle, using a slow and steady motion.
- Use a hair dryer: If the tape is stubborn, apply gentle heat with a hair dryer to loosen the adhesive.
Conclusion
Japanese washi tape is a versatile and forgiving material that can elevate your cosplay craft to the next level. With practice and patience, you can master the art of using washi tape to add intricate details to your props, armor, and accessories. Experiment with different techniques, and don't be afraid to push the boundaries of what's possible with this amazing material.