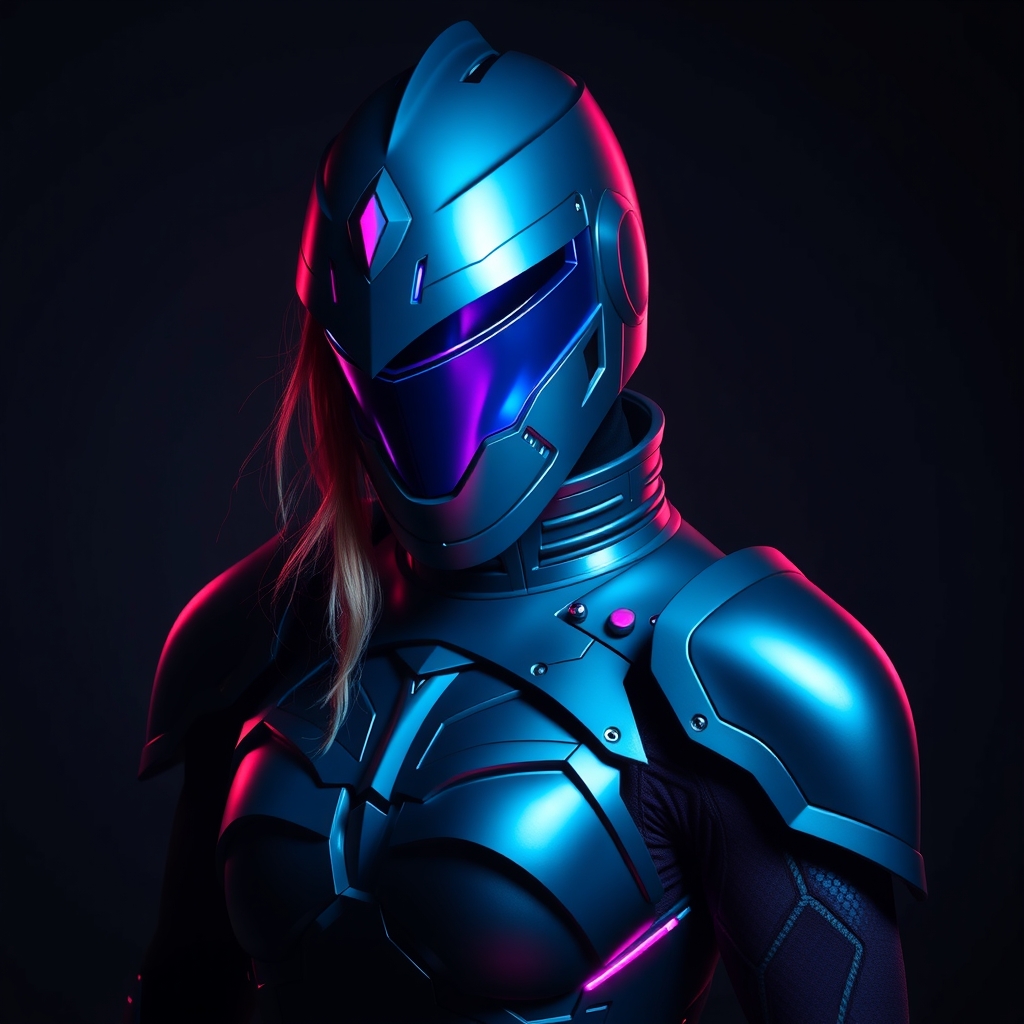
Introduction to Cosplay Armor Crafting
Crafting cosplay armor is an art that requires patience, creativity, and attention to detail. With the right materials and techniques, you can create stunning, durable armor that elevates your cosplay game. In this guide, we'll focus on working with EVA foam and thermoplastics, two popular materials used in cosplay armor crafting.
Materials and Tools
Before we dive into the crafting process, let's cover the essential materials and tools you'll need:
- EVA foam (ethylene-vinyl acetate foam) in various thicknesses
- Thermoplastics (e.g., Worbla, Wonderflex, or Thermoplastic sheets)
- Heat gun or hair dryer
- Hot glue gun
- Contact cement or spray adhesive
- Paint and primer
- Sandpaper and files
- Utility knife or craft knife
Understanding EVA Foam
EVA foam is a versatile, lightweight material ideal for creating armor pieces that require flexibility and durability. It's available in various thicknesses and can be shaped, cut, and glued to create complex designs.
Working with Thermoplastics
Thermoplastics are materials that can be melted and molded into various shapes. They're perfect for creating rigid, detailed armor pieces. When working with thermoplastics, it's essential to follow safety guidelines and use proper ventilation.
Pattern Making and Design
Before you start crafting your armor, you'll need to create a pattern or template. This can be done using:
- Paper or cardboard templates
- 3D modeling software or apps
- Reference images or real-life armor examples
Take your time to refine your design, ensuring it fits comfortably and is proportionate to your body.
Crafting with EVA Foam
Here's a step-by-step guide to crafting with EVA foam:
- Cutting and shaping: Use a utility knife or craft knife to cut out your design. You can also use a heat gun to shape and mold the foam.
- Glueing and bonding: Apply contact cement or spray adhesive to bond the foam pieces together. Use hot glue to reinforce joints.
- Sanding and finishing: Sand the foam to smooth out any rough edges or surfaces. You can also apply a coat of primer and paint to enhance the appearance.
Working with Thermoplastics
Here's a step-by-step guide to working with thermoplastics:
- Cutting and shaping: Use a utility knife or craft knife to cut out your design. You can also use a heat gun to shape and mold the thermoplastic.
- Forming and molding: Apply heat to the thermoplastic using a heat gun or hair dryer. Use a mold or shape the material by hand to create the desired form.
- Bonding and finishing: Use hot glue or contact cement to bond the thermoplastic pieces together. Sand and prime the surface for painting.
Finishing Techniques and Assembly
Once you've crafted your armor pieces, it's time to assemble and finish them:
- Painting and priming: Apply a coat of primer and paint to enhance the appearance of your armor.
- Adding details: Use a variety of materials (e.g., fabric, leather, or metallic paint) to add details and textures to your armor.
- Assembly and attachment: Use hot glue, contact cement, or mechanical fasteners to assemble and attach the armor pieces.
Conclusion
Crafting cosplay armor with EVA foam and thermoplastics requires patience, creativity, and practice. By following these guidelines and experimenting with different techniques, you'll be able to create stunning, durable armor that elevates your cosplay experience.