Introduction
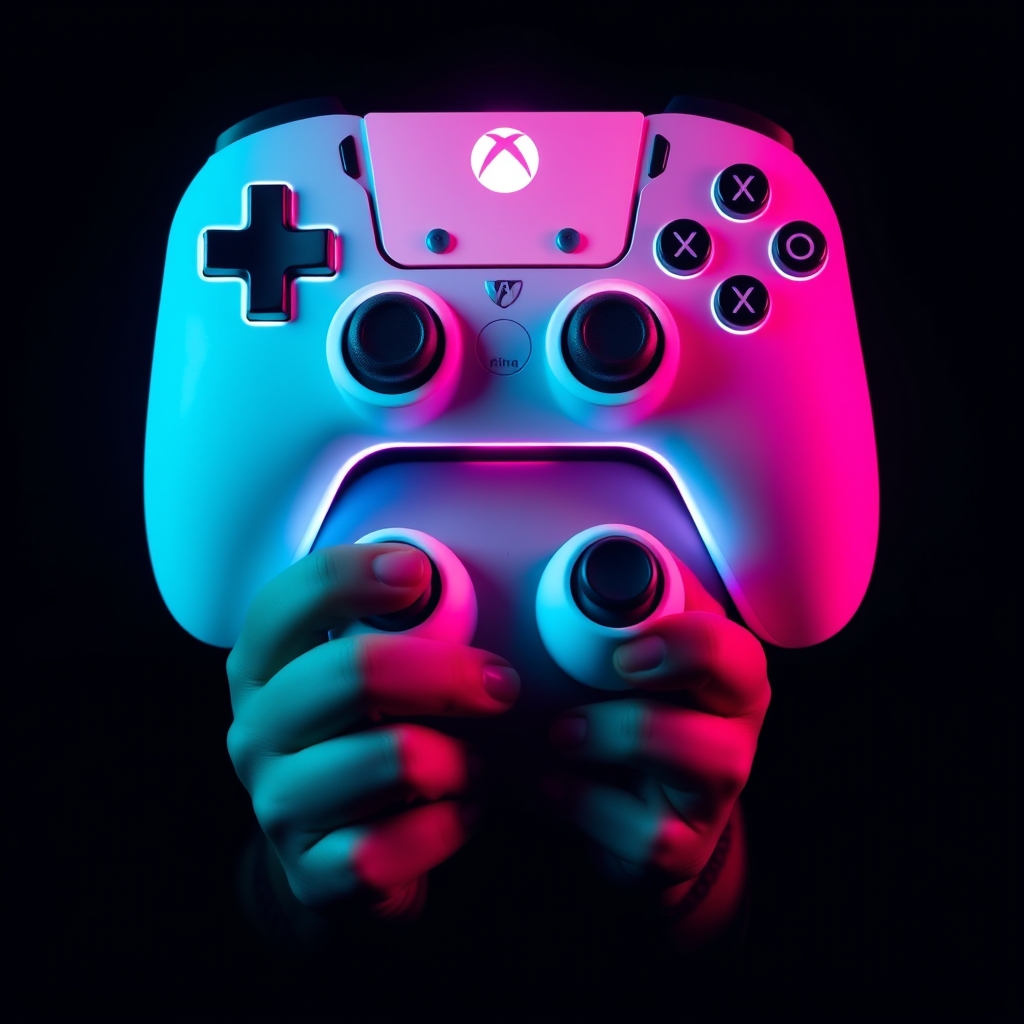
As a cosplayer, creating a prop that accurately represents a character's iconic item can make or break the overall costume. For gamers and cosplayers alike, custom gaming controller props have become increasingly popular. Whether you're cosplaying as a character from a popular game or just want to showcase your love for gaming, a custom controller prop can elevate your costume to the next level. In this guide, we'll walk you through the process of designing and creating a custom gaming controller prop for cosplay.
Designing Your Controller Prop
Before you start crafting your prop, it's essential to have a clear design in mind. Here are some steps to help you get started:
- Research the character and game: Gather reference images of the controller from different angles, paying attention to details such as shape, color, and texture.
- Choose a material: Decide on the material you want to use for your prop, such as foam, Worbla, or 3D printing. Each material has its pros and cons, which we'll discuss later.
- Plan the size and weight: Consider the size and weight of your prop, ensuring it's comfortable to hold and carry.
- Think about functionality: Will your prop have moving parts or lights? Consider how you'll achieve these features.
Materials and Tools
For this guide, we'll focus on three common materials used for prop making: foam, Worbla, and 3D printing.
- Foam: Foam is a popular choice for prop making due to its lightweight and ease of use. You can use foam sheets or blocks to create the body of your controller.
- Worbla: Worbla is a thermoplastic material that can be molded and shaped to create detailed designs. It's more durable than foam but requires a heat gun to shape.
- 3D printing: 3D printing allows for highly detailed and accurate prints, but can be more expensive and time-consuming.
Additional tools you may need include:
- Hot glue gun
- Paint and primer
- Sandpaper and files
- Drill and bits
- LED lights and electronics (if applicable)
Crafting Your Controller Prop
Now that you have your design and materials, it's time to start crafting your prop. Here's a general step-by-step guide:
- Cut out the body of your controller from the chosen material.
- Use sandpaper and files to smooth out any rough edges or surfaces.
- Apply primer and paint to achieve the desired color and texture.
- Add details such as buttons, joysticks, or screens using paint, markers, or additional materials.
- Assemble any moving parts or add electronics (if applicable).
Adding Details and Finishing Touches
The details can make or break the realism of your prop. Here are some tips for adding those finishing touches:
- Use reference images to accurately replicate details such as logos, symbols, or textures.
- Experiment with different painting techniques, such as layering or drybrushing, to achieve a realistic look.
- Add weathering effects, such as scratches or dirt, to give your prop a worn look.
Conclusion
Creating a custom gaming controller prop for cosplay requires patience, attention to detail, and practice. By following these steps and experimenting with different materials and techniques, you can create a realistic and durable prop that elevates your cosplay game. Remember to have fun and be creative – and don't be afraid to show off your finished prop at your next cosplay event!
Resources and Inspiration
For more prop making tutorials and inspiration, check out: