
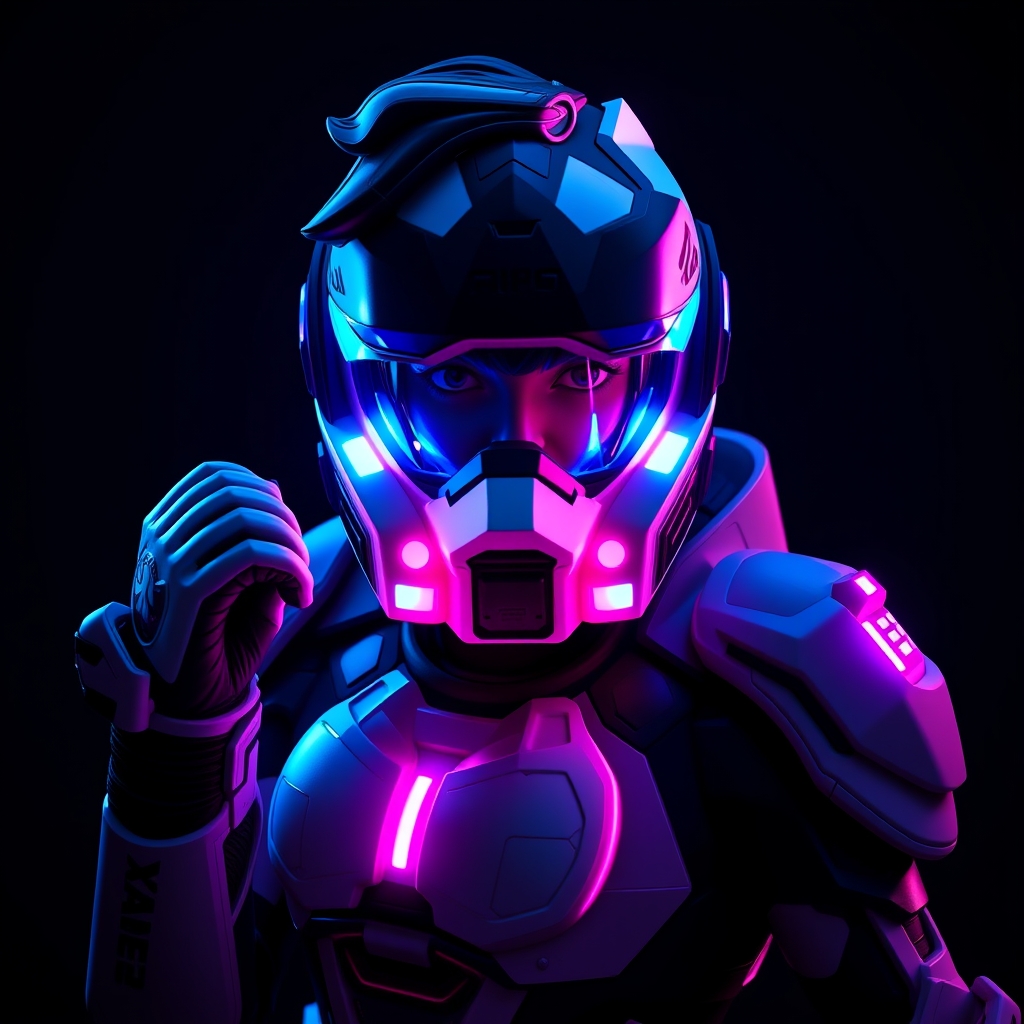
Introduction to Custom Overwatch Cosplay Props
Overwatch, a popular team-based shooter, has captured the hearts of gamers and cosplayers alike with its diverse cast of heroes, each with unique abilities and designs. As a cosplayer, creating custom props can elevate your Overwatch cosplay and make it stand out. In this guide, we'll explore the process of designing, 3D printing, and finishing custom Overwatch cosplay props using resin.
Designing Your Prop
Before you start 3D printing, you need a design. You can either create your own design from scratch or find an existing model online. For Overwatch props, you can find 3D models on websites like Thingiverse or GrabCAD. Make sure to check the licensing terms and conditions for each model.
If you're new to 3D modeling, software like Blender or Tinkercad can help you create simple designs. For more complex designs, consider using ZBrush or Maya.
Tips for Designing Overwatch Props
- Study the character's design and reference images to ensure accuracy.
- Keep your design simple for your first project, and gradually move to more complex designs.
- Consider the size and weight of the prop, as well as its functionality.
3D Printing Your Prop
Once you have your design, it's time to 3D print it. You can use a variety of 3D printing technologies, including FDM (Fused Deposition Modeling), SLA (Stereolithography), or SLS (Selective Laser Sintering). For resin props, SLA or DLP (Digital Light Processing) printers are ideal.
When choosing a 3D printer, consider the level of detail, print speed, and cost. Popular 3D printer brands for cosplay props include Formlabs, Prusa, and Monoprice.
3D Printing Settings and Tips
- Choose the right resin for your project, considering factors like flexibility, durability, and color.
- Adjust the layer height and exposure time to achieve the desired level of detail.
- Use a support material to prevent the prop from warping or breaking during printing.
Finishing and Painting Your Prop
After 3D printing, your prop may require some post-processing to achieve a smooth finish. You can use a variety of techniques, including sanding, filing, or applying a resin coat.
For painting, you can use acrylic or enamel paints, depending on the desired finish. Apply a primer coat to ensure better paint adhesion and durability.
Finishing and Painting Tips
- Use a dust mask and protective gloves when sanding or applying chemicals.
- Apply thin coats of paint, allowing each coat to dry before adding additional layers.
- Seal your prop with a clear coat to protect the paint and resin.
Conclusion and Resources
Creating custom Overwatch cosplay props with 3D printing and resin can be a fun and rewarding experience. With practice and patience, you can create stunning props that elevate your cosplay game.
For more resources and tutorials, check out the following websites:



