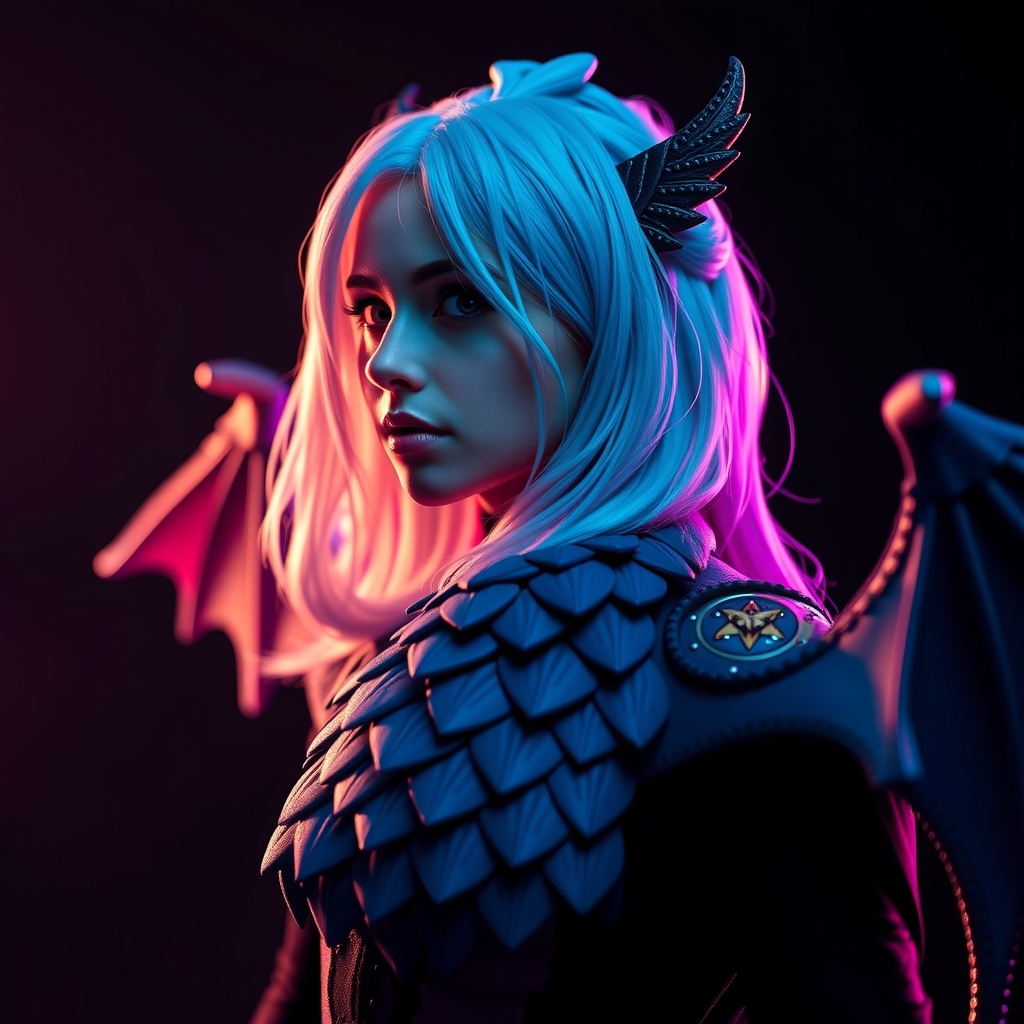
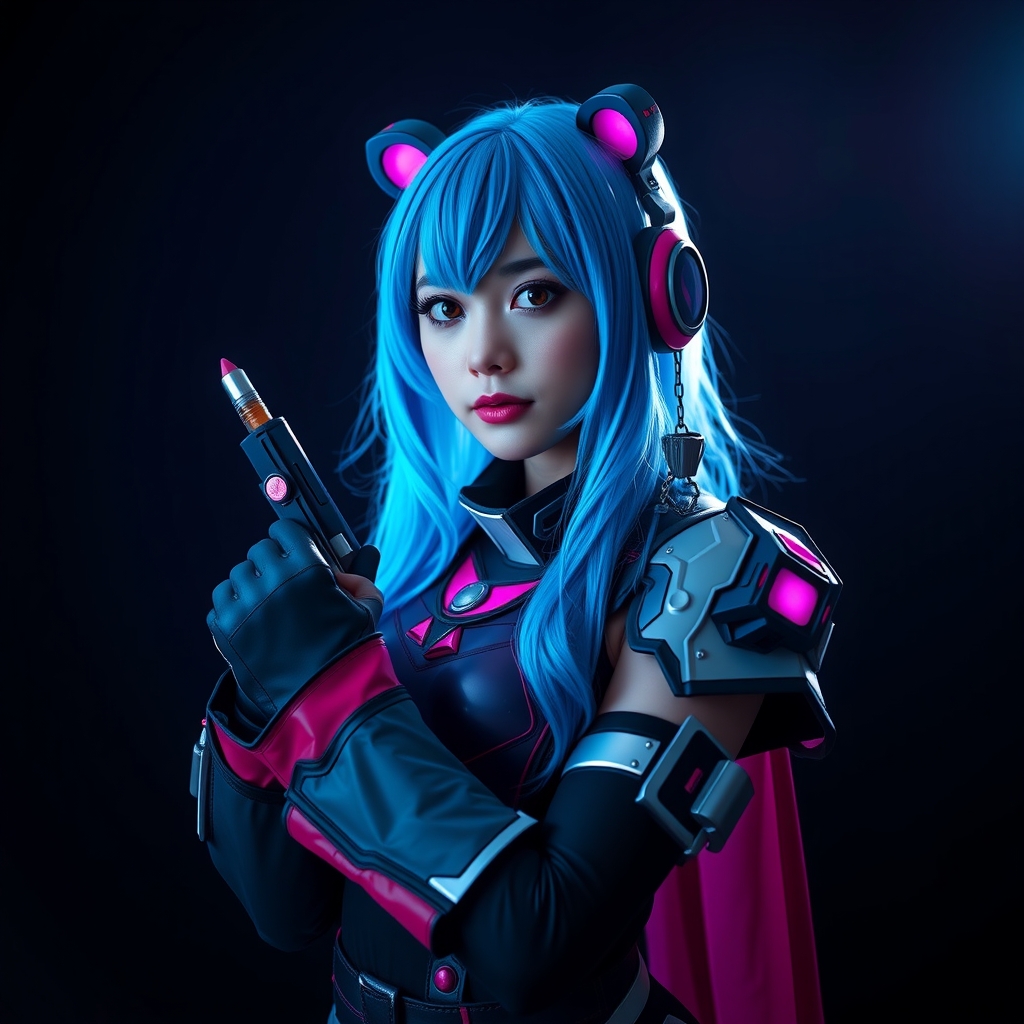
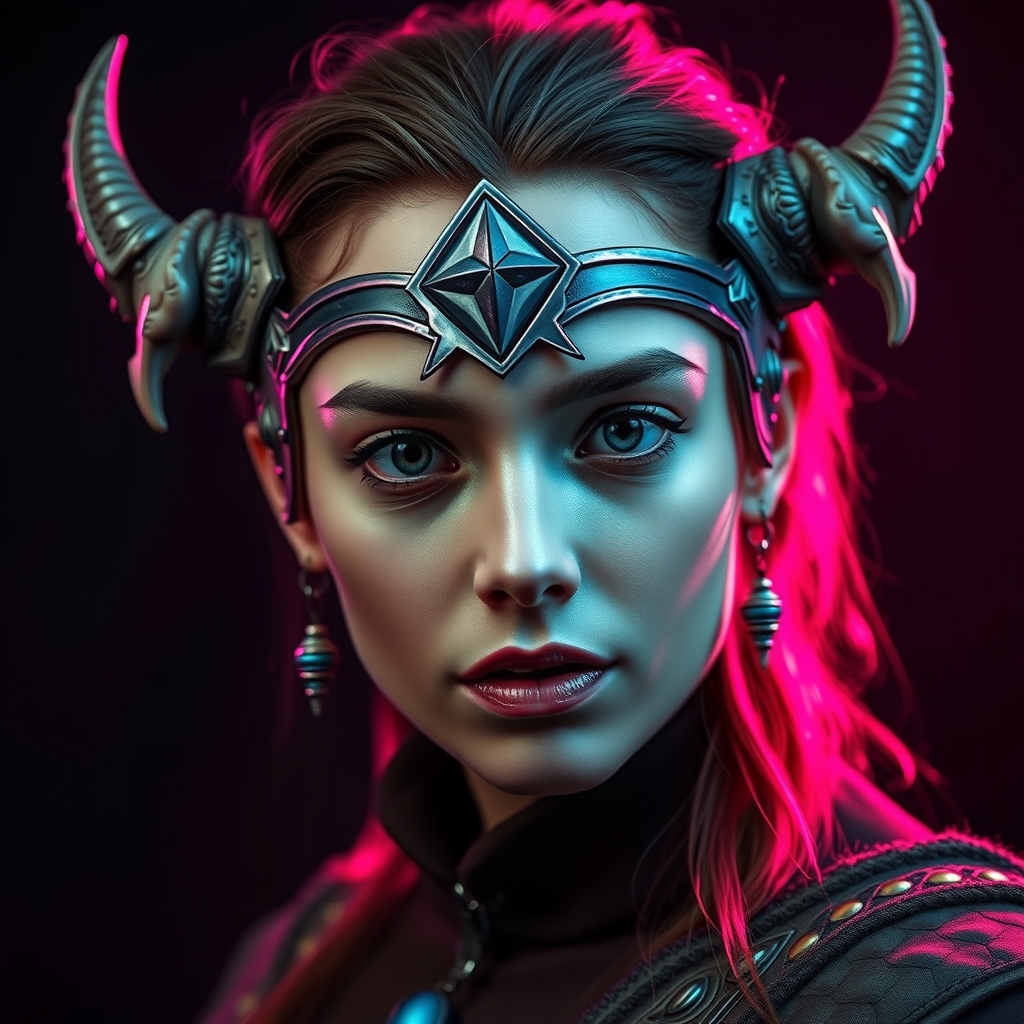
The visual language of League of Legends is defined by "stylized realism." Characters possess exaggerated silhouettes, chunky armor plates, and intricate filigree that would be nearly impossible to achieve with traditional foam smithing alone. To translate these high-fidelity digital assets into wearable art, cosplayers must leverage a hybrid approach to 3D printing, utilizing both Filament (FDM) and Resin (SLA/MSLA) technologies.
Choosing the Right Printing Technology
One of the most common mistakes in complex builds is using a single type of printer for every component. League of Legends designs typically feature a mix of massive structural plates and tiny, ornate jewelry or gemstones. Using the wrong tool for the job leads to excessive sanding or fragile parts.
FDM Printing for Structural Armor
Fused Deposition Modeling (FDM) is the gold standard for large-scale pieces like chest plates, pauldrons, and gauntlets. Because FDM uses thermoplastic spools, it is more cost-effective for high-volume prints and generally produces parts with higher impact resistance. When printing armor, prioritize PETG or PLA+ for a balance of ease-of-use and durability. To minimize the "layer line" effect common in FDM, print at the lowest layer height your nozzle allows and utilize supports that are easy to remove, such as tree supports.
Resin Printing for High-Detail Accents
Resin printing is essential for the "hero" details of a costume. Think of the intricate engravings on a champion's belt, the sharp points of a crown, or the organic textures of a Void-inspired prop. Resin captures microns of detail that FDM cannot. However, resin is more brittle and expensive. Use it sparingly for small, non-structural components that require a flawless surface finish right off the build plate.
Preparing Models for Wearability
A digital model that looks great on a screen often fails in the real world because it lacks consideration for human anatomy. Before sending a file to the slicer, you must perform a "fit check."
Start by creating a digital avatar of yourself using basic measurements. Import your armor pieces and check for "pinch points"—areas where the armor might dig into your armpits or restrict your breathing. If a piece is too large, do not simply scale it down, as this will shrink the thickness of the walls, making the piece fragile. Instead, use boolean operations to cut the model into manageable chunks that can be printed separately and glued together.
For League of Legends designs, which often feature floating elements or extreme angles, integrate internal mounting points into the 3D model. Adding holes for magnets or slots for leather straps during the design phase is significantly cleaner than drilling into cured plastic later.
The Art of Post-Processing
The difference between a "plastic-looking" prop and a professional cosplay is the post-processing. 3D prints, regardless of the technology, require a rigorous finishing pipeline to achieve a metallic or organic look.
- Support Removal and Sanding: Remove supports carefully to avoid pitting. Start with a coarse 80-grit sandpaper to level the surface, moving progressively to 120, 220, and finally 400-grit. For FDM prints, sanding is the most time-consuming step but the most critical for removing layer lines.
- Filling the Gaps: Use a high-quality filler primer or a two-part epoxy putty to fill seams where printed parts meet. Once the filler is cured, sand it flush with the surrounding surface.
- Surface Sealing: Resin prints must be fully cured under UV light and washed in isopropyl alcohol to ensure no tacky residue remains. For FDM prints, a layer of sanding sealer or a specialized plastic primer prevents the paint from soaking into the porous material.
Advanced Finishing: Painting for Runeterra
League of Legends armor rarely looks like flat paint; it looks like weathered metal, enchanted crystal, or ancient stone. To achieve this, employ a layering technique known as "underpainting."
Metallic Depth
Instead of using a single silver or gold spray, start with a dark base coat, such as black or deep brown. Apply your metallic color using an airbrush or thin acrylics, leaving the dark base visible in the recesses. This creates instant depth. To add realism, use a "dry brush" technique with a lighter metallic shade on the edges of the armor to simulate wear and tear where the paint has rubbed off.
Simulating Glow and Magic
Many champions feature glowing runes or energy cores. To replicate this without relying solely on LEDs, use a technique called Object Source Lighting (OSL). Paint the area around the "glow" source with a saturated version of the color (e.g., bright blue), and then blend it outward into a darker shade. If you are integrating LEDs, 3D print those specific sections in a translucent or "clear" resin to allow the light to diffuse evenly through the material.
Assembly and Long-Term Durability
The final stage is turning separate prints into a cohesive outfit. The method of attachment determines how comfortable you will be at a convention.
- Adhesives: Use cyanoacrylate (super glue) for resin-to-resin bonds and a plastic-specific epoxy or solvent weld for FDM parts. Solvent welding effectively melts the two pieces of plastic together, creating a bond stronger than the material itself.
- Strapping: Avoid using glue to attach armor to your body. Instead, use nylon webbing and heavy-duty buckles hidden beneath the armor plates. This allows you to adjust the fit throughout the day as your body shifts.
- Weight Distribution: Large 3D printed pieces can become top-heavy. If you are building massive shoulder armor, consider hollowing out the interior of the print (using the "hollow" setting in your slicer) and adding a lightweight foam insert for support.
By strategically combining the structural strength of FDM printing with the exquisite detail of resin, you can bridge the gap between a digital character and a physical reality. The key lies not in the printer itself, but in the meticulous preparation, sanding, and painting that transforms raw plastic into the legendary gear of Runeterra.