Introduction to Exoskeleton Armor
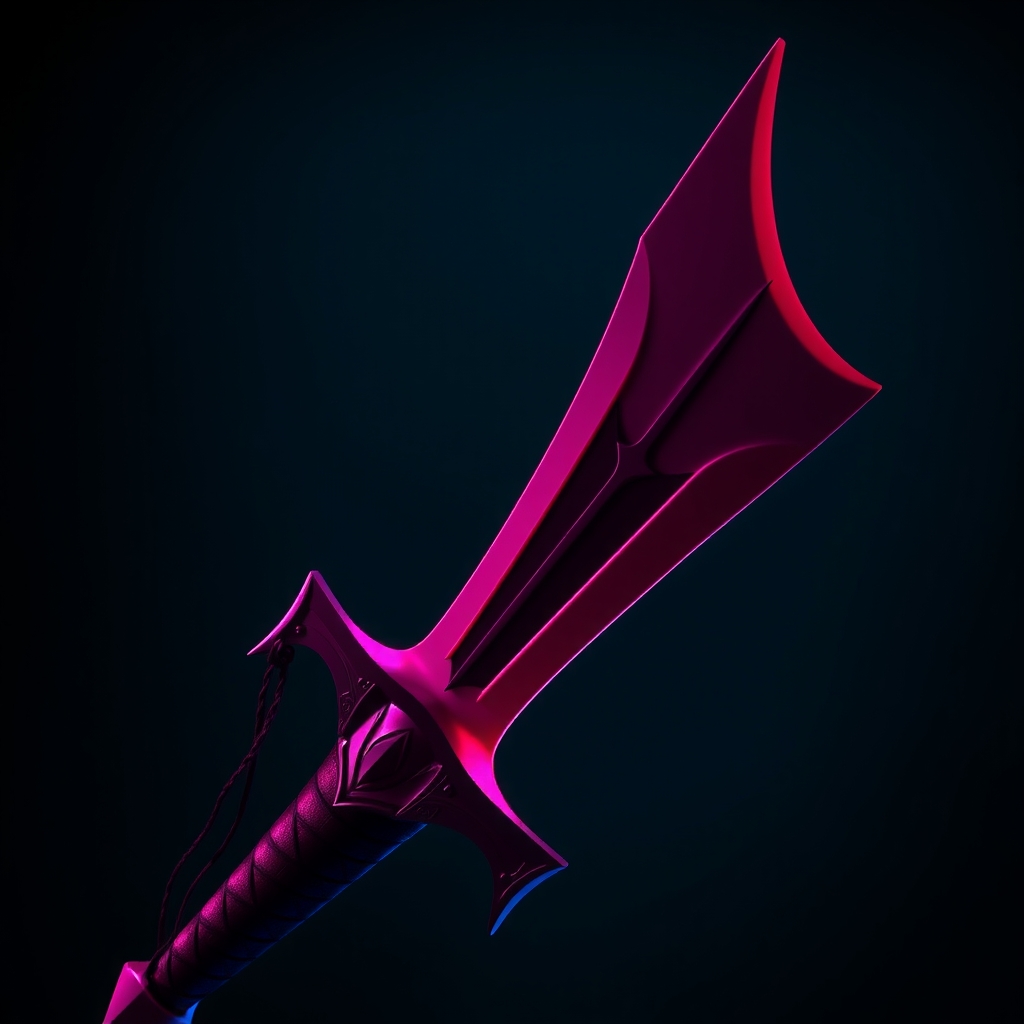
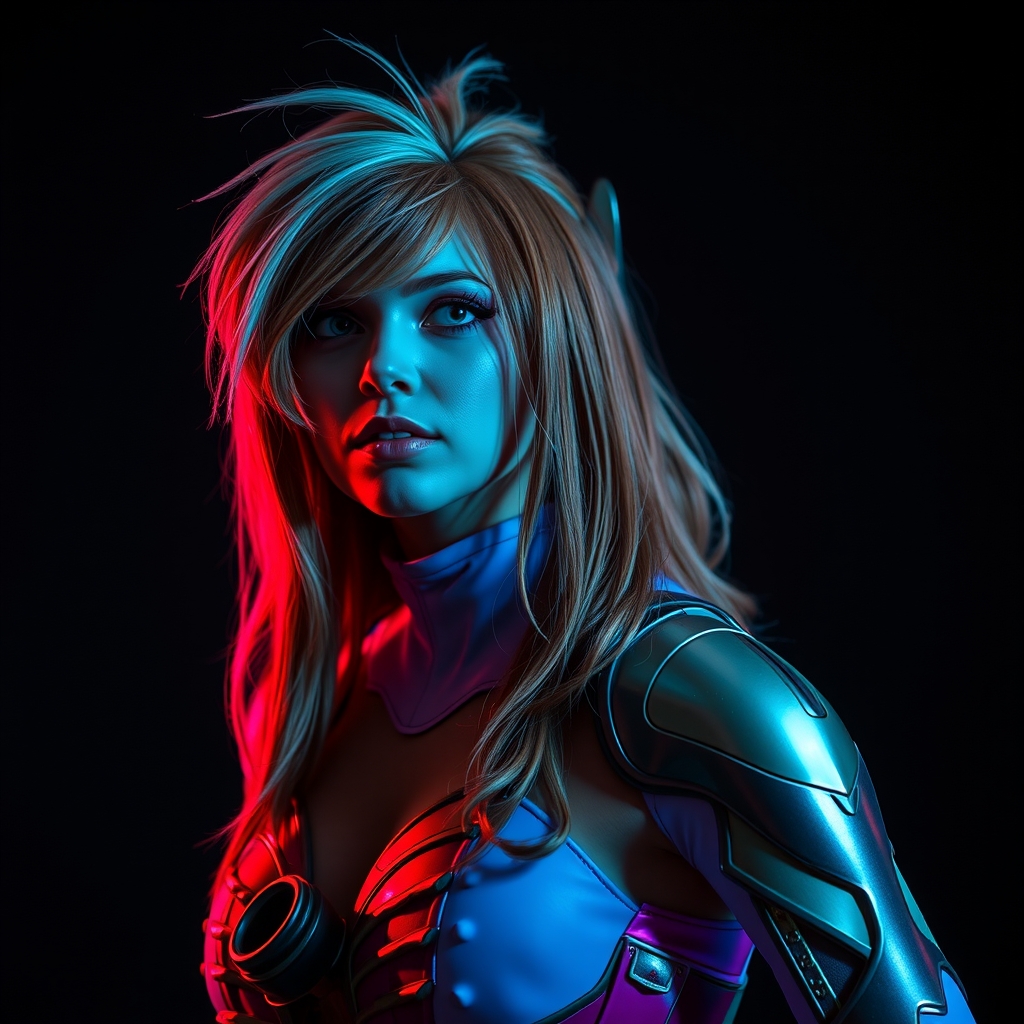
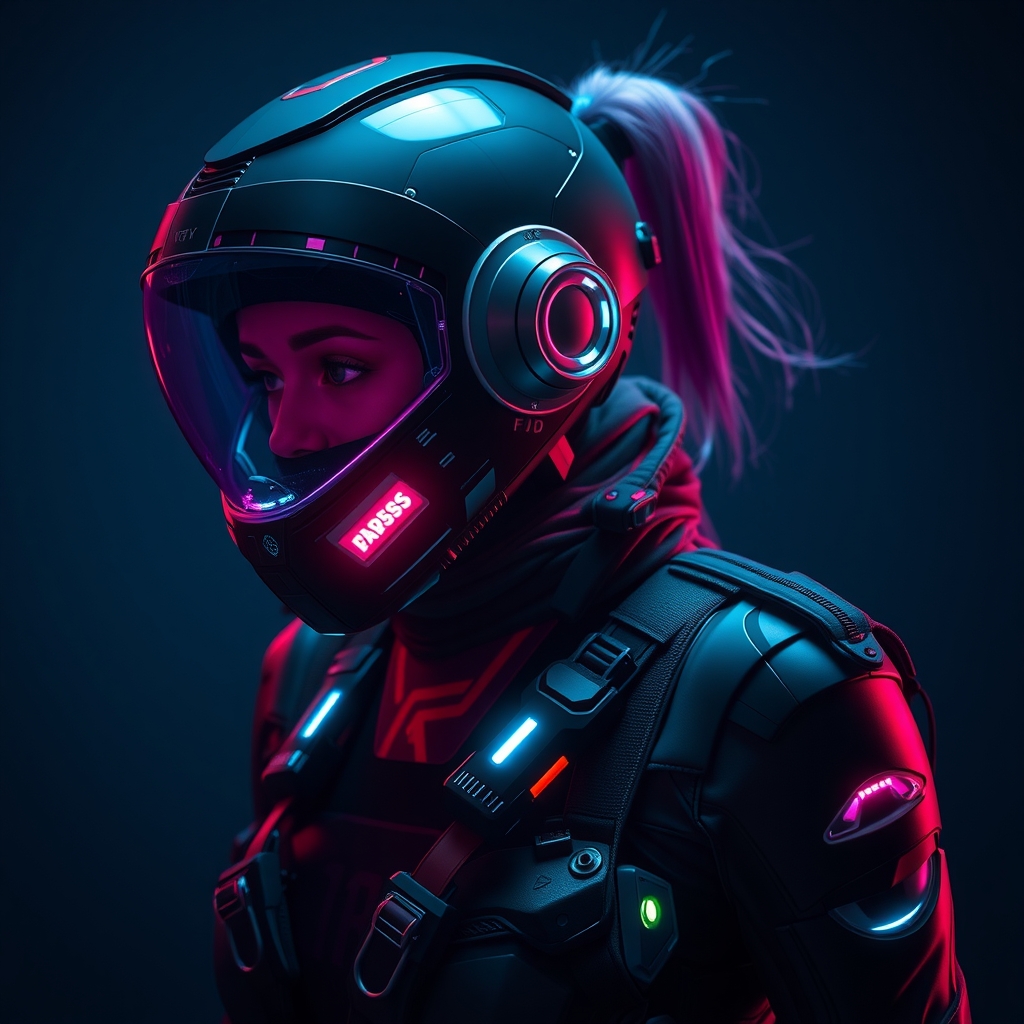
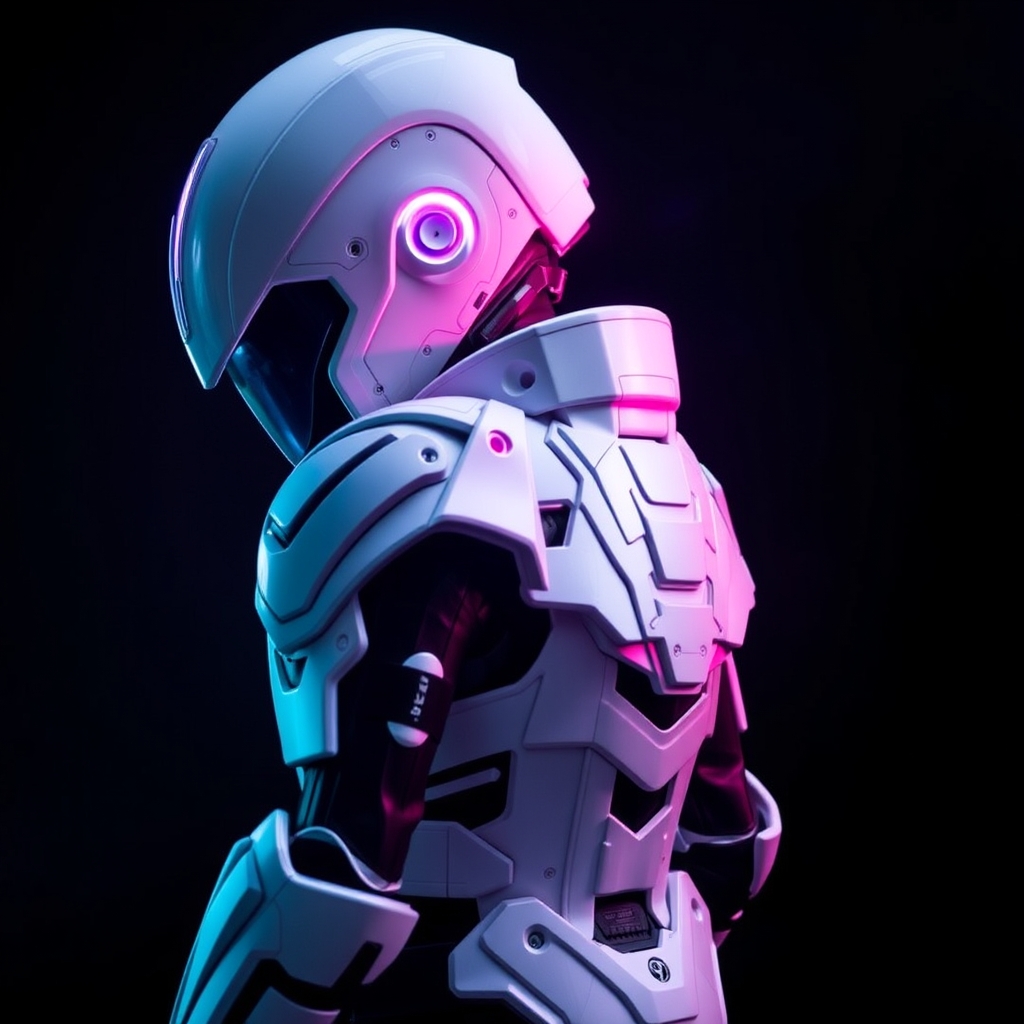
Destiny 2, a popular first-person shooter game, features a vast array of intricate and futuristic armor sets that have captured the imagination of gamers and cosplayers alike. One of the most iconic and sought-after armor types is the exoskeleton armor, known for its sleek, metallic appearance and complex design. In this article, we'll guide you through the process of creating realistic Destiny 2 exoskeleton armor using Worbla and vacuum forming techniques.
Materials and Tools Needed
- Worbla Thermoplastic
- Vacuum forming machine
- Heat gun
- Thermometer
- Wire armature (optional)
- Paint and finishing materials (primer, paint, clear coat)
- Reference images of Destiny 2 exoskeleton armor
Design and Pattern Making
Before starting the crafting process, it's essential to have a solid design and pattern to work with. Study reference images of the Destiny 2 exoskeleton armor you want to replicate, taking note of the shape, proportions, and details. You can use software like Blender or Adobe Illustrator to create a digital model or pattern, or draw it freehand. Keep in mind that Worbla is a thermoplastic material that can be molded and shaped, so your design should take into account the material's properties and limitations.
Creating the Armor Pattern and Worbla Application
Using your design or pattern, cut out the individual armor pieces from Worbla sheets. Make sure to leave a small margin around each piece for trimming and finishing. Apply heat to the Worbla using a heat gun, carefully shaping and molding the material to create the desired shape and curves. You can also use a wire armature to help maintain the shape and provide additional support.
Vacuum Forming Process
Once you have your Worbla pieces shaped and molded, it's time to vacuum form them. This process involves heating the Worbla and then using a vacuum machine to shape it over a mold or pattern. Here's a step-by-step guide:
- Prepare the vacuum forming machine according to the manufacturer's instructions.
- Place the Worbla piece over the mold or pattern, ensuring it's centered and smooth.
- Apply heat to the Worbla using a heat gun, monitoring the temperature with a thermometer.
- Once the Worbla is heated and pliable, activate the vacuum machine to shape the material over the mold.
- Allow the Worbla to cool and harden before removing it from the mold.
Finishing and Painting
After vacuum forming, your armor pieces may require some finishing touches, such as trimming excess material, sanding, or filling in gaps. Once you're satisfied with the shape and appearance, it's time to paint and finish the armor. Use a primer to create a smooth surface, followed by acrylic paint and a clear coat to protect the finish. You can also add additional details, such as weathering or decals, to enhance the overall appearance.
Tips and Variations
To take your exoskeleton armor to the next level, consider the following tips and variations:
- Experiment with different Worbla colors or textures to create a unique look.
- Add LED lights or glow-in-the-dark accents for an extra touch of realism.
- Mix and match different materials, such as foam or 3D printing, to create a hybrid armor set.
- Pay attention to weathering and wear, adding scratches, scuffs, or other details to create a battle-worn appearance.
Conclusion
Crafting realistic Destiny 2 exoskeleton armor with Worbla and vacuum forming techniques requires patience, attention to detail, and practice. By following this guide and experimenting with different materials and techniques, you can create stunning armor that will elevate your cosplay game and impress fellow fans. Don't be afraid to share your creations and learn from others in the cosplay community – and most importantly, have fun!