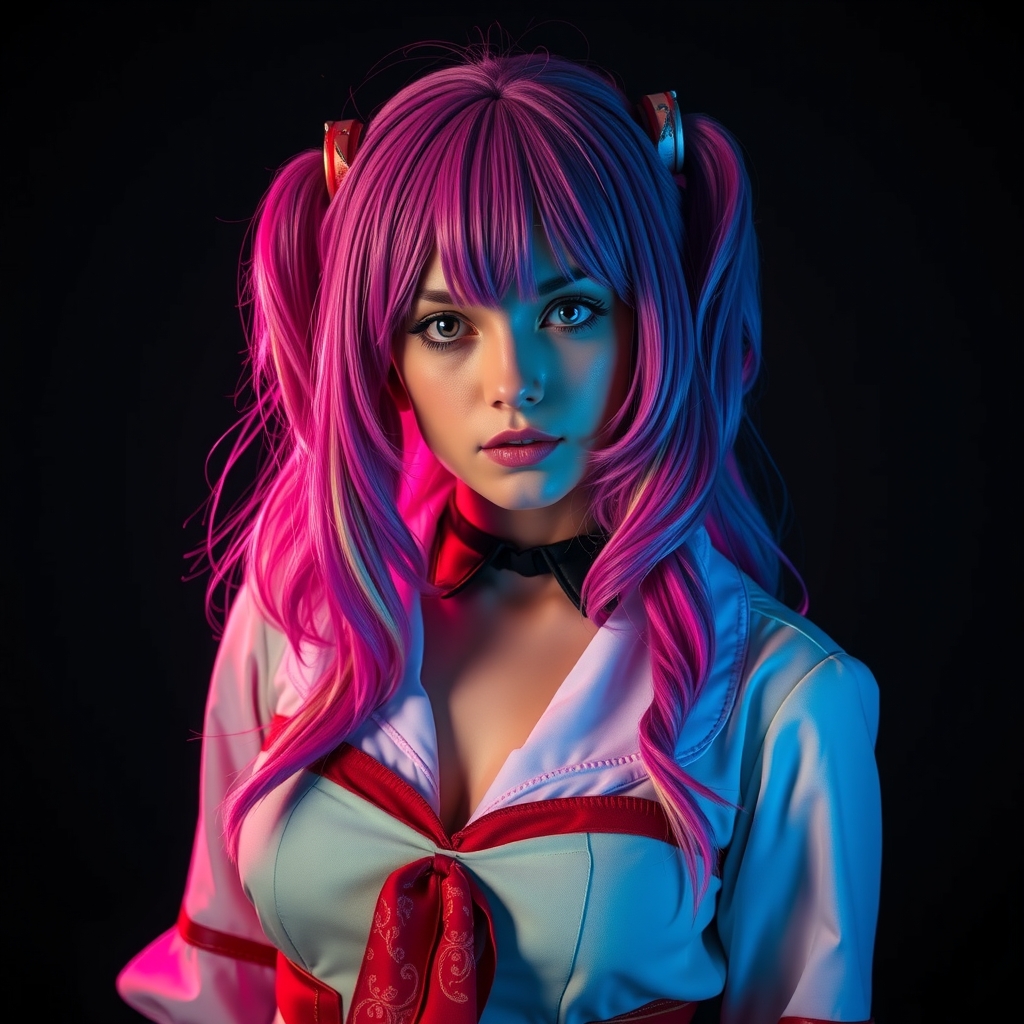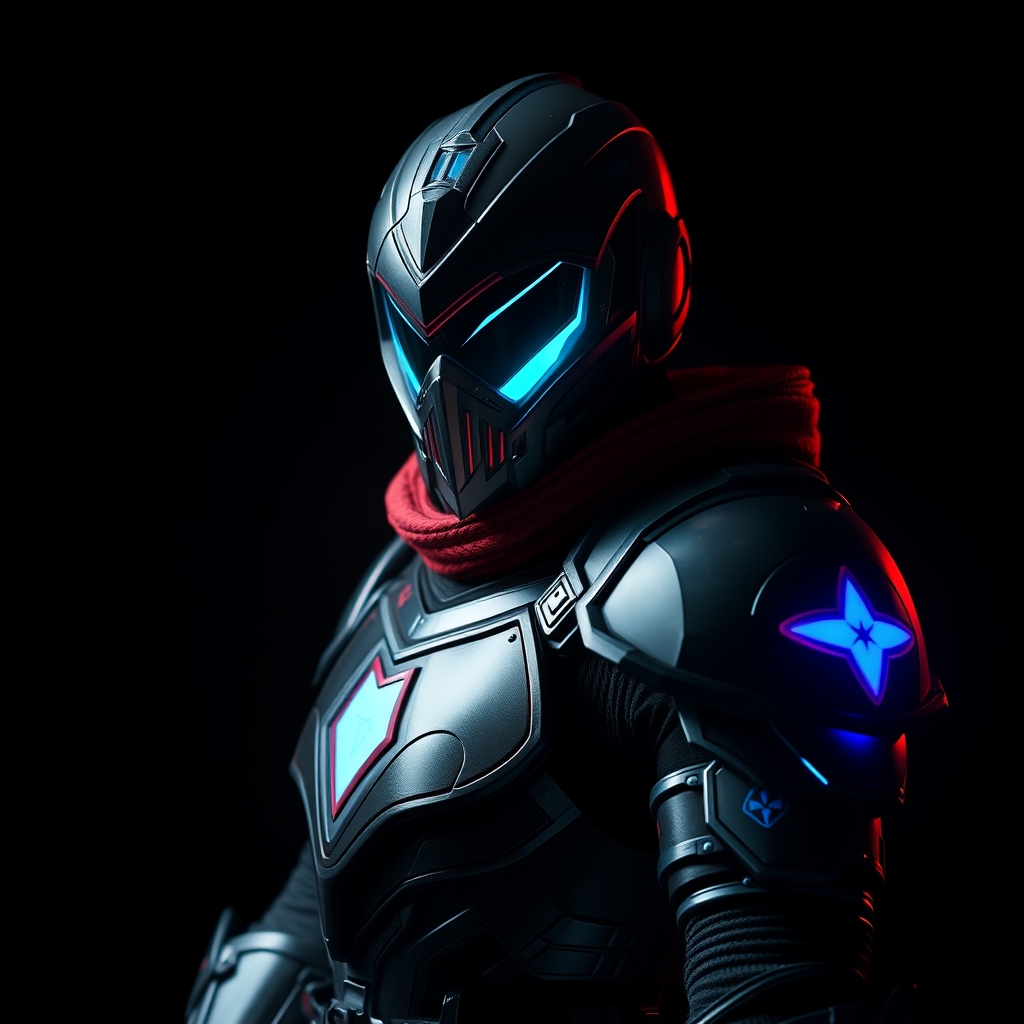
Introduction to Destiny 2 Exotic Armor Cosplay
Destiny 2, a popular first-person shooter game, has captivated millions of players worldwide with its rich lore, engaging gameplay, and stunning armor designs. Among the game's most coveted and iconic elements are the exotic armor pieces, which offer unique perks and styles that set players apart. For cosplayers and gaming enthusiasts, recreating these exotic armor sets is a challenging yet rewarding project that requires creativity, skill, and attention to detail.
Sourcing Materials and Reference Images
Before embarking on your Destiny 2 exotic armor cosplay journey, it's essential to gather reference images and source materials. Study the armor's design, texture, and color scheme from various angles and lighting conditions. You can find high-quality reference images on the game's official website, fan sites, or social media platforms like Instagram and Pinterest.
For materials, you'll need a combination of craft supplies, such as:
- Foam (e.g., Worbla, Wonderflex, or EVA foam) for the armor's base structure
- 3D printing materials (e.g., PLA or ABS) for intricate details and components
- Paints and primers (e.g., acrylic, enamel, or urethane) for color and weathering effects
- Adhesives (e.g., hot glue, epoxy, or super glue) for assembly and bonding
- Weathering powders and chemicals for adding realistic wear and tear
Pattern Making and Foam Crafting
To create the armor's base structure, you'll need to develop a pattern or template. You can use paper or digital tools like Adobe Illustrator or Blender to create a 2D or 3D model. Transfer the pattern onto your foam material, and use a heat gun, craft knife, or laser cutter to cut out the individual pieces.
Assemble the foam components using adhesives, and shape the armor to fit your body. You can add texture and details using various techniques, such as:
- Heat molding and shaping
- Sandpapering and smoothing
- Applying fabric or mesh for added realism
Advanced Crafting Techniques: 3D Printing and Prop Making
For intricate details and components, 3D printing can be a game-changer. Design and print small parts, such as bolts, rivets, or icons, using a 3D printer or online services like Shapeways or Etsy. You can also use 3D printing to create complex shapes or master models for casting.
Prop making techniques, such as casting, molding, or resin pouring, can add an extra layer of realism to your exotic armor. You can create master models using clay, wax, or 3D printing, and then cast them using silicone or resin.
Painting and Weathering
Painting and weathering are crucial steps in bringing your Destiny 2 exotic armor to life. Use a combination of primers, paints, and clear coats to achieve the desired color scheme and finish. Weathering techniques, such as drybrushing, washes, or edge highlighting, can add depth and realism to your armor.
To achieve a battle-worn look, you can use:
- Chipping and flaking techniques
- Rust and corrosion effects
- Wear and tear patterns
Conclusion and Tips for Success
Creating a Destiny 2 exotic armor cosplay requires patience, dedication, and practice. Start with a simple project, and gradually move on to more complex armor sets. Join online communities, forums, or social media groups to connect with fellow cosplayers, share tips, and learn from their experiences.
Some final tips for success:
- Reference, reference, reference: Gather as many reference images as possible
- Plan and prototype: Test your design and materials before committing to a project
- Experiment and adapt: Be prepared to try new techniques and adjust your approach as needed
With this comprehensive guide, you're ready to embark on an epic journey to create stunning Destiny 2 exotic armor cosplay. Happy crafting!