
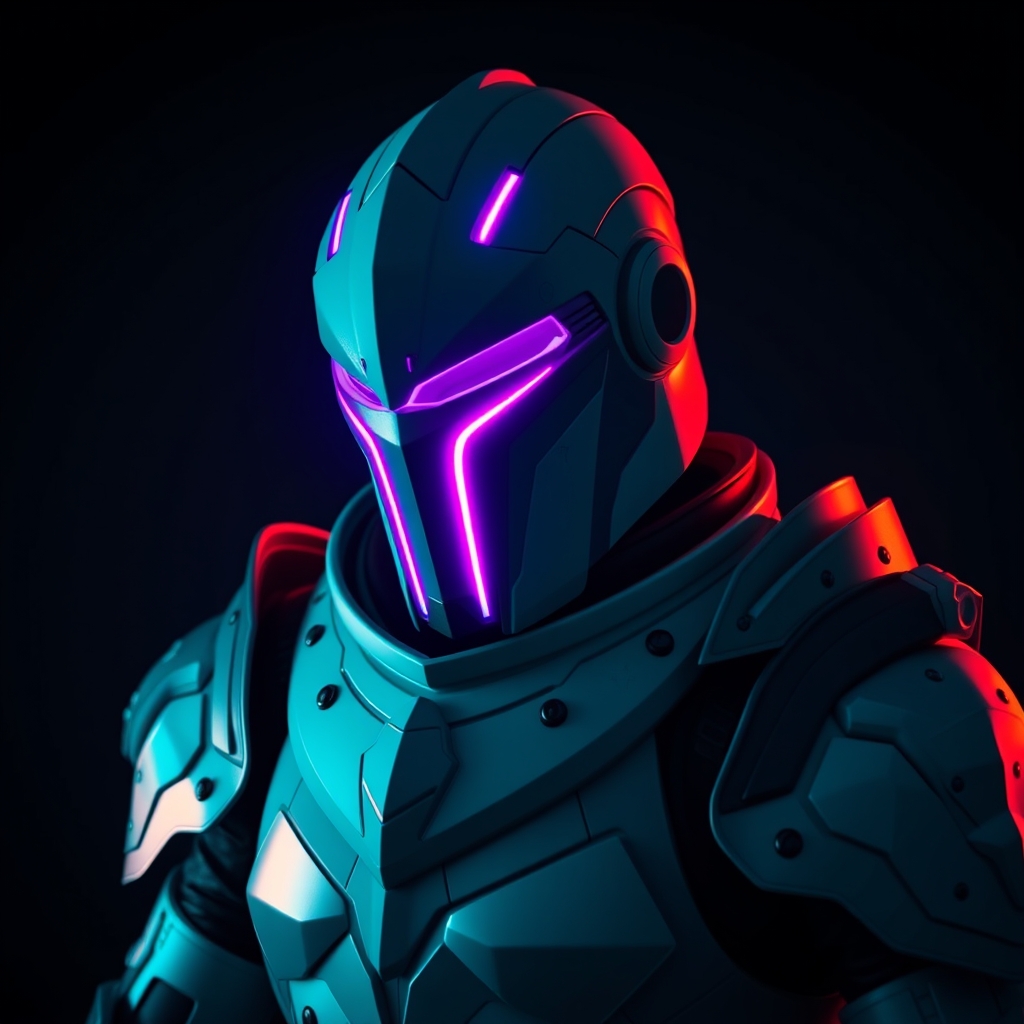
Introduction to Hyper-Realistic Cosplay Armor
For cosplayers and prop makers, creating hyper-realistic gaming armor is the ultimate challenge. With the rise of 3D printing technology and advanced thermoplastics like Worbla, achieving a museum-quality finish has never been more accessible. In this guide, we'll walk you through the process of designing, printing, and finishing 3D printed armor pieces using Worbla, taking your cosplay game to the next level.
Designing Your Armor
Before diving into 3D printing, it's essential to have a solid design concept. Study reference images of the armor from multiple angles, taking note of intricate details and textures. You can use 3D modeling software like Blender or Tinkercad to create a digital model of your armor. If you're new to 3D modeling, consider using pre-made models or commissioning a designer.
- Choose a 3D modeling software that suits your skill level and budget.
- Use reference images to ensure accuracy and attention to detail.
- Consider adding articulation points or panels for easier wearability.
3D Printing Your Armor
With your design ready, it's time to 3D print your armor pieces. When selecting a 3D printing technology, consider the level of detail and surface finish required. Fused Deposition Modeling (FDM) is a popular choice for cosplay due to its affordability and versatility.
When printing with FDM, it's crucial to optimize your print settings for the best results:
- Choose a suitable filament material, such as PLA or ABS.
- Adjust layer height and infill density for a balance between detail and durability.
- Use a brim or adhesion sheet to prevent warping and ensure print bed adhesion.
Post-Processing and Sanding
Once your prints are complete, it's time for post-processing. Remove any support material and sand the pieces to smooth out layer lines and rough edges.
- Start with coarse-grit sandpaper (120-150) and progress to finer grits (220-320).
- Use a sanding block to maintain even surfaces and prevent scratches.
- Wipe down the pieces with a tack cloth to remove dust and debris.
Applying Worbla for a Hyper-Realistic Finish
Worbla is a thermoplastic material renowned for its versatility and durability. When applied to 3D printed armor, Worbla can create a stunningly realistic finish.
To apply Worbla, follow these steps:
- Prepare your Worbla sheets by cutting them to size and heating them in a heat gun or oven.
- Apply the Worbla to your armor pieces, smoothing out any wrinkles or bubbles.
- Use a heat gun to shape and mold the Worbla into intricate details and textures.
Finishing Touches: Painting and Weathering
The final stage of creating hyper-realistic gaming armor is painting and weathering. Use acrylic paints or specialized metallic coatings to achieve a realistic color and sheen.
Weathering techniques like drybrushing, washes, or edge highlighting can add depth and character to your armor:
- Study reference images to determine the desired level of wear and tear.
- Experiment with different weathering techniques to achieve a unique look.
- Seal your finish with a clear coat to protect the paint and Worbla.
Conclusion and Tips for Success
Creating hyper-realistic gaming armor with 3D printing and Worbla requires patience, dedication, and practice. By following this guide and experimenting with different techniques, you'll be well on your way to elevating your cosplay game.
Additional tips for success:
- Join online communities or forums for 3D printing and cosplay to connect with other makers and learn from their experiences.
- Invest in high-quality materials and tools to ensure a professional finish.
- Don't be afraid to experiment and try new techniques – it's all part of the creative process!



