Introduction
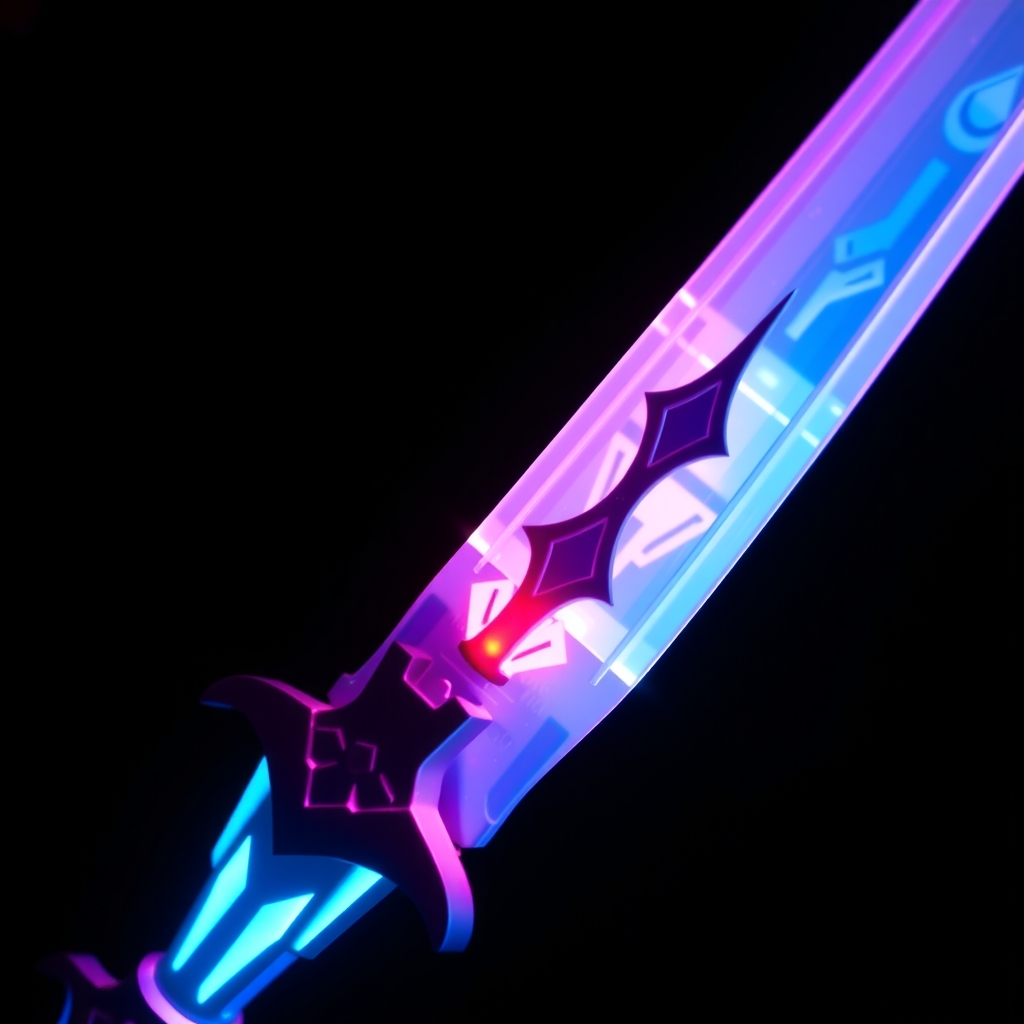
The Master Sword, an iconic symbol of The Legend of Zelda series, has captivated fans worldwide with its elegance and power. For cosplayers and prop enthusiasts, replicating this legendary sword is a dream project. With advancements in 3D printing and resin casting, achieving a highly detailed and accurate Master Sword is more accessible than ever. In this guide, we'll walk you through the process of creating your very own Master Sword using these cutting-edge techniques.
Design and 3D Modeling
The journey to crafting your Master Sword begins with acquiring a 3D model. You can either create your own using 3D modeling software or source a pre-made model from online repositories. For accuracy and detail, opting for a model created by a fellow fan or artist is recommended. Ensure the model is designed with 3D printing in mind, featuring considerations such as wall thickness and support material.
Popular 3D modeling software for beginners includes Tinkercad and Fusion 360, while repositories like Thingiverse and MyMiniFactory offer a wide range of user-created models. When selecting a model, consider the complexity and the level of detail you wish to achieve.
Preparing the Model for 3D Printing
- Import the 3D model into your slicing software, such as Cura or Slic3r.
- Adjust settings for optimal print quality, including layer height, infill density, and support material.
- Export the model as a printable file (G-code) and transfer it to your 3D printer.
3D Printing the Master Sword
3D printing the Master Sword requires patience and attention to detail. Depending on the size and complexity of the model, printing can take several hours or even days. Monitor the print closely, adjusting settings as necessary to avoid failures.
Post-printing, remove support material carefully, and sand the surface to smooth out any imperfections or layer lines.
Resin Casting for a Detailed Finish
For a more refined and durable finish, resin casting can be used. This involves creating a mold from the 3D printed model and casting it with resin.
- Apply a release agent to the 3D printed model to ensure easy removal from the mold.
- Create a mold using silicone or another suitable material, encapsulating the model.
- Mix and pour resin into the mold, allowing it to cure.
- Remove the cast from the mold and sand it to achieve a smooth finish.
Finishing Touches
The final stages of crafting your Master Sword involve adding details and a protective finish.
- Paint the sword using acrylics or enamels, carefully matching the iconic colors from The Legend of Zelda series.
- Apply a clear coat to protect the paint and give the sword a glossy finish.
- Add a hilt or handle, either by 3D printing, casting, or using materials like wood or metal.
Display and Maintenance
Once completed, your Master Sword deserves to be showcased. Consider displaying it on a wall or in a glass case to protect it from dust and damage.
Regular maintenance, including dusting and avoiding exposure to direct sunlight, will ensure your Master Sword remains in pristine condition.
Conclusion
Crafting the Master Sword using 3D printing and resin casting is a rewarding project that combines creativity, technology, and fandom. By following this guide, you'll be well on your way to forging an iconic piece that any Zelda fan would envy. Remember, the journey is as important as the destination—enjoy the process, and don't hesitate to share your creation with the community.