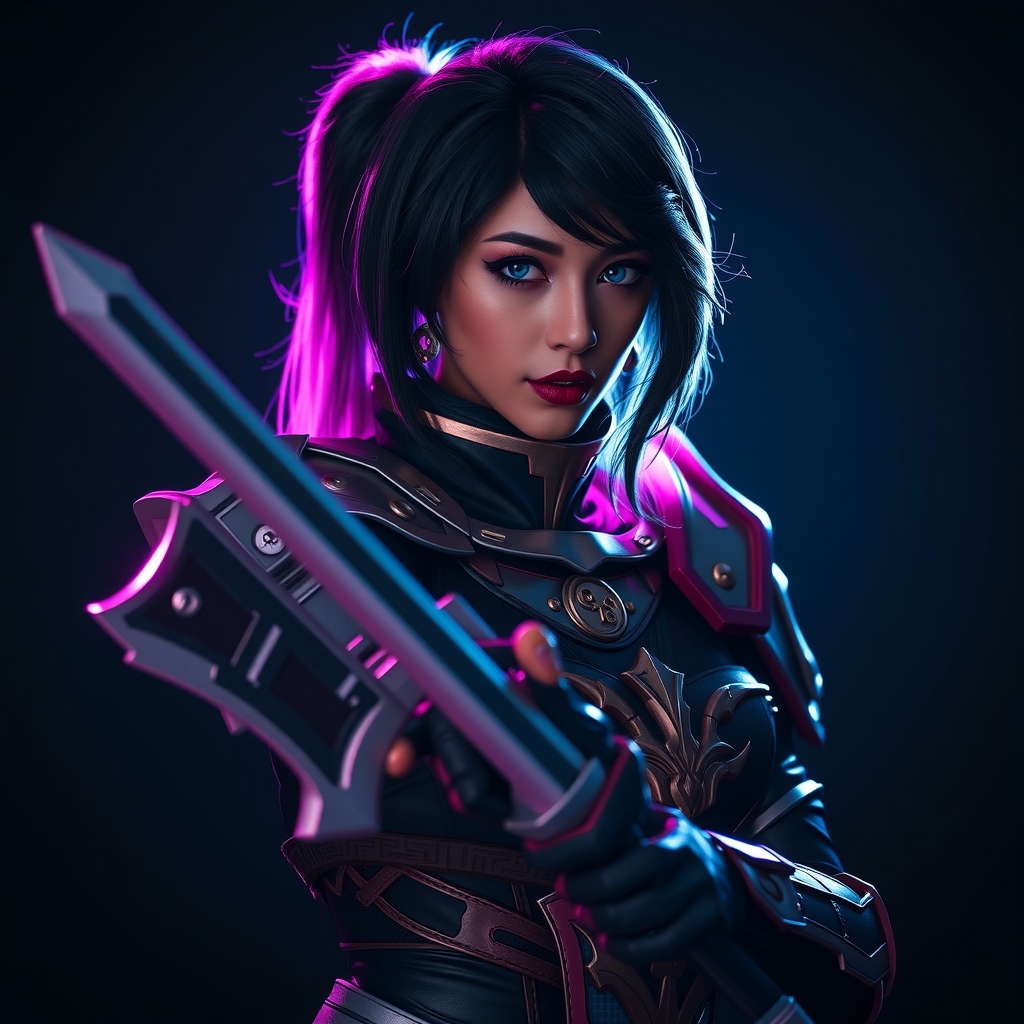
Introduction to 3D Printing for Cosplay
As a cosplayer, creating intricate and detailed armor pieces can be a daunting task, especially for those new to crafting and prop making. However, with the rise of 3D printing technology, it's now possible to create complex and accurate armor pieces with relative ease. In this guide, we'll walk you through the basics of 3D printing and crafting game-inspired cosplay armor, from design to assembly.
Designing Your Armor
Before you start 3D printing, you'll need to design your armor piece. This can be done using computer-aided design (CAD) software or by finding and modifying existing 3D models. For beginners, it's recommended to start with a simple design and gradually move on to more complex pieces. You can find many free 3D models online, specifically designed for cosplay and prop making.
- Choose a design that fits your skill level and experience with 3D printing.
- Consider the scale and proportions of your armor piece to ensure it fits comfortably.
- Make sure to check the design's specifications, such as layer thickness and infill density, to ensure it's suitable for 3D printing.
Choosing the Right 3D Printer and Materials
With so many 3D printing technologies and materials available, choosing the right one for your cosplay armor can be overwhelming. For beginners, it's recommended to start with fused deposition modeling (FDM) printing, as it's relatively affordable and easy to use.
- FDM printing uses melted plastic to create objects layer by layer.
- Stereolithography (SLA) printing uses a laser to cure liquid resin, producing highly detailed and accurate prints.
- Consider the durability and flexibility of your final product when choosing materials.
Preparing Your 3D Model for Printing
Once you have your design and 3D printer, it's time to prepare your model for printing. This involves scaling and orienting your model, as well as adding supports to prevent it from collapsing during printing.
- Use slicing software to convert your 3D model into a printable format.
- Adjust the print settings, such as layer thickness and infill density, to achieve the desired level of detail and durability.
- Make sure to check for any errors or warnings before starting the print.
Post-Printing and Assembly
After printing, your armor piece may require some post-processing, such as sanding and painting, to achieve a smooth and finished look. Assembly may also be necessary, especially if your armor piece consists of multiple parts.
- Use a sanding block or sandpaper to smooth out any rough edges or layer lines.
- Apply a primer and paint to achieve a realistic and durable finish.
- Use adhesives, such as super glue or epoxy, to assemble multiple parts.
Tips and Tricks for a Flawless Finish
Achieving a flawless finish requires attention to detail and some expert tricks. Here are a few tips to help you take your cosplay armor to the next level:
- Use a heat gun or hair dryer to smooth out layer lines and imperfections.
- Apply a clear coat to protect your paint and give it a glossy finish.
- Experiment with different materials and techniques, such as weathering and distressing, to add depth and realism to your armor.
Conclusion
Crafting game-inspired cosplay armor with 3D printing requires patience, creativity, and practice. By following these guidelines and tips, you can create intricate and detailed armor pieces that will take your cosplay game to the next level. Remember to stay up-to-date with the latest 3D printing technologies and techniques, and don't be afraid to experiment and try new things.