Introduction
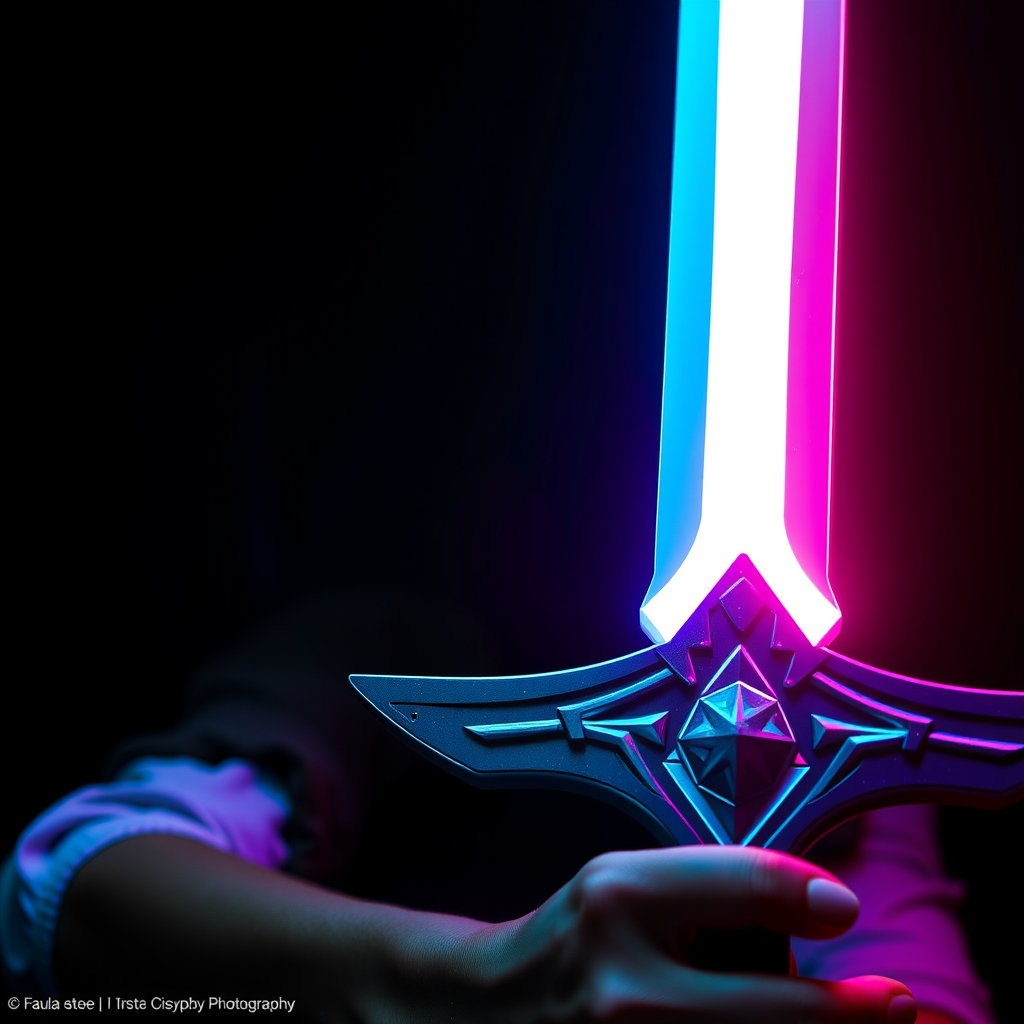
For cosplayers and prop makers, creating an authentic and detailed replica of a gaming icon can be a thrilling project. One of the most recognizable and coveted props in gaming culture is The Legend of Zelda's Master Sword. This legendary blade is a staple of the series and a must-have for any serious Zelda fan. In this guide, we'll walk you through the process of crafting a Master Sword prop using foam and Worbla, two popular materials in the cosplay community.
Materials and Tools
Before starting your project, gather the necessary materials and tools:
- High-density foam (HD foam) or Worbla Thermoplastic
- Worbla Fusion or similar heat-activated adhesive
- Foam cutter or hot wire cutter
- Sandpaper and files
- Paint and primer
- Clear coat or sealant
- Reference images of the Master Sword
Design and Pattern Making
Study reference images of the Master Sword to understand its design and proportions. Create a detailed pattern or blueprint of the sword, including its length, width, and distinctive features like the hilt and blade shape. You can use paper or digital tools like Adobe Illustrator to create your pattern.
For a more accurate representation, consider measuring and scaling your pattern to match the in-game proportions. The Master Sword's dimensions are approximately 55 inches (140 cm) in length and 4 inches (10 cm) in width.
Cutting and Shaping the Foam
Using your pattern, cut out the foam or Worbla sheets into the required shapes and sizes. For a more precise cut, use a foam cutter or hot wire cutter. If you're new to working with foam, practice cutting and shaping small test pieces to get a feel for the material.
Once you have your foam pieces cut, use sandpaper and files to smooth out any rough edges or burrs. This will help create a seamless joint when assembling the sword.
Assembly and Shaping with Worbla
Apply Worbla Fusion or a similar adhesive to the foam pieces and attach them according to your pattern. Use clamps or weights to hold the pieces in place while the adhesive sets.
Once the adhesive has dried, use Worbla Thermoplastic to shape and smooth out the sword's surface. You can apply heat to mold and shape the Worbla into the desired form. Be cautious not to overheat, as this can cause the Worbla to deform or lose its shape.
Finishing and Painting
After shaping and smoothing the Worbla, sand the entire sword to create a smooth surface for painting. Apply a primer to the sword, making sure to cover all surfaces evenly.
Using acrylic paints, carefully paint the sword according to your reference images. The Master Sword's iconic design features a predominantly silver and gold color scheme. Apply multiple coats, allowing each layer to dry before adding additional details.
Finally, seal your paint job with a clear coat or sealant to protect the sword from damage and wear.
Additional Tips and Considerations
When crafting a prop like the Master Sword, consider the following:
- Weight and balance: Ensure the sword is comfortable to hold and balanced to prevent fatigue or discomfort.
- Durability: Use materials and techniques that will withstand handling and transportation.
- Display and storage: Plan for a safe and secure way to display or store your prop when not in use.
By following this guide and dedicating time and effort to your craft, you'll be able to create an impressive and authentic Master Sword prop that's sure to turn heads at any gaming or anime convention.