
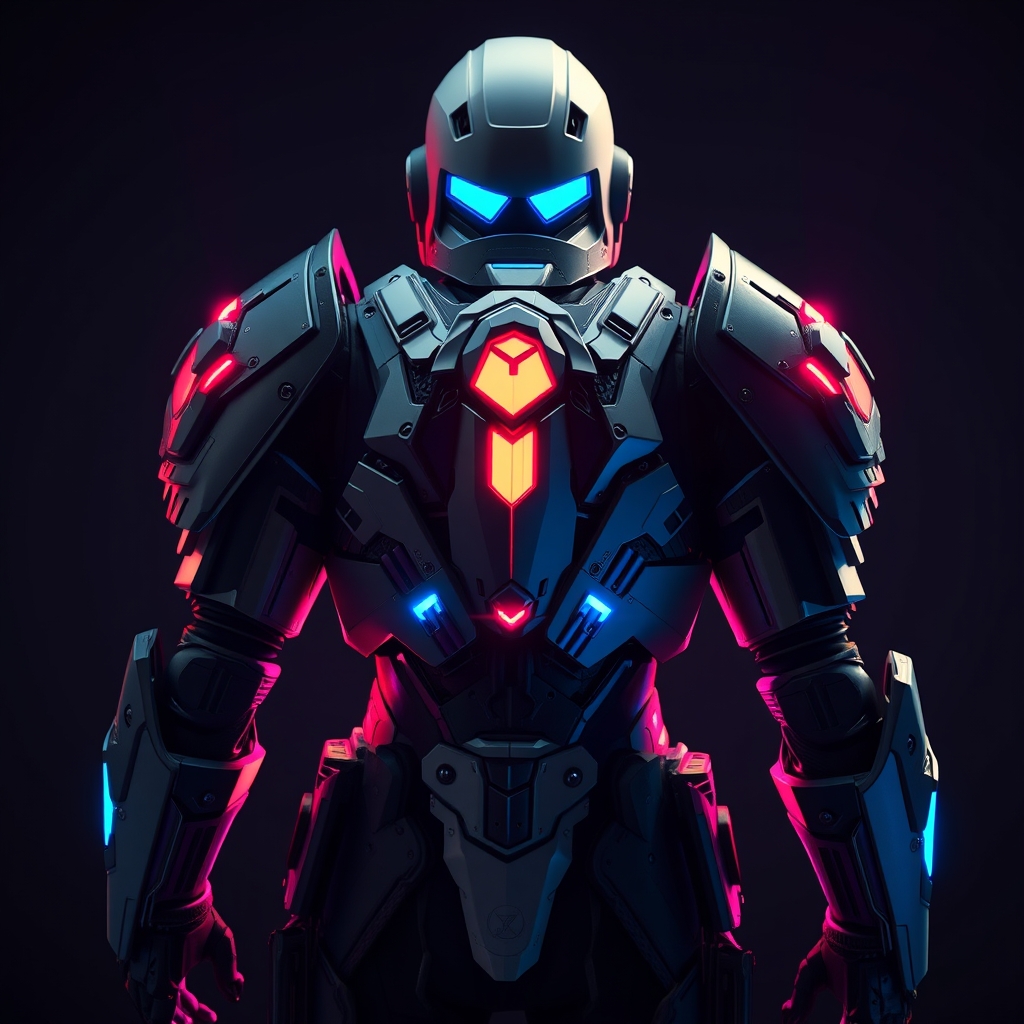
Introduction to Hyper-Realistic Cosplay Armor
Destiny 2, a popular first-person shooter game, has captivated audiences with its stunning visuals and intricate character designs. One of the most iconic aspects of the game is the exoskeletons worn by the Guardians, which have become a staple of cosplay. In this article, we'll delve into the world of crafting hyper-realistic Destiny 2 exoskeletons using Worbla and thermoplastic, providing a comprehensive guide for cosplayers and builders.
Materials and Tools Needed
To create a stunning Destiny 2 exoskeleton, you'll need the following materials and tools:
- Worbla: A thermoplastic material ideal for creating detailed, durable, and lightweight armor pieces.
- Thermoplastic sheets: Used for creating the base structure and shape of the exoskeleton.
- Heat gun: Essential for shaping and molding Worbla and thermoplastic.
- Work surface: A flat, heat-resistant surface for shaping and molding materials.
- Reference images: Collect high-quality reference images of the Destiny 2 exoskeleton to ensure accuracy.
Preparing the Pattern and Template
Before starting the crafting process, create a pattern and template for your exoskeleton. You can use paper or cardboard to create a rough template, which will serve as a guide for cutting out the thermoplastic sheets.
Use your reference images to ensure accuracy and make any necessary adjustments to the template. You can also use software like Adobe Illustrator or Autodesk Fusion 360 to create a digital template and make precise adjustments.
Working with Worbla
Worbla is a versatile thermoplastic material that can be molded, shaped, and detailed to create stunning armor pieces. Here's a step-by-step guide on working with Worbla:
- Cut out the Worbla sheet to the desired size, leaving some excess material for trimming.
- Heat the Worbla sheet using a heat gun, applying even heat to prevent warping or distortion.
- Shape and mold the Worbla sheet to the desired form, using a combination of heat and pressure.
- Allow the Worbla to cool and harden completely before trimming excess material.
Adding Details and Texture
To add details and texture to your exoskeleton, use a combination of Worbla and thermoplastic. You can create intricate details using Worbla strips or shapes, which can be molded and shaped to fit the exoskeleton.
For added texture and realism, use a texture gun or a heat gun with a texture attachment to create a rugged, weathered look.
Assembling the Exoskeleton
Once you have created all the individual components of the exoskeleton, it's time to assemble them. Use a combination of hot glue, epoxy, or Worbla to attach the pieces together.
Start by attaching the main structure of the exoskeleton, then add the details and texture. Make any necessary adjustments to ensure a secure and comfortable fit.
Finishing Touches
To complete your hyper-realistic Destiny 2 exoskeleton, add a coat of paint and finish. Use acrylic or enamel paint to achieve a realistic, metallic look.
Apply a clear coat to protect the paint and add a glossy finish. Finally, add any additional details, such as weathering or wear and tear, to create a truly immersive cosplay experience.
Conclusion
Crafting a hyper-realistic Destiny 2 exoskeleton using Worbla and thermoplastic requires patience, skill, and attention to detail. By following this guide, cosplayers and builders can create stunningly realistic armor pieces that will elevate their cosplay experience.
Remember to experiment, innovate, and push the boundaries of what's possible with Worbla and thermoplastic. Happy crafting!
For more information on working with Worbla and thermoplastic, check out the following resources:
- Worbla Official Website: https://www.worbla.com/
- Thermoplastic Cosplay Guide: https://www.cosplayguide.com/thermoplastic-cosplay-guide/



