
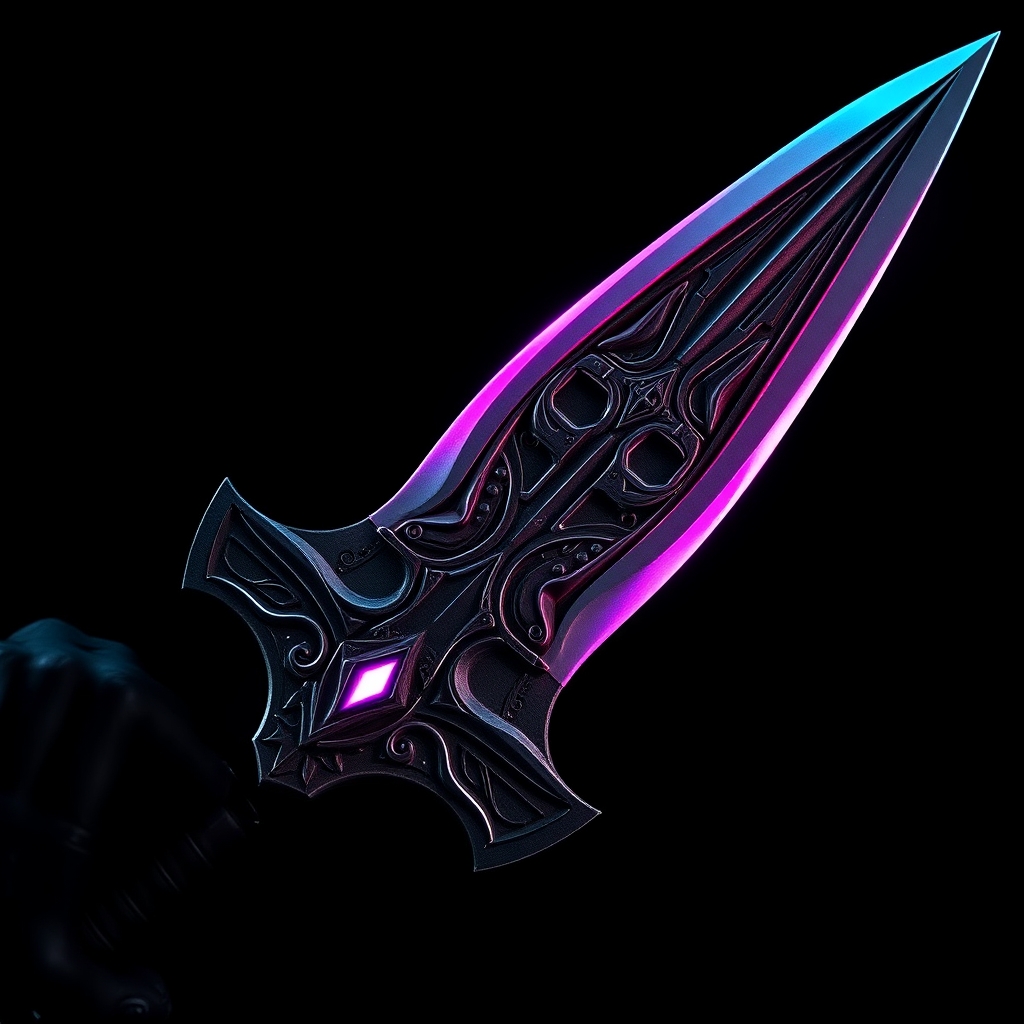
## Introduction to Malenia's Blade
Malenia's Blade, wielded by the formidable Malenia, Blade of Miquella in the Elden Ring universe, is a marvel of dark fantasy design. This intimidating greatsword has captured the hearts of cosplayers and fans worldwide, inspiring a surge of creative interpretations. In this guide, we'll walk you through the process of creating a hyper-realistic Malenia's Blade using 3D printing and advanced weathering techniques.
## Designing and 3D Printing the Blade
To begin, you'll need a 3D model of Malenia's Blade. You can find various models online, but ensure they are designed for 3D printing and scaled appropriately for your needs. Popular sources include Thingiverse, MyMiniFactory, and TurboSquid.
Once you've selected and downloaded your model, prepare it for printing using slicing software like Cura or Slic3r. For a more durable print, use a high-strength filament such as ABS or PETG. Depending on your printer's capabilities, you may need to split the model into sections and print them separately.
* **Recommended 3D printing settings:** * Layer height: 0.2mm-0.3mm * Infill density: 20-30% * Support material: Yes, for overhanging sections
## Post-Processing and Assembly
After printing, remove any support material and sand the entire blade to smooth out layer lines. For a seamless finish, apply a coat of primer specifically designed for plastics.
If you printed the blade in sections, use a strong adhesive like epoxy or super glue to assemble the pieces. Reinforce the joints with additional material, such as fiberglass or carbon fiber, for added stability.
## Weathering and Finishing
Weathering is where your Malenia's Blade transforms from a mere replica to a battle-worn masterpiece. Start by applying a base coat of dark, muted colors to represent the sword's worn metal.
* **Weathering techniques:** * **Washes:** Use thinned acrylic paints or ink to add depth and shadows to the blade's recessed areas. * **Drybrushing:** Apply light, textured strokes with a almost-dry brush to simulate metal wear and tear. * **Edge highlighting:** Carefully paint or use a fine-tip marker to add subtle highlights to the blade's edges, suggesting sharpness and recent use.
## Adding the Hilt and Final Touches
Complete your Malenia's Blade with an intricately designed hilt. You can 3D print or craft the hilt from materials like wood, resin, or Worbla. Attach the hilt securely to the blade using adhesives or mechanical fasteners.
* **Additional details:** * **Blood and rust effects:** Apply liquid latex or resin to simulate dried blood and rust. * **Blade curvature:** Use heat or a specialized tool to carefully curve the blade, if desired, for a more dynamic appearance.
## Conclusion and Tips for Display
With your hyper-realistic Malenia's Blade complete, consider displaying it proudly at your next cosplay event or convention. To maintain your prop's integrity, store it in a protective case and handle it with care.
* **Tips for cosplayers:** * **Transportation:** Plan ahead for transporting your blade, using protective padding and secure fastening to prevent damage. * **Safety:** Ensure your prop complies with convention safety guidelines and is secure during wear or display.
By following this comprehensive guide, you'll be well on your way to crafting an awe-inspiring Malenia's Blade that showcases your creativity and dedication to the Elden Ring cosplay community.



