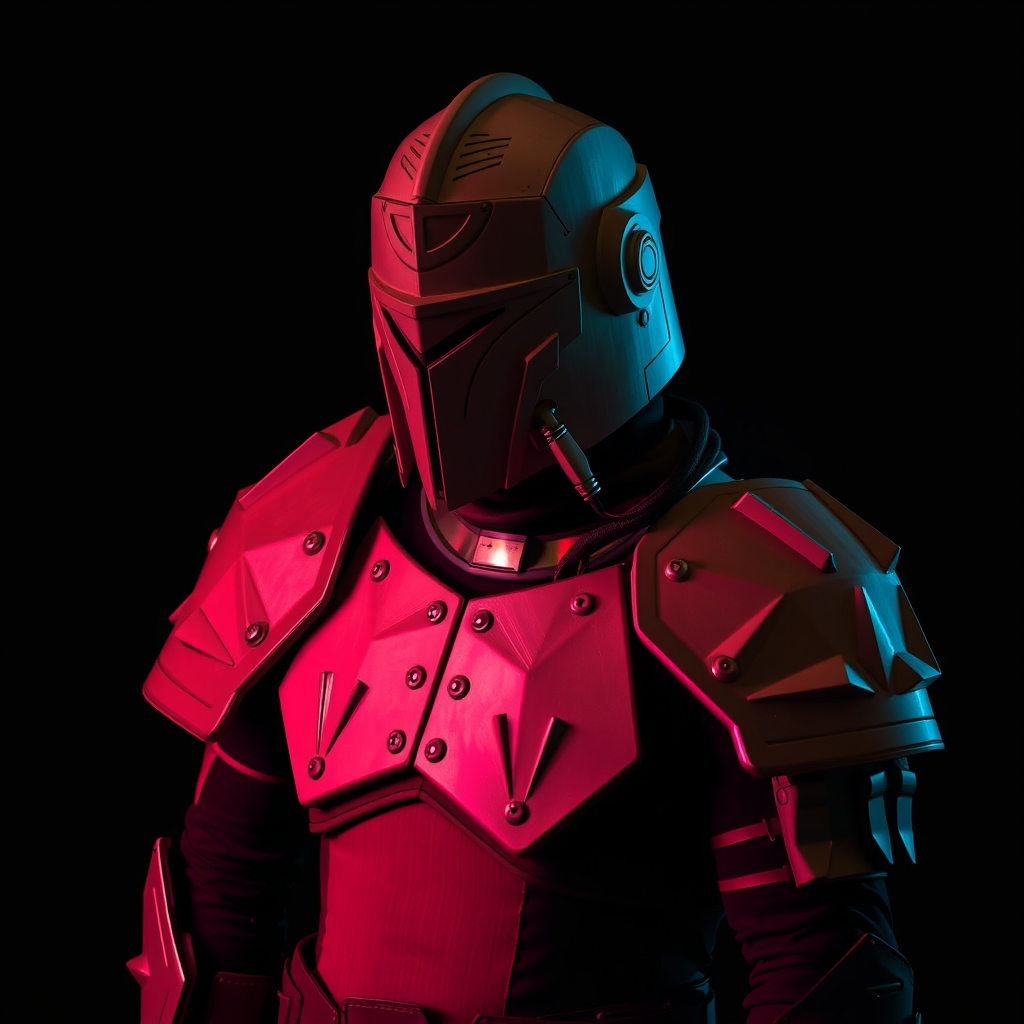
Introduction to Custom Miniatures
Creating custom Dungeons & Dragons (D&D) miniatures can elevate your tabletop experience and add a personal touch to your cosplay. With the rise of resin and 3D printing technologies, crafting unique miniatures has become more accessible than ever. In this guide, we'll explore the basics of working with resin and 3D printing to create one-of-a-kind D&D miniatures.
Understanding Resin and 3D Printing Basics
Before diving into miniature creation, it's essential to understand the fundamentals of resin and 3D printing.
- Resin: A liquid material that hardens when exposed to light, often used in casting and molding.
- 3D Printing: A process of creating physical objects from digital designs, layer by layer.
Resin Types and Applications
There are several types of resin, each with its own characteristics and applications:
- Epoxy Resin: A popular choice for casting and molding, known for its durability and resistance to heat.
- Polyurethane Resin: A versatile resin suitable for creating flexible or rigid miniatures.
- Acrylic Resin: A fast-drying resin ideal for creating detailed, intricate designs.
3D Printing Technologies
Familiarize yourself with common 3D printing technologies:
- Fused Deposition Modeling (FDM): A widely used method that extrudes melted plastic to create objects.
- Stereolithography (SLA): A resin-based method that uses light to cure and solidify objects.
Designing Your Miniature
Before creating your miniature, design and plan your concept:
- Reference Gathering: Collect reference images and inspiration from various sources, such as official D&D miniatures, fantasy art, and mythology.
- Concept Sketching: Sketch your design, considering scale, proportions, and details.
- Digital Modeling: Use computer-aided design (CAD) software or 3D modeling tools to create a digital representation of your miniature.
Working with Resin
Now that you have a design, it's time to work with resin:
- Prepare Your Mold: Create a mold using a silicone or 3D printed casing.
- Mix and Pour Resin: Mix the resin according to the manufacturer's instructions and pour it into the mold.
- Cure and Post-Cure: Allow the resin to cure and harden, then remove it from the mold and perform any necessary post-curing processes.
3D Printing Your Miniature
If you prefer 3D printing, follow these steps:
- Prepare Your Model: Ensure your digital model is optimized for 3D printing.
- Slice and Print: Use slicing software to prepare your model for printing, then send it to your 3D printer.
- Post-Processing: Remove supports, sand, and apply finishes to achieve the desired look.
Finishing Touches
Add the final details to your miniature:
- Painting: Use acrylic paints to add color and details.
- Sealing: Apply a sealant to protect your miniature from damage.
- Assembly: Assemble multiple parts, if necessary.
Conclusion
Crafting custom D&D miniatures with resin and 3D printing can be a rewarding experience, allowing you to bring your imagination to life. With practice and patience, you'll be creating unique and intricate miniatures to enhance your tabletop experience and cosplay.