Introduction
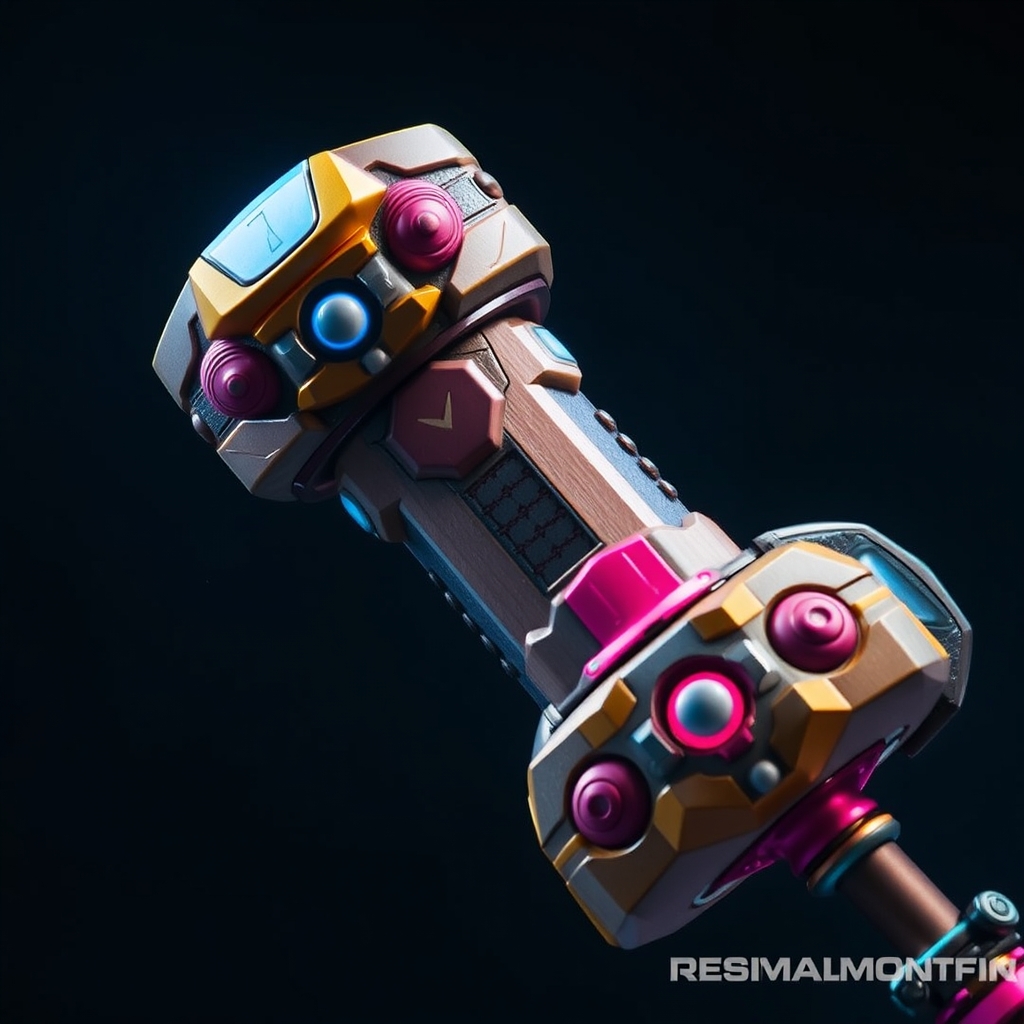
Reinhardt's hammer is an iconic part of the Overwatch universe, and crafting a realistic replica is a challenge many cosplayers are eager to take on. With the right materials and techniques, you can create a durable and visually stunning prop that will elevate your cosplay to the next level. In this guide, we'll walk you through the process of creating Reinhardt's hammer using Worbla and resin.
Materials and Tools
Before we begin, make sure you have the following materials and tools:
- Worbla Thermoplastic
- Resin ( epoxy or polyurethane-based)
- Hardener
- Mold release agent
- Sandpaper
- Paint and primer
- A heat gun or Worbla heat gun attachment
- A mixing cup and stir stick
- A scale or measuring cups
Creating the Hammer Head
To start, we'll create the hammer head using Worbla thermoplastic. You can either use a pre-made template or create your own design based on reference images of Reinhardt's hammer.
Cut out the Worbla template, and apply heat to shape it into the desired form. Use a heat gun or Worbla heat gun attachment to heat the Worbla evenly, and shape it into a smooth, curved surface.
Once you've achieved the desired shape, allow the Worbla to cool and harden completely. This will create a sturdy base for your hammer head.
Adding Resin Details
To add more detail and texture to your hammer head, we'll use resin. Mix the resin and hardener according to the manufacturer's instructions, and pour it into a mold or directly onto the Worbla surface.
Use a stir stick or mixing cup to create texture and patterns on the resin surface. You can also add additional details, such as bolts or rivets, using small amounts of resin.
Allow the resin to cure completely, following the manufacturer's instructions. Once cured, remove the hammer head from the mold, and sand it down to a smooth finish.
Creating the Handle
The handle of Reinhardt's hammer is a crucial part of the prop, and can be created using a combination of Worbla and resin. Cut out a long, thin shape from Worbla, and apply heat to shape it into a smooth, curved surface.
Use a mixing cup or scale to measure out the correct amount of resin, and mix it with the hardener. Pour the resin mixture into a mold or directly onto the Worbla handle, and allow it to cure completely.
Once cured, remove the handle from the mold, and sand it down to a smooth finish. You can also add additional details, such as texture or patterns, using paint or primer.
Assembly and Finishing
To assemble the hammer, attach the hammer head to the handle using a strong adhesive, such as epoxy or hot glue. Make sure the attachment is secure, and can withstand handling and transportation.
Once assembled, paint and prime the hammer to achieve a realistic finish. You can also add additional details, such as weathering or wear and tear, using paint or washes.
Finally, apply a clear coat to protect the paint and resin, and seal the Worbla surface.
Conclusion
Crafting Reinhardt's hammer using Worbla and resin is a fun and rewarding project that can elevate your Overwatch cosplay to the next level. With the right materials and techniques, you can create a realistic and durable prop that will impress at any convention or photoshoot. Happy crafting!