
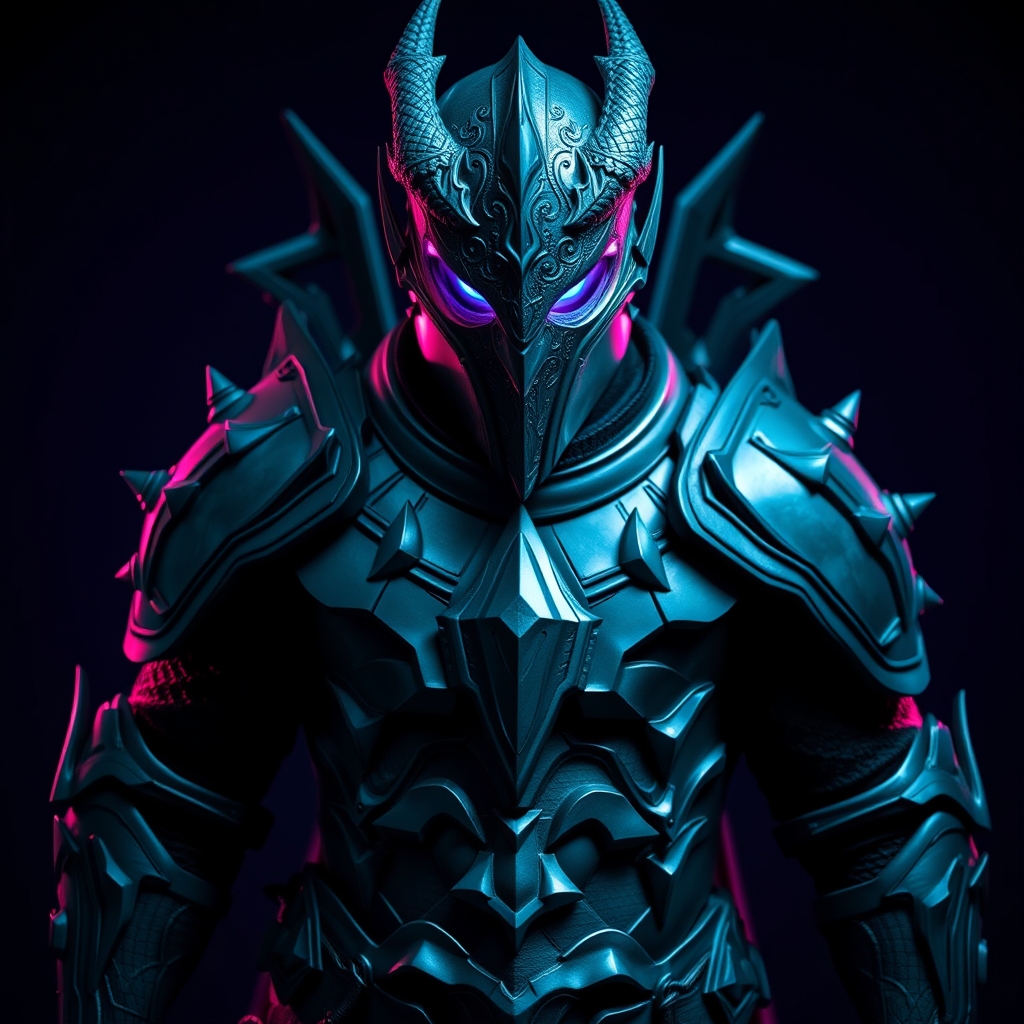
Introduction to Dragonborn Armor
The Dragonborn, a legendary Tarnished from the Lands Between, has captured the hearts of many Elden Ring fans. As cosplayers, we strive to recreate the intricate details and imposing presence of this iconic character. One of the most crucial elements of a Dragonborn cosplay is the armor, which requires a combination of craftsmanship, creativity, and technical skills. In this guide, we'll walk you through the process of crafting realistic Dragonborn armor using 3D printing and Worbla thermoplastic.
Designing and 3D Printing the Armor Pieces
To start, you'll need to design or obtain 3D models of the Dragonborn armor pieces. You can find various Elden Ring asset repositories and 3D model marketplaces, such as CGTrader or TurboSquid, that offer printable models. Alternatively, you can create your own designs using 3D modeling software like Blender or Tinkercad.
- Choose a suitable 3D printing technology, such as FFF/FDM or SLA, depending on your desired level of detail and material properties.
- Select a 3D printing material that is compatible with Worbla, such as PLA, ABS, or PETG.
- Print the armor pieces using your chosen 3D printing technology and material.
Post-Processing and Sanding
Once you've printed the armor pieces, it's essential to post-process them to achieve a smooth, even surface. Use a combination of sanding tools and techniques to remove layer lines, supports, and any other imperfections.
- Start with coarse-grit sandpaper (120-150) and progress to finer grits (220-320) for a smooth finish.
- Use a sanding block or a detail sanding tool to reach small crevices and curved areas.
- Wipe down the pieces with a tack cloth or a damp cloth to remove dust and debris.
Worbla Thermoforming
Worbla is a versatile thermoplastic that can be molded, shaped, and formed to create complex details and textures. To apply Worbla to your 3D printed armor pieces, follow these steps:
- Cut a Worbla sheet to size, leaving some excess material around the edges.
- Apply a heat gun or a heat lamp to the Worbla sheet, heating it until it becomes pliable and slightly tacky.
- Carefully drape the Worbla sheet over the armor piece, smoothing out any wrinkles or air pockets.
- Use a heat-resistant tool, such as a modeling tool or a wooden skewer, to shape and detail the Worbla.
Adding Details and Texture
To elevate your Dragonborn armor, add intricate details and textures using Worbla and various tools.
- Use a Worbla scraper or a modeling tool to create fine details, such as rivets, bolts, or engravings.
- Apply Worbla pellets or small Worbla pieces to create textured areas, such as leather or fabric.
- Experiment with different Worbla colors and techniques, such as layering or blending, to achieve a weathered, battle-worn look.
Finishing Touches and Assembly
Once you've applied Worbla to all the armor pieces, it's time to assemble and finish the armor.
- Use a strong adhesive, such as epoxy or super glue, to bond the Worbla-covered pieces together.
- Apply a coat of primer and paint to achieve a uniform base color.
- Add additional details, such as metallic paint or washes, to enhance the armor's appearance.
Conclusion and Tips
Crafting realistic Dragonborn armor with 3D printing and Worbla requires patience, creativity, and practice. Don't be afraid to experiment and try new techniques – and most importantly, have fun!
- Research and reference Elden Ring concept art and in-game models to ensure accuracy.
- Join online communities, such as cosplay forums or social media groups, to share your work and learn from others.
- Consider adding electronics, such as LED lights or EL wire, to enhance the armor's visual impact.



