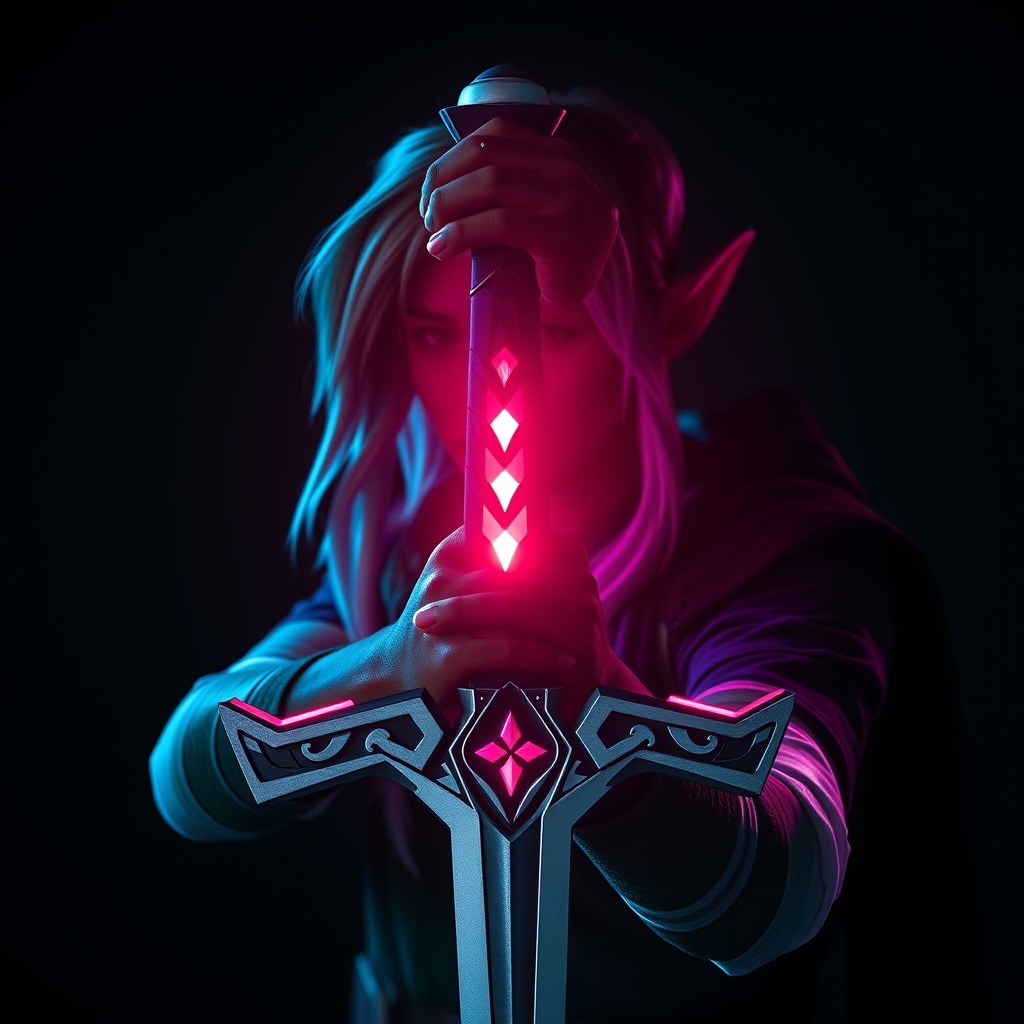
Introduction to Hyper-Realistic Prop Making
For cosplayers and prop enthusiasts, creating a realistic Master Sword from The Legend of Zelda series is a coveted project. With advancements in 3D printing and thermoplastic techniques, achieving a museum-quality replica is more accessible than ever. This guide will walk you through the process of designing, 3D printing, and finishing a hyper-realistic Master Sword using Worbla thermoplastics.
Designing the Master Sword
The first step in creating your Master Sword is to obtain a precise 3D model. You can find various models online, but ensure they are designed for 3D printing, taking into account factors like scale, resolution, and printability. Popular sources include:
- Thingiverse: A community-driven repository of 3D printable models.
- MyMiniFactory: A platform offering free and paid 3D models, including The Legend of Zelda props.
- GrabCAD: A community of 3D modelers and makers sharing their designs.
Once you've selected and downloaded your model, it's essential to scale it according to your needs and adjust the design for optimal printability.
Preparing the 3D Model for Printing
Use software like Blender or MeshLab to:
- Scale the model to your desired size.
- Repair any mesh errors or gaps.
- Optimize the model for 3D printing by adjusting wall thickness and infill density.
3D Printing the Master Sword
Choose a suitable 3D printing technology and material for your project. Popular options include:
- Fused Deposition Modeling (FDM) with PLA or ABS.
- Stereolithography (SLA) for higher resolution prints.
Configure your 3D printer settings according to the manufacturer's guidelines and the specific requirements of your model.
Post-Processing and Assembly
After printing, remove supports, and sand the blade and hilt to smooth out any imperfections. For a more realistic look, apply a primer and paint using acrylics or specialized prop-making paints.
Working with Worbla
Worbla is a versatile thermoplastic material ideal for prop making, allowing for the creation of durable, detailed components. To work with Worbla:
- Cut Worbla sheets to size using a heat-resistant cutting tool or scissors.
- Apply heat using a heat gun or Worbla's heat gun attachment to mold and shape the material.
- Allow the Worbla to cool and harden completely before handling.
Applying Worbla to the Master Sword Hilt
Wrap Worbla sheets around the 3D printed hilt, applying heat to secure and shape the material. Use Worbla's Thermoforming technique to create detailed textures and patterns.
Finishing Touches
To complete your Master Sword:
- Add a leather or fabric wrap to the hilt for a more authentic grip.
- Apply a protective coating to the blade and hilt.
- Install LED lighting or other electronic components for added realism.
Conclusion and Tips for Mastery
Crafting a hyper-realistic Master Sword with 3D printing and Worbla requires patience, attention to detail, and practice. Join online communities, forums, and social media groups dedicated to prop making and cosplay to share your work and learn from others.
For further guidance and inspiration, explore:
- YouTube tutorials on 3D printing and Worbla techniques.
- Prop making forums and Discord servers.
- Cosplay and prop making events, workshops, and conventions.