Introduction to 3D Printed Cosplay Badges
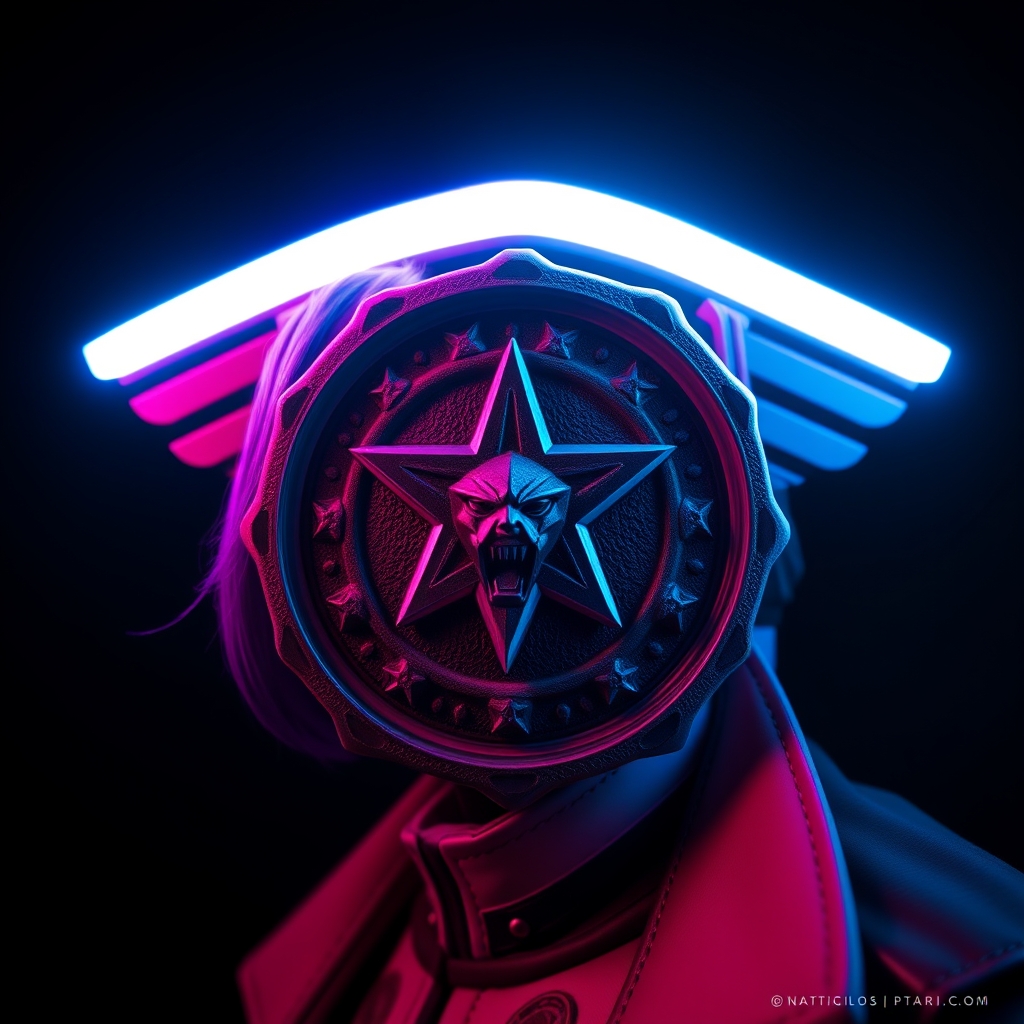
Custom cosplay badges have become an essential part of any cosplayer's arsenal, allowing them to add a personal touch to their costumes and stand out from the crowd. With the rise of 3D printing technology, creating intricate and detailed badges has never been easier. In this guide, we'll walk you through the process of designing and 3D printing custom cosplay badges, covering the necessary tools, software, and techniques to achieve professional-looking results.
Designing Your Badge
Before you start 3D printing your badge, you'll need to design it. You can use computer-aided design (CAD) software or a 3D modeling program to create your design. Some popular options include:
- Tinkercad: A free online CAD software ideal for beginners.
- Blender: A free, open-source 3D creation software.
- Adobe Illustrator: A powerful vector graphics editor that can be used to create 2D designs.
When designing your badge, keep in mind the following:
- Resolution: Ensure your design has a high enough resolution to be printed clearly.
- Size: Consider the size of your badge and how it will be attached to your costume.
- Details: Add intricate details and textures to give your badge depth and visual interest.
Creating a 3D Model
Once you have your design, you'll need to create a 3D model. This can be done by:
- Extruding your 2D design: Use software like Tinkercad or Blender to extrude your 2D design into a 3D model.
- Using a 3D model template: Find pre-made 3D model templates online and modify them to fit your design.
Make sure to export your 3D model in a format compatible with your 3D printer's software, such as STL or OBJ.
Preparing for 3D Printing
Before you start 3D printing, you'll need to prepare your model and printer. This includes:
- Slicing your model: Use software like Cura or Slic3r to slice your 3D model into layers that can be printed.
- Configuring your printer: Adjust your printer's settings, such as temperature, speed, and layer height, to achieve the best results.
- Choosing the right material: Select a 3D printing material that suits your needs, such as PLA, ABS, or resin.
3D Printing Your Badge
With your model prepared, it's time to start 3D printing your badge. Monitor your printer's progress and adjust the settings as needed to ensure a smooth print. Depending on the complexity of your design and the printer's speed, this process can take anywhere from a few minutes to several hours.
Post-Printing Processing
Once your badge is printed, you'll need to post-process it to achieve a professional finish. This includes:
- Removing supports: Carefully remove any supports or rafts from your print.
- Sanding: Sand your badge to smooth out any rough edges or surfaces.
- Painting: Apply paint or other finishes to enhance the appearance of your badge.
With these steps, you can create stunning custom cosplay badges that will elevate your costume to the next level.
Conclusion
3D printing custom cosplay badges offers a world of creative possibilities for cosplayers and builders. By following this step-by-step guide, you can design and print intricate badges that showcase your skills and attention to detail. Whether you're a seasoned cosplayer or just starting out, 3D printing is an accessible and rewarding technique to add to your crafting arsenal.