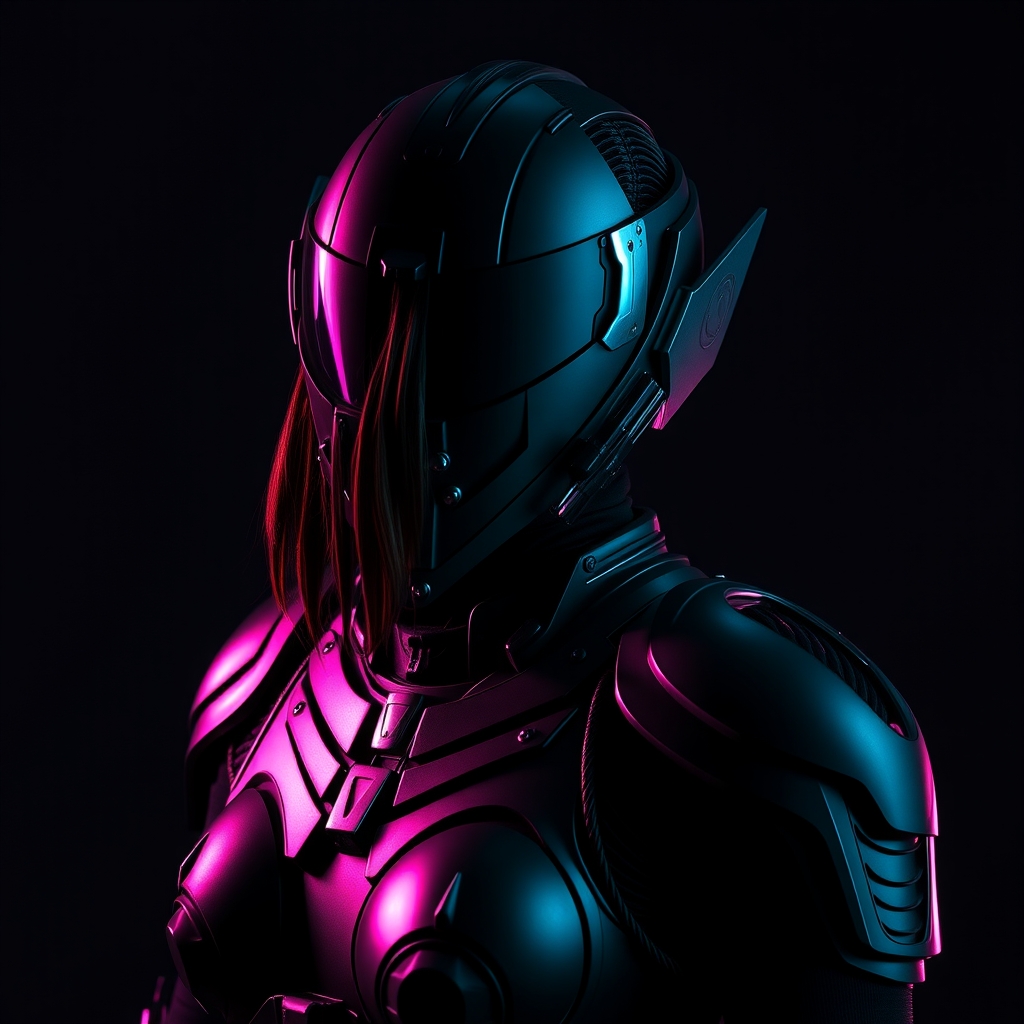
Introduction to Cyberpunk Armor
Cyberpunk armor is a staple of science fiction cosplay, offering a glimpse into a futuristic world of high-tech gadgetry and dystopian landscapes. For cosplayers and builders, creating cyberpunk armor can be a daunting task, but with the right tools and techniques, it's achievable. In this guide, we'll explore the process of crafting cyberpunk armor using 3D printing and Worbla, a popular thermoplastic material.
Designing Your Armor
Before you begin crafting your armor, it's essential to have a solid design concept. Start by researching reference images of cyberpunk armor from various sources, including video games, movies, and anime. Take note of the shapes, textures, and details that make up the armor, and use these as inspiration for your own design.
Once you have a clear idea of what you want to create, use computer-aided design (CAD) software or 3D modeling tools to bring your design to life. You can also use online resources, such as 3D model repositories, to find pre-made models to modify or print.
3D Printing Your Armor Pieces
With your design in hand, it's time to start 3D printing your armor pieces. When choosing a 3D printing method, consider the level of detail and texture you want to achieve. Fused deposition modeling (FDM) and stereolithography (SLA) are popular options for printing thermoplastic materials like Worbla.
- Choose the right filament: Select a filament that matches your desired texture and durability. Popular options include PLA, ABS, and PETG.
- Optimize your print settings: Adjust your print settings to achieve the desired level of detail and texture. This may include adjusting layer height, infill density, and support material.
Working with Worbla
Worbla is a versatile thermoplastic material that can be molded, shaped, and thermoformed to create complex details and textures. To work with Worbla, you'll need a heat source, such as a heat gun or oven, and a surface to shape your material.
Basic Worbla Techniques
- Thermoforming: Use heat to shape and mold Worbla into complex curves and shapes.
- Molding: Use a mold or shape to create detailed textures and patterns.
- Shaping: Use hand tools or machines to shape and smooth out Worbla.
Assembling Your Armor
Once you have printed and shaped your armor pieces, it's time to assemble them. Use a combination of adhesives, such as epoxy or super glue, and mechanical fasteners, like screws or clips, to secure your pieces together.
Finishing Touches
To add a realistic finish to your armor, consider using paint, weathering effects, or additional details like LEDs or electronics.
- Painting: Use acrylic or enamel paints to add color and texture to your armor.
- Weathering: Use washes, drybrushing, or other techniques to create a worn, battle-hardened look.
Conclusion
Crafting cyberpunk armor with 3D printing and Worbla requires patience, creativity, and practice. By following these steps and experimenting with different techniques, you can create a stunning and unique piece of cosplay armor that showcases your skills and dedication.
For more information on 3D printing and Worbla, check out online resources like Thingiverse and Worbla.