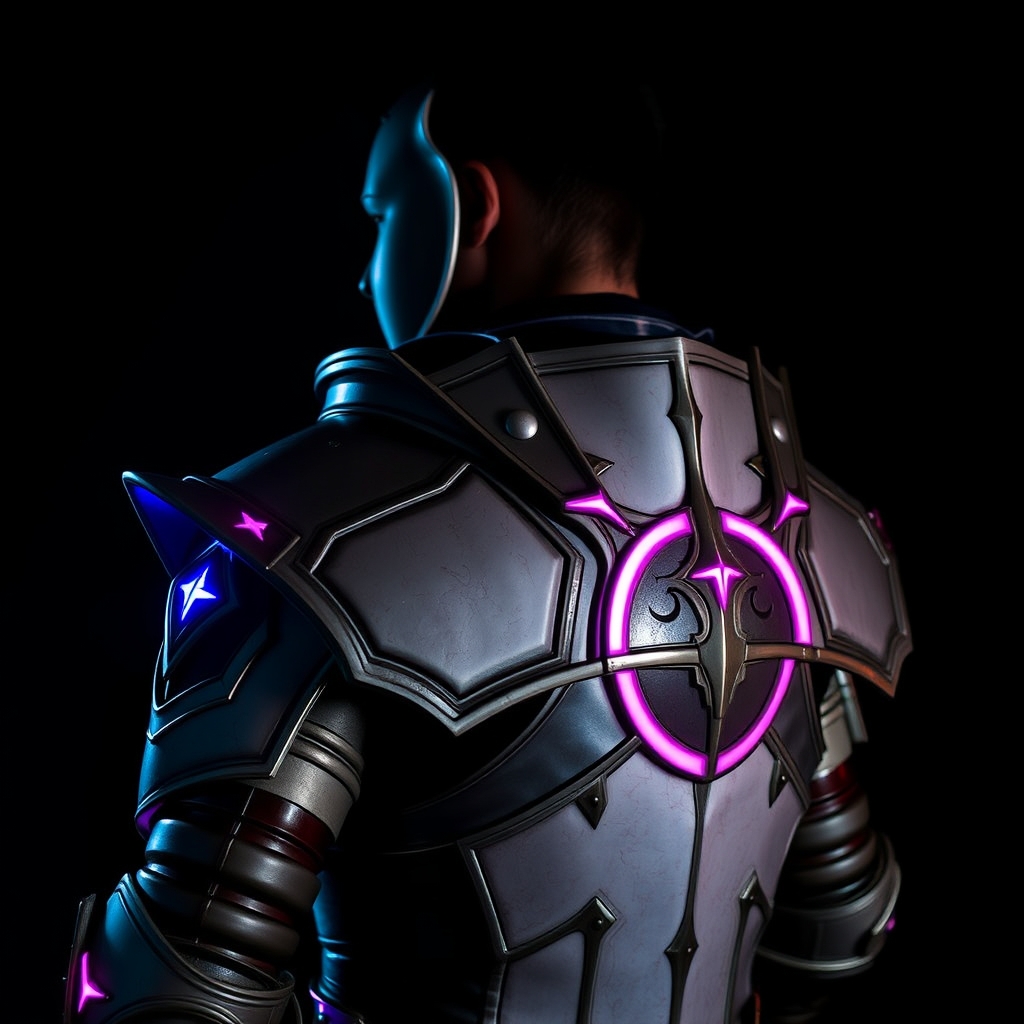
Introduction to Elden Ring Armor Cosplay
Elden Ring, the action-packed RPG from FromSoftware, has captivated gamers worldwide with its dark fantasy lore, engaging gameplay, and intricate character designs. For cosplayers and prop makers, the game's vast array of armors presents a unique challenge: recreating these elaborate pieces with precision and realism. In this guide, we'll explore how to create stunningly realistic Elden Ring armor using vacuum-formed plastics and paint, focusing on techniques and materials that can help you achieve a museum-quality finish.
Materials and Tools Needed
Before diving into the crafting process, it's essential to gather the necessary materials and tools. Here's a list of what you'll need:
- Vacuum former machine (e.g., Prop-Makers' BD Vacuum Former)
- Plastic sheets (e.g., Worbla, Wonderflex, or Kydex)
- Heat gun or torch
- Paint and primer (acrylic or enamel)
- Paintbrushes and airbrush
- Sandpaper and files
- Reference images of the Elden Ring armor
Choosing the Right Plastic
When it comes to vacuum forming, the type of plastic used can greatly impact the final result. Worbla, a popular choice among prop makers, offers a range of thermoplastics with varying degrees of flexibility and durability. For Elden Ring armor, we recommend using a medium-weight Worbla sheet (around 1/16 inch thick) for its balance of formability and rigidity.
Designing and Patterning Your Armor
To create an accurate replica of Elden Ring armor, you'll need to design and pattern your pieces carefully. Start by gathering reference images of the armor from various angles. Use software like Adobe Illustrator or Autodesk Fusion 360 to create a detailed 2D pattern or 3D model of your armor piece.
Keep in mind that Elden Ring armor often features intricate details, such as engravings, rivets, or textured surfaces. You can use a combination of techniques, including 3D printing, laser cutting, or hand-scribing, to achieve these details.
Vacuum Forming and Shaping
With your pattern in hand, it's time to vacuum form your plastic sheet. Follow these steps:
- Cut your plastic sheet to size, leaving a small margin around the pattern.
- Heat the plastic sheet using a heat gun or torch until it becomes pliable and slightly saggy.
- Place the heated plastic sheet into the vacuum former machine, ensuring it's centered and smooth.
- Vacuum form the plastic sheet over your pattern, applying gentle pressure to prevent wrinkles or bubbles.
- Allow the plastic to cool and harden before removing it from the mold.
Use sandpaper and files to refine the edges and smooth out any imperfections.
Painting and Finishing
The painting process is where your Elden Ring armor truly comes to life. Start by priming your vacuum-formed piece using a high-quality primer specifically designed for plastics. Once primed, use acrylic or enamel paint to achieve a rich, metallic finish.
To add depth and weathering to your armor, consider using techniques like drybrushing, washes, or edge highlighting. You can also use reference images to accurately replicate the armor's color scheme and weathering patterns.
Tips and Variations
To take your Elden Ring armor to the next level, consider adding additional details, such as:
- LED lighting or glow-in-the-dark accents
- Moveable parts or hinges
- Realistic leather or fabric straps
- Weathering or battle damage effects
Experiment with different materials and techniques to achieve a unique look that reflects your character's personality and playstyle.
Conclusion
Crafting realistic Elden Ring armor using vacuum-formed plastics and paint requires patience, attention to detail, and a willingness to experiment. By following these guidelines and techniques, you'll be well on your way to creating a stunning replica that showcases your craftsmanship and dedication to the Elden Ring universe. Happy crafting!